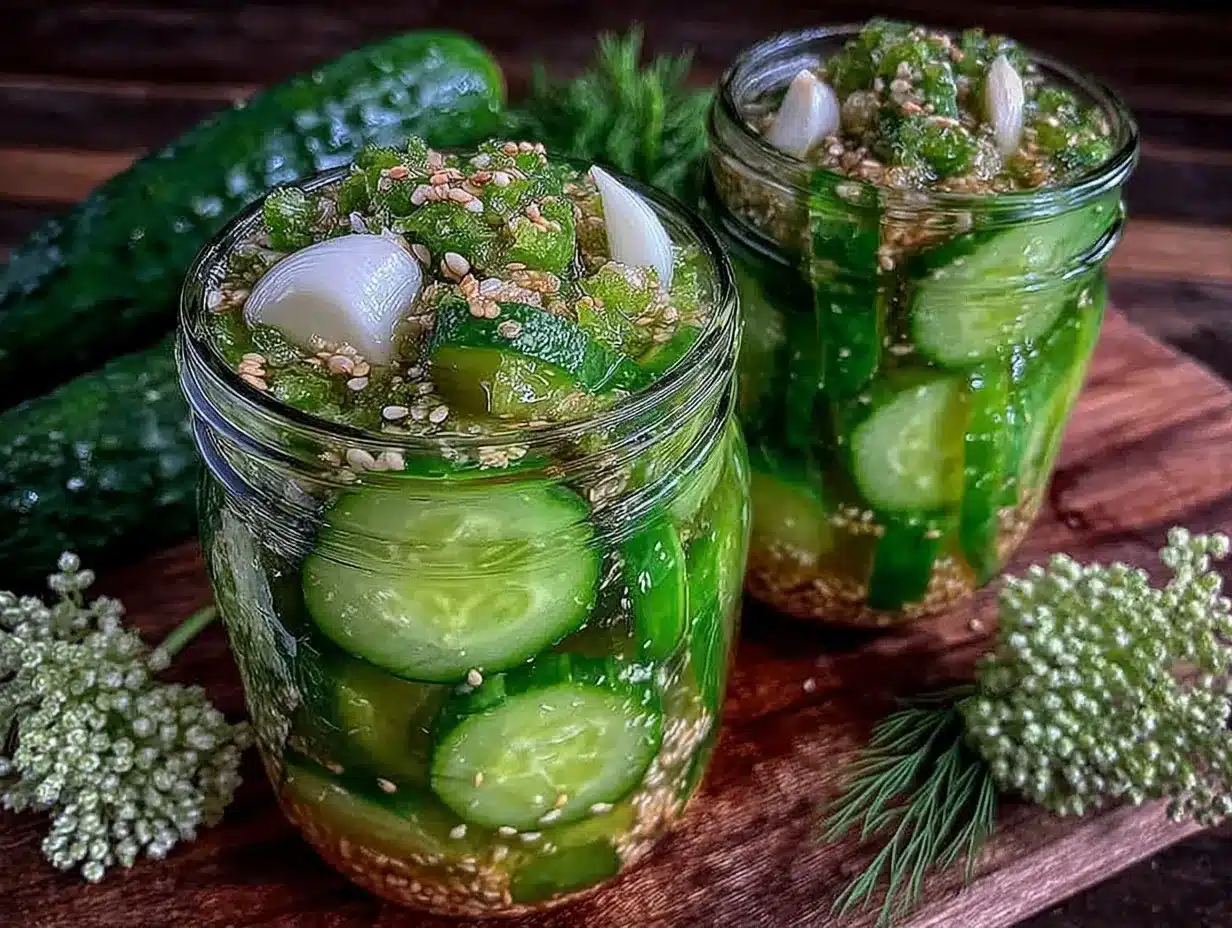
Honestly, I thought making pickles at home was a weeks-long project involving jars, boiling water baths, and all kinds of scary canning jargon. The idea of whipping up a batch of pickles in just 24 hours felt too good to be true. My skepticism wasn’t just casual—it was full-on stubborn resistance. I mean, how could something so quick actually taste good? But then, one lazy Sunday afternoon, I found myself with a bushel of cucumbers and zero energy to fuss. I figured, why not give these Quick Garlic Dill Refrigerator Pickles a shot? What happened after that first crunchy, garlicky bite surprised me more than I expected.
The cucumbers were crisp, the garlic punch was lively without being overpowering, and the dill added just the right herbal note. It wasn’t just “good for a quick pickle” — it was honestly delicious. The magic here is in the simplicity and speed; these pickles don’t wait around for weeks. Instead, they get tangy and flavorful overnight, making them perfect for last-minute cravings or a quick side to jazz up any meal. It took me a while to come around, but now, these pickles have earned a permanent spot in my fridge and my heart. They remind me that sometimes the best things don’t need a long wait, just the right ingredients and a little patience.
What really stuck with me is how these pickles bring that satisfying crunch and bright, garlicky zing without any fuss. They’re the kind of recipe that feels honest and approachable — no need for fancy equipment or rare spices. It’s the kind of kitchen confidence you build when you trust a recipe that delivers exactly what it promises. So yeah, I’m a convert now, and I think you might find yourself falling for these Quick Garlic Dill Refrigerator Pickles just like I did.
Why You’ll Love This Recipe
After testing many pickle recipes over the years, this one stands out because it’s honest, straightforward, and fast. I’ve tried pickling with complicated spice blends and lengthy wait times, but this recipe nails the essentials in a way that’s approachable for just about anyone.
- Quick & Easy: Ready in just 24 hours, this recipe fits perfectly into busy schedules or last-minute snack attacks.
- Simple Ingredients: No obscure spices or specialty items — just garlic, dill, cucumbers, and basic pantry staples.
- Perfect for Any Occasion: Whether you’re prepping for a casual family dinner or a laid-back summer gathering, these pickles add a crisp, fresh touch.
- Crowd-Pleaser: Kids and adults alike love the balance of tangy and savory flavors, plus the satisfying crunch.
- Unbelievably Delicious: The texture is spot-on — not soggy, not soft — just that ideal, crisp snap every pickle lover dreams of.
What sets this recipe apart is the use of fresh garlic cloves and whole dill sprigs, which infuse the brine with a bright, aromatic flavor that feels homemade in the best way. Also, skipping the heat-based canning method keeps the cucumbers crisp and fresh-tasting. It’s like reaching for a quick snack but ending up with something pretty special.
For me, this recipe isn’t just about the pickles themselves, but the way they bring a little unexpected joy to everyday meals. It’s the kind of comfort food that feels fresh and satisfying, without any stress or long waits. If you ever wondered whether refrigerator pickles could actually beat store-bought ones, this is your proof.
What Ingredients You Will Need
This recipe uses simple, wholesome ingredients that come together to deliver bold flavor and satisfying crunch without any fuss. Most of these are pantry staples, and you can find fresh dill and cucumbers easily in season or at your local market.
- Kirby cucumbers (about 4-5 small to medium-sized): These are your best bet for crisp, crunchy pickles. If you can’t find Kirby, pick firm, fresh cucumbers with thin skin.
- Garlic cloves (4-5 large, peeled): Fresh garlic is key here — it adds a sharp, savory kick that mellows beautifully in the brine.
- Fresh dill sprigs (4-5): Whole sprigs work better than dried dill for that authentic herbal flavor.
- White vinegar (1 cup / 240 ml): Provides the classic tang and preserves the pickles.
- Water (1 cup / 240 ml): Balances the acidity of the vinegar.
- Pickling salt or kosher salt (1 tablespoon): Pickling salt dissolves easily and doesn’t contain additives that cloud the brine.
- Granulated sugar (1 teaspoon): Just a touch to round out the acidity and balance the flavors.
- Whole black peppercorns (1 teaspoon): Adds a subtle warmth to the brine.
- Optional – red pepper flakes (¼ teaspoon): For a little heat if you like a spicy kick.
If you want to swap out ingredients, almond flour doesn’t really come into play here, but a gluten-free vinegar option is easy if needed. Also, you can use apple cider vinegar instead of white vinegar for a slightly fruitier taste. If fresh dill isn’t available, dried dill weed can substitute but use less, as it’s more concentrated.
Equipment Needed
- Quart-sized glass jar with a tight-fitting lid: Ideal for holding the pickles and brine. Mason jars work perfectly.
- Measuring cups and spoons: For precise ingredient amounts.
- Small saucepan: To warm the brine ingredients just enough to dissolve the salt and sugar.
- Sharp knife and cutting board: For slicing cucumbers and prepping garlic.
- Tongs or a fork: Helpful for placing dill sprigs and garlic into jars without getting your hands too vinegary.
If you don’t have a glass jar, a BPA-free plastic container with a lid can work, but glass is best to avoid any off-flavors. I prefer glass because it’s easier to clean and doesn’t absorb odors. Also, make sure your jar is completely clean and dry before starting to avoid any unwanted fermentation or cloudiness in the brine.
Preparation Method
- Wash and slice the cucumbers: Rinse about 4-5 Kirby cucumbers under cold water. Trim the ends, then slice them into ¼-inch (6 mm) thick rounds or spears, depending on your preference. This step takes about 5-7 minutes. Thicker slices will take a bit longer to pickle, but they hold their crunch better.
- Prepare the brine: In a small saucepan, combine 1 cup (240 ml) white vinegar, 1 cup (240 ml) water, 1 tablespoon pickling salt, and 1 teaspoon granulated sugar. Warm over medium heat just until the salt and sugar dissolve, about 3-4 minutes. Avoid boiling — you don’t want to cook the garlic or dill. Remove from heat and let it cool slightly for about 5 minutes.
- Pack the jar: Place 4-5 peeled garlic cloves and 4-5 fresh dill sprigs into a clean quart-sized jar. Add 1 teaspoon whole black peppercorns and optional ¼ teaspoon red pepper flakes if you like heat. Then tightly pack the sliced cucumbers into the jar, leaving about ½ inch (1.3 cm) of headspace at the top.
- Pour the brine: Carefully pour the warm brine over the cucumbers, covering them completely. Tap the jar gently on the counter to release any trapped air bubbles. Seal the jar with the lid.
- Refrigerate: Place the jar in the refrigerator for at least 24 hours before tasting. This short waiting period lets the flavors meld and the cucumbers soak up the garlicky, dill-infused brine.
- Enjoy: After 24 hours, your pickles should be crisp, tangy, and ready to snack on or serve alongside your favorite dishes. They keep well for up to 2 weeks refrigerated.
Some quick tips: If your pickles feel too soft, make sure you’re using fresh, firm cucumbers and avoid over-soaking. Also, piercing the cucumbers lightly with a fork before packing can help the brine penetrate faster. I learned that after a few batches, and it really speeds up the flavor infusion.
Cooking Tips & Techniques
Making refrigerator pickles is pretty forgiving, but there are a few tricks to keep your pickles crisp and flavorful every time.
- Use fresh, firm cucumbers: The fresher, the better. Overripe or large cucumbers tend to get mushy quickly. Kirby cucumbers or pickling cucumbers are ideal.
- Don’t boil the brine: Just warm it enough to dissolve salt and sugar. Boiling can make pickles soft and dull the garlic flavor.
- Pack cucumbers tightly: Less air exposure means better texture and flavor absorption.
- Keep everything clean: Sterilize your jars and tools to avoid any unwanted fermentation or cloudiness.
- Adjust spices to personal taste: I sometimes add mustard seeds or coriander seeds for a bit of extra complexity, but don’t overdo it.
- Patience pays off: Give the pickles at least 24 hours, but for a stronger flavor, 48 hours is even better.
I once tried to rush the pickling process by using hot brine straight from boiling, and the cucumbers turned limp in no time. Lesson learned! Also, I like to prepare these pickles alongside other simple snacks like my crispy sweet potato and black bean quesadillas — they make a great crunchy, tangy side.
Variations & Adaptations
This quick refrigerator pickle recipe is flexible and easy to customize. Here are some ways to make it your own:
- Spicy Pickles: Add extra red pepper flakes or a sliced jalapeño to the jar for heat.
- Herb Variations: Swap dill for fresh tarragon or rosemary for a different herbal note.
- Garlic-Free: If you’re not a fan of garlic, try adding a few slices of onion instead for a milder bite.
- Vinegar Swap: Use apple cider vinegar to add a touch of fruitiness to the brine.
- Low-Sodium: Cut the salt in half and increase refrigeration time slightly to keep flavor balanced while lowering sodium.
One time, I tried a batch with fresh turmeric slices and it added a bright color and a subtle earthy flavor that surprised me. The key is to keep the method the same and experiment with what’s in your pantry or garden.
Serving & Storage Suggestions
These Quick Garlic Dill Refrigerator Pickles are best served chilled. They make a fantastic snack straight from the jar, or you can slice them on top of sandwiches, burgers, or even tossed into salads for a tangy crunch.
Pair them with creamy or rich dishes to cut through heaviness — think alongside a plate of crispy fried chicken sliders or with a vibrant fresh salad. If you’re hosting a summer gathering, they fit right in with refreshing drinks like a sparkling lemonade punch or crunchy veggie bites.
Store the pickles in the refrigerator, tightly sealed, for up to two weeks. Over time, the flavors deepen, but the texture may soften slightly — so enjoy them sooner if you want maximum crunch. To re-crisp, submerge the pickles in ice water for 15 minutes before serving (it works wonders!).
Nutritional Information & Benefits
These refrigerator pickles are low in calories, fat-free, and packed with flavor, making them a guilt-free snack or side. Each serving (about 3-4 slices) roughly contains:
| Nutrient | Amount per serving |
|---|---|
| Calories | 10-15 kcal |
| Carbohydrates | 2-3 g |
| Fiber | 0.5 g |
| Sodium | 250-300 mg (varies by salt amount) |
Cucumbers are hydrating and provide small amounts of vitamin K and antioxidants. Garlic offers immune-boosting compounds while dill has digestive benefits. Just watch the sodium if you’re salt-sensitive, and adjust accordingly.
Conclusion
Quick Garlic Dill Refrigerator Pickles have earned their place in my kitchen because they’re easy, fast, and genuinely delicious. They’re proof that you don’t need to wait weeks or fuss with complicated canning to enjoy fresh, crunchy pickles. Whether you’re new to pickling or a seasoned pro, this recipe invites you to taste something simple and satisfying without the wait.
Feel free to tweak the garlic amount or spice level to match your mood or meal. I love that these pickles bring a little homemade magic to everyday dishes, and I hope they find a happy spot in your fridge too. If you want to add a little crunch to your next meal, these pickles won’t let you down.
And hey, if you want some fresh, light treats to go alongside, you might enjoy my fresh rainbow fruit popsicle treats for a cool, colorful pairing.
FAQs
How long do Quick Garlic Dill Refrigerator Pickles last?
They last about 2 weeks in the fridge when stored in a sealed jar. The flavor deepens over time, but the texture is best within the first week.
Can I use regular cucumbers instead of Kirby cucumbers?
You can, but Kirby cucumbers are preferred because they stay crisper. If using regular cucumbers, pick firm, fresh ones and slice thicker.
Do I have to peel the cucumbers?
Nope! The peel adds to the crunch and nutrition. Just wash them thoroughly before slicing.
Is it necessary to warm the brine?
Warming helps dissolve salt and sugar quickly, but avoid boiling to keep cucumbers crisp.
Can I make this recipe spicy?
Absolutely! Add red pepper flakes or jalapeño slices to the jar to give the pickles a spicy kick.
Pin This Recipe!
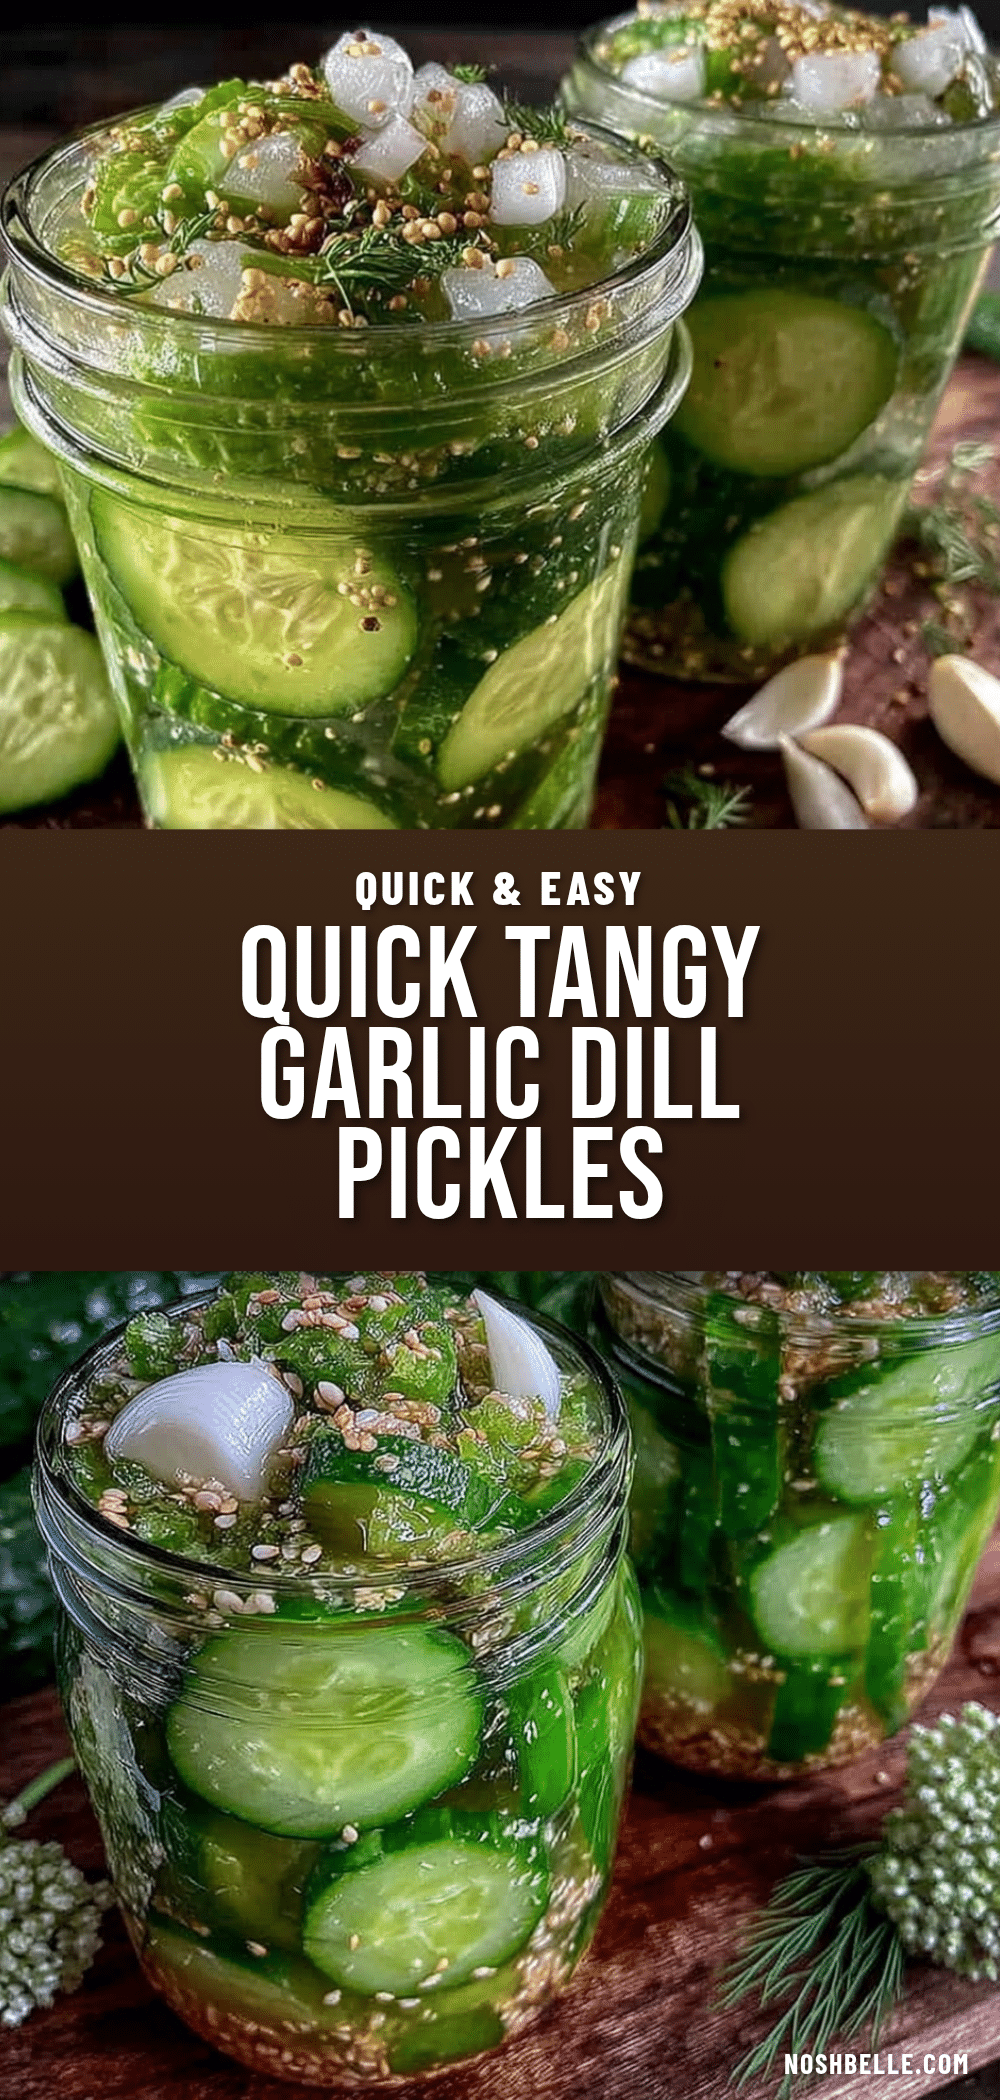
Quick Garlic Dill Refrigerator Pickles

A fast and easy recipe for crisp, tangy pickles infused with garlic and dill, ready in just 24 hours without any canning fuss.
- Prep Time: 10 minutes
- Cook Time: 5 minutes
- Total Time: 24 hours 15 minutes
- Yield: 4 servings 1x
- Category: Side Dish
- Cuisine: American
Ingredients
- 4–5 small to medium Kirby cucumbers
- 4–5 large garlic cloves, peeled
- 4–5 fresh dill sprigs
- 1 cup (240 ml) white vinegar
- 1 cup (240 ml) water
- 1 tablespoon pickling salt or kosher salt
- 1 teaspoon granulated sugar
- 1 teaspoon whole black peppercorns
- Optional: 1/4 teaspoon red pepper flakes
Instructions
- Wash and slice the cucumbers into 1/4-inch (6 mm) thick rounds or spears.
- In a small saucepan, combine white vinegar, water, pickling salt, and sugar. Warm over medium heat until salt and sugar dissolve, about 3-4 minutes. Do not boil. Remove from heat and cool slightly for 5 minutes.
- Place garlic cloves, dill sprigs, black peppercorns, and optional red pepper flakes into a clean quart-sized glass jar.
- Tightly pack the sliced cucumbers into the jar, leaving about 1/2 inch (1.3 cm) headspace.
- Pour the warm brine over the cucumbers, covering them completely. Tap the jar gently to release air bubbles and seal with the lid.
- Refrigerate the jar for at least 24 hours before tasting.
- Enjoy the pickles chilled. They keep well for up to 2 weeks refrigerated.
Notes
Use fresh, firm Kirby cucumbers for best crunch. Avoid boiling the brine to keep cucumbers crisp. For stronger flavor, refrigerate up to 48 hours. To re-crisp softened pickles, soak in ice water for 15 minutes before serving.
Nutrition
- Serving Size: About 3-4 pickle sli
- Calories: 1015
- Sodium: 250300
- Carbohydrates: 23
- Fiber: 0.5
- Protein: 0.3
Keywords: quick pickles, refrigerator pickles, garlic dill pickles, easy pickles, homemade pickles, crisp pickles, no canning pickles