It was 10:47 PM on a random Tuesday in late September, and I was hit with the most specific craving for pumpkin cheesecake. Not just any pumpkin cheesecake—I wanted that creamy, tangy-sweet filling against a buttery crust, but I absolutely did not want to turn on my oven. My kitchen was a mess from dinner, I’d already changed into pajamas, and the thought of waiting for a water bath to heat up felt like a personal insult. I didn’t have cream cheese that had been sitting out for hours, but I had a block straight from the fridge, a can of pumpkin puree I’d bought on a whim, and this wild idea that maybe, just maybe, I could skip the baking entirely. Honestly, I was skeptical. No-bake cheesecake can be a gamble—sometimes it sets up too soft, sometimes it’s grainy. But I was tired, stubborn, and determined to make this work with what I had. I pulled out my food processor, crossed my fingers, and started blending. Thirty minutes later, I had a pan of the most luscious, velvety pumpkin cheesecake bars chilling in my fridge, and I knew I’d stumbled onto something special. Maybe you’ve been there—wanting a showstopper dessert without the production. That’s exactly what this recipe is, and I haven’t stopped making them since.
Why You’ll Love This Recipe
These creamy no-bake pumpkin cheesecake bars have become my go-to fall dessert for good reason. They deliver all the rich, spiced flavor of a traditional pumpkin cheesecake without any of the fuss. Let me break down why they’re a winner.
- No Oven Required: This is the ultimate dessert for busy nights or warm days when you don’t want to heat up the kitchen. The fridge does all the work.
- Simple Ingredients: You probably have most of these in your pantry right now. No weird specialty items or trips to three different stores.
- Perfect for Entertaining: Make them a day ahead, and you’re golden. They slice beautifully and look impressive on a platter with zero last-minute stress.
- Crowd-Pleaser: I’ve served these at potlucks, Thanksgiving dinners, and casual get-togethers. They disappear fast, and people always ask for the recipe.
- Unbelievably Creamy: The texture is what gets everyone. It’s dense, smooth, and melts in your mouth—no baking required to achieve that perfect silky bite.
What makes these bars different from other no-bake recipes is the technique. I use a combination of cold cream cheese and a quick food processor method that eliminates lumps and creates an ultra-smooth filling without the need for softened butter or eggs. The result is a cheesecake that tastes like it took hours of careful baking, but honestly, it comes together in about twenty minutes of active time. This isn’t just another pumpkin dessert—it’s the one that makes you close your eyes after the first bite. It’s comfort food reimagined for the modern cook who wants maximum flavor with minimum effort.
What Ingredients You Will Need
This recipe relies on a handful of simple, wholesome ingredients to create that signature creamy texture and warm pumpkin spice flavor. Most are pantry staples, especially during fall baking season.
- Graham Cracker Crumbs (2 cups): The base of our crust. I prefer using store-bought crumbs for convenience, but you can crush your own from about 14-16 full graham cracker sheets. Use a food processor or a rolling pin and a zip-top bag.
- Granulated Sugar (¼ cup for crust, ½ cup for filling): Adds sweetness to both the crust and the creamy filling. You can reduce the filling sugar slightly if you prefer a less sweet dessert.
- Unsalted Butter (½ cup, melted): Binds the crust together. Using unsalted butter lets you control the salt level in the recipe.
- Cream Cheese (16 ounces, cold from the fridge): This is the heart of the cheesecake. I recommend Philadelphia brand for consistent results. Cold cream cheese works better for the food processor method—it creates a thicker, creamier filling.
- Pumpkin Puree (1 cup, not pumpkin pie filling): Make sure you grab 100% pure pumpkin puree. Libby’s is my go-to for its consistent texture and flavor.
- Powdered Sugar (1 cup): Helps sweeten the filling without making it grainy. It also contributes to the silky smooth texture.
- Heavy Cream (½ cup): Adds richness and helps stabilize the filling. For a lighter version, you can use full-fat coconut cream, but the texture will be slightly different.
- Pumpkin Pie Spice (1½ teaspoons): A warm blend of cinnamon, nutmeg, ginger, and cloves. You can make your own if you don’t have a pre-mixed jar.
- Vanilla Extract (1 teaspoon): Enhances all the other flavors. Use pure vanilla extract if you have it.
- Salt (¼ teaspoon): Balances the sweetness and brings out the pumpkin flavor.
Equipment Needed
You don’t need a fancy kitchen to pull off these bars. Here’s what you’ll need.
- 9×9-inch Baking Pan: This size gives you the perfect thickness for bars. An 8×8-inch pan works too, but your bars will be slightly thicker and may need a few extra minutes to set.
- Food Processor: This is the secret weapon for the smoothest, creamiest no-bake cheesecake filling. A high-speed blender can work in a pinch, but you’ll need to scrape down the sides frequently. I’ve used my Cuisinart for years, and it handles cold cream cheese like a champ.
- Mixing Bowls: You’ll need one for the crust ingredients and one for the filling.
- Parchment Paper: Lining your pan makes lifting the bars out a breeze. Leave some overhang on two sides for easy removal.
- Measuring Cups and Spoons: Accuracy matters for the filling consistency.
- Spatula: For scraping every last bit of that creamy filling into the pan.
Preparation Method
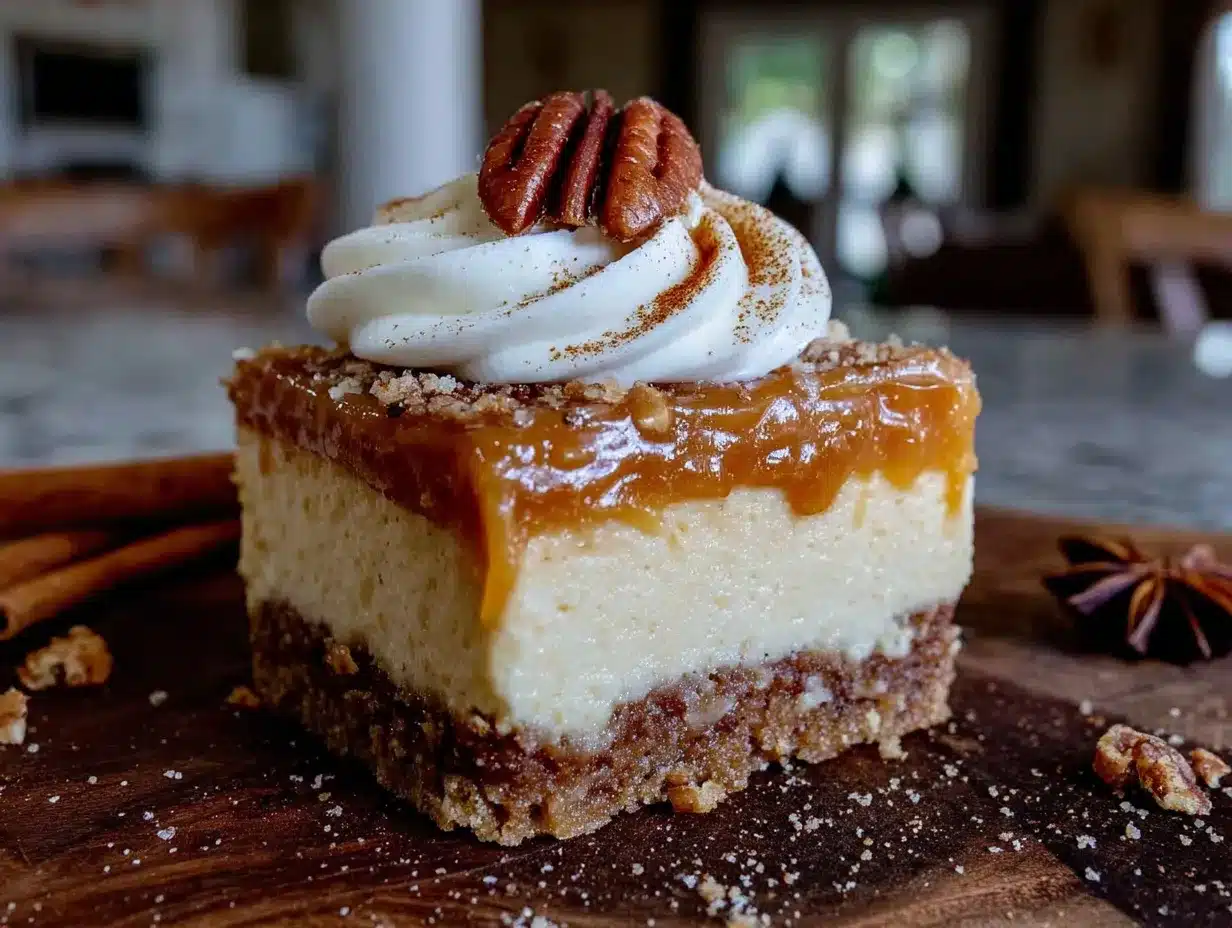
Let’s get to the fun part. Follow these steps carefully, and you’ll have a pan of gorgeous pumpkin cheesecake bars chilling in no time.
- Prepare the Crust: In a medium bowl, combine 2 cups graham cracker crumbs, ¼ cup granulated sugar, and ½ cup melted unsalted butter. Stir with a fork until the mixture looks like wet sand and holds together when pressed. Press this firmly into the bottom of your parchment-lined 9×9-inch pan. Use the bottom of a measuring cup to really pack it down. Pop the pan in the fridge while you make the filling.
- Make the Filling: In your food processor, add 16 ounces cold cream cheese (cut into chunks), 1 cup pumpkin puree, 1 cup powdered sugar, ½ cup heavy cream, 1½ teaspoons pumpkin pie spice, 1 teaspoon vanilla extract, and ¼ teaspoon salt. Process for about 30 seconds until completely smooth. Stop and scrape down the sides and the lid—there’s always some cream cheese hiding up there. Process for another 15 seconds. The mixture should be thick, glossy, and perfectly uniform.
- Assemble the Bars: Take the crust out of the fridge. Pour the filling over the crust and spread it evenly with a spatula. Give the pan a few gentle taps on the counter to release any air bubbles. Smooth the top as best you can.
- Chill: Cover the pan with plastic wrap and refrigerate for at least 6 hours, but overnight is best. I know it’s hard to wait, but this step is non-negotiable for clean slices. The filling needs time to firm up completely.
- Slice and Serve: Once fully chilled, use the parchment paper overhang to lift the entire block out of the pan. Place it on a cutting board. Use a sharp knife to cut into 16 squares. Wipe the knife clean between cuts for the neatest edges. Serve cold straight from the fridge.
Cooking Tips & Techniques
Over the years, I’ve learned a few things that make these bars turn out perfect every single time. Here’s what I wish I’d known from the start.
- Don’t Skip the Food Processor: I tried making these with a hand mixer once, and the filling was a lumpy mess. The food processor breaks down the cold cream cheese into a silky smooth consistency that you just can’t achieve otherwise. It’s worth the extra dish, I promise.
- Cold Cream Cheese is Key: I know most cheesecake recipes tell you to soften your cream cheese, but for this no-bake method, starting cold helps the filling set up firmer. It also prevents the mixture from becoming too thin.
- Press the Crust Firmly: A loose crust falls apart when you try to cut the bars. Use a flat-bottomed glass or measuring cup to really compact the crumbs. Take your time with this step.
- Patience with Chilling: The hardest part is waiting. I once tried to cut these after only 4 hours, and they were a gooey disaster. Six hours is the minimum, but overnight gives you those beautiful, clean slices that look bakery-bought.
- Use a Hot Knife for Clean Cuts: Run your knife under hot water, dry it off, then slice. The heat helps the knife glide through the cold cheesecake without dragging. Wipe and reheat between each cut.
Variations & Adaptations
One of the best things about this recipe is how flexible it is. Here are some ways I’ve played around with it.
- Gluten-Free Version: Swap the graham cracker crumbs for gluten-free graham crackers or use crushed gluten-free shortbread cookies. The texture stays just as good.
- Dairy-Free Adaptation: Use dairy-free cream cheese (I like Kite Hill or Miyoko’s), coconut cream instead of heavy cream, and a vegan butter stick for the crust. The filling will be slightly softer, so plan for a full 8-hour chill.
- Spice It Up: Add a pinch of cayenne pepper or a tablespoon of bourbon to the filling for a grown-up twist. I did this for a holiday party last year, and people couldn’t stop talking about the subtle warmth.
- Pecan Praline Topping: Before serving, drizzle the bars with a quick caramel sauce and sprinkle with toasted pecans. It adds a lovely crunch and extra decadence.
- Chocolate Pumpkin Swirl: Melt ¼ cup of dark chocolate and swirl it into the filling before chilling. The chocolate and pumpkin combination is surprisingly amazing.
Serving & Storage Suggestions
These bars are best served cold, straight from the fridge. I like to let them sit at room temperature for about 5 minutes before serving—just enough to take the chill off without making them soft. A dollop of whipped cream and a light dusting of cinnamon on top makes them look extra special for guests.
For storage, keep the bars in an airtight container in the refrigerator for up to 5 days. They actually taste even better on day two after the flavors have had time to meld. You can also freeze them for up to 3 months. Wrap individual bars tightly in plastic wrap, then place them in a freezer-safe bag. Thaw overnight in the fridge before serving.
Nutritional Information & Benefits
While these bars are definitely a treat, they do offer a few nutritional perks. Pumpkin puree is packed with vitamin A and fiber, which is a nice bonus. The cream cheese provides calcium and protein, and using a no-bake method means you’re avoiding the added fats sometimes needed for traditional baking. Each bar (based on 16 servings) contains approximately 280 calories, 18g fat, 28g carbohydrates, and 4g protein. This recipe can be adapted for gluten-free diets, but it does contain dairy and gluten in its standard form.
Conclusion
These creamy no-bake pumpkin cheesecake bars are everything I want in a fall dessert—easy, impressive, and absolutely delicious. They’ve saved me more times than I can count when I needed a dessert that looked like I spent hours on it but actually came together in minutes. I hope you give them a try and make them your own. Maybe you’ll add a sprinkle of sea salt or a drizzle of caramel. Maybe you’ll serve them at Thanksgiving and watch them disappear. Whatever you do, I’d love to hear about it. Leave a comment below and tell me how your bars turned out, or share a photo if you try a fun variation. Happy no-baking, friends!
Frequently Asked Questions
Can I use low-fat cream cheese?
You can, but the filling won’t be as rich and creamy. The texture may also be slightly softer, so plan for a longer chill time. Full-fat cream cheese gives the best results for this recipe.
Why did my filling turn out runny?
This usually happens if the cream cheese was too warm when you started, or if you didn’t chill the bars long enough. Make sure your cream cheese is cold from the fridge, and resist the urge to cut them before the full 6-hour chill time.
Can I use a different crust?
Absolutely. Shortbread cookies, vanilla wafers, or even crushed gingersnaps all work beautifully. Just keep the ratio of crumbs to butter the same—2 cups crumbs to ½ cup melted butter.
How do I know when the bars are fully set?
The filling should feel firm to the touch, not jiggly. When you lift the whole block out of the pan, it should hold its shape without sagging. If it feels soft, give it another hour or two in the fridge.
Can I make these bars vegan?
Yes, with a few swaps. Use vegan cream cheese, coconut cream instead of heavy cream, and a vegan butter substitute. The texture will be slightly different—a bit softer—but the flavor is still fantastic. Chill for at least 8 hours for best results.
Pin This Recipe!
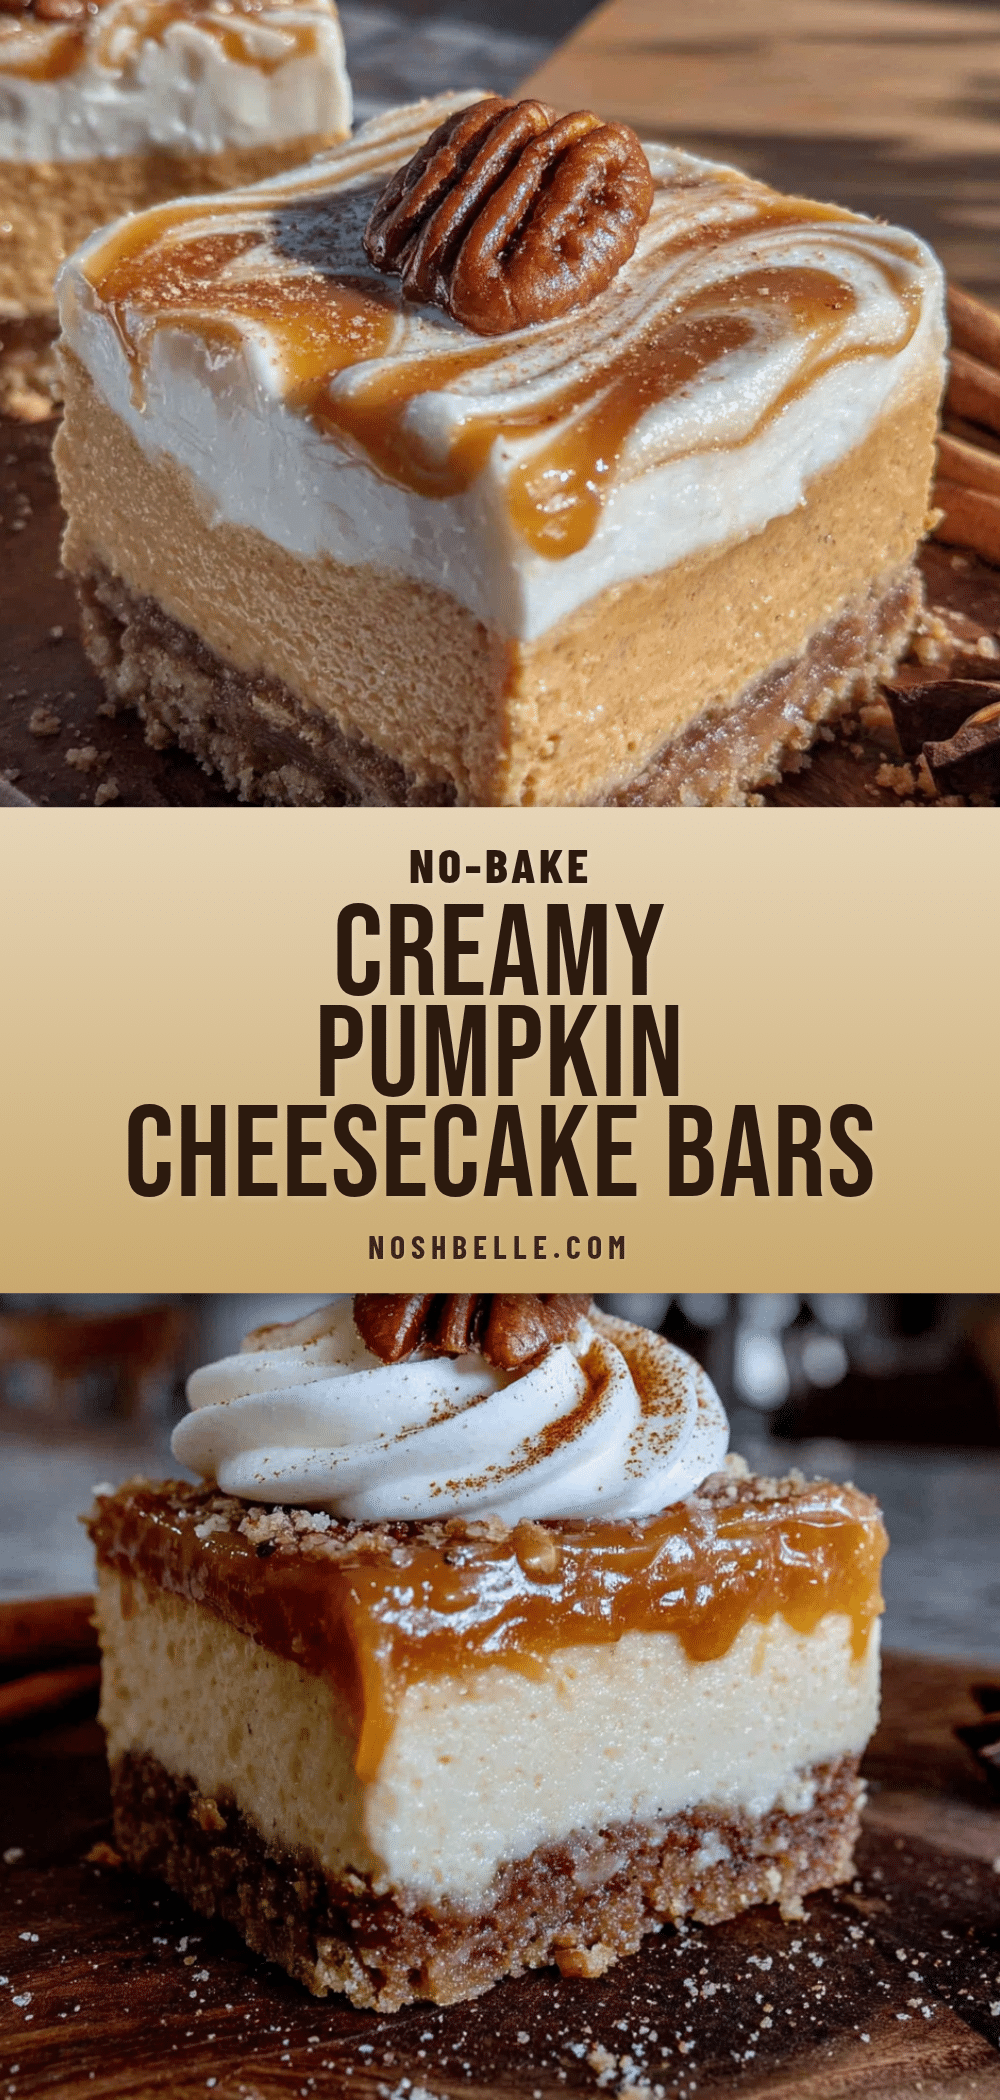
Creamy No-Bake Pumpkin Cheesecake Bars: Easy Fall Dessert
These creamy no-bake pumpkin cheesecake bars deliver all the rich, spiced flavor of a traditional pumpkin cheesecake without any of the fuss. They come together in about twenty minutes of active time and require no oven, making them the perfect fall dessert for busy nights or entertaining.
- Prep Time: 20 minutes
- Cook Time: 0 minutes
- Total Time: 6 hours 20 minutes (includes chilling)
- Yield: 16 servings 1x
- Category: Dessert
- Cuisine: American
Ingredients
- 2 cups graham cracker crumbs
- ¼ cup granulated sugar (for crust)
- ½ cup unsalted butter, melted
- 16 ounces cream cheese, cold from the fridge
- 1 cup pumpkin puree (not pumpkin pie filling)
- 1 cup powdered sugar
- ½ cup heavy cream
- 1½ teaspoons pumpkin pie spice
- 1 teaspoon vanilla extract
- ¼ teaspoon salt
- ½ cup granulated sugar (for filling)
Instructions
- Prepare the Crust: In a medium bowl, combine 2 cups graham cracker crumbs, ¼ cup granulated sugar, and ½ cup melted unsalted butter. Stir with a fork until the mixture looks like wet sand and holds together when pressed. Press this firmly into the bottom of your parchment-lined 9×9-inch pan. Use the bottom of a measuring cup to really pack it down. Pop the pan in the fridge while you make the filling.
- Make the Filling: In your food processor, add 16 ounces cold cream cheese (cut into chunks), 1 cup pumpkin puree, 1 cup powdered sugar, ½ cup heavy cream, 1½ teaspoons pumpkin pie spice, 1 teaspoon vanilla extract, and ¼ teaspoon salt. Process for about 30 seconds until completely smooth. Stop and scrape down the sides and the lid—there’s always some cream cheese hiding up there. Process for another 15 seconds. The mixture should be thick, glossy, and perfectly uniform.
- Assemble the Bars: Take the crust out of the fridge. Pour the filling over the crust and spread it evenly with a spatula. Give the pan a few gentle taps on the counter to release any air bubbles. Smooth the top as best you can.
- Chill: Cover the pan with plastic wrap and refrigerate for at least 6 hours, but overnight is best. I know it’s hard to wait, but this step is non-negotiable for clean slices. The filling needs time to firm up completely.
- Slice and Serve: Once fully chilled, use the parchment paper overhang to lift the entire block out of the pan. Place it on a cutting board. Use a sharp knife to cut into 16 squares. Wipe the knife clean between cuts for the neatest edges. Serve cold straight from the fridge.
Notes
For best results, use cold cream cheese straight from the fridge. The food processor is key for a silky smooth filling. Press the crust firmly to prevent crumbling. Chill for at least 6 hours, but overnight is ideal for clean slices. Use a hot knife for neat cuts. Bars can be stored in the refrigerator for up to 5 days or frozen for up to 3 months.
Nutrition
- Serving Size: 1 bar
- Calories: 280
- Sugar: 20
- Sodium: 200
- Fat: 18
- Saturated Fat: 10
- Carbohydrates: 28
- Fiber: 1
- Protein: 4
Keywords: no-bake pumpkin cheesecake bars, easy fall dessert, pumpkin cheesecake, no-bake cheesecake, pumpkin bars, fall dessert, Thanksgiving dessert


