This was supposed to be banana pancakes. I had the bananas—three of them, spotty and begging to be used. I had the flour, the eggs, the buttermilk. What I didn’t have was a working non-stick skillet. I grabbed the wrong pan from the back of the cupboard—a heavy, cast-iron thing I’d inherited from my aunt—and by the time I realized my mistake, the butter had already burned. There I was, at 7:15 on a Wednesday morning, staring at a smoking pan and three sad-looking bananas. My neighbor, Gary, once told me the secret to good pancakes was patience. I have none. So I did what any reasonable person would do: I threw everything into a bowl, added some walnuts I found in the freezer, and baked it. What came out was nothing like the plan—and better.
That first loaf was a revelation. The edges were perfectly crisp, the inside was so tender it almost fell apart, and the walnuts gave it this incredible crunch that made every bite interesting. I mean, honestly, I was mad at myself for not discovering this sooner. I’ve been making banana bread for years, but that morning’s mistake taught me something important: sometimes the best recipes come from the worst plans. The batter was a little thinner than usual because of the extra buttermilk, and I’d accidentally added an extra egg. But that’s exactly what made it so moist. You know that feeling when you bite into something and you just know it’s going to be good? That was this banana bread.
I’ve tweaked the recipe since then, of course. Added a little more vanilla, adjusted the baking time, figured out the perfect temperature to get that golden crust without drying out the middle. But the heart of it—the happy accident that started it all—is still there. This classic banana bread with walnuts is the recipe I keep coming back to, the one I make when I need something reliable and comforting. It’s the kind of bread that makes your kitchen smell like home, that gets eaten within hours, that people ask you for the recipe. And honestly? I’m happy to share it. Because if a burnt pan and a bad morning can lead to something this good, imagine what you can do.
Why You’ll Love This Recipe
Let me tell you why this banana bread with walnuts is different from every other recipe you’ve tried. I’ve tested this recipe at least a dozen times—with different bananas, different pans, different oven temperatures. I’ve brought it to brunches, to work potlucks, and to my book club where everyone pretended to be polite while secretly eating the last slice. This is the version that wins every time.
- Quick & Easy: From start to finish, you’re looking at about an hour. The prep takes ten minutes, max. It’s perfect for those mornings when you realize your bananas are about to turn and you need a plan fast.
- Simple Ingredients: No weird stuff here. Butter, sugar, eggs, flour, bananas, walnuts. You probably have everything in your kitchen right now, except maybe the walnuts—and those are optional anyway.
- Perfect for Any Occasion: Breakfast, snack, dessert, midnight craving. This bread doesn’t discriminate. I’ve served it warm with butter for brunch and sliced it thin for afternoon tea. It works everywhere.
- Crowd-Pleaser: I’ve yet to meet someone who doesn’t like this bread. Kids love it, adults love it, even my picky uncle who “doesn’t do bananas” ate three slices. (He thought the walnuts were chocolate chips—I didn’t correct him.)
- Unbelievably Delicious: The texture is what gets people. It’s moist without being soggy, tender without being dense, and the walnuts add this wonderful crunch that keeps you coming back for more. The first time I made it, my husband asked if I’d bought it from a bakery. I took that as a win.
What makes this recipe special is the technique. Most banana bread recipes are dry or dense or both. This one uses a specific method—creaming the butter and sugar until it’s light and fluffy, then adding the eggs one at a time, then folding in the mashed bananas gently—that gives you that perfect texture every single time. It’s not just another banana bread recipe. It’s the one I’ve perfected through trial and error, through burnt pans and too-ripe bananas. It’s the one I trust.
What Ingredients You Will Need
This recipe uses simple, wholesome ingredients to deliver bold flavor and satisfying texture without the fuss. Most of these are pantry staples, so you likely won’t need a special trip to the store—unless you’re out of walnuts, which happens.
For the Banana Bread
- Unsalted butter, softened (1/2 cup or 113g) – I always use unsalted so I can control the salt level. Let it sit out for about 30 minutes before you start. If you’re in a hurry, you can microwave it for 10 seconds, but be careful—you don’t want melted butter.
- Granulated sugar (3/4 cup or 150g) – Regular white sugar works best. I’ve tried brown sugar, and it makes the bread denser. If you want a deeper flavor, you can use half white and half brown.
- Large eggs, room temperature (2) – Room temperature eggs mix in more evenly. If you forgot to take them out, put them in a bowl of warm water for 5 minutes.
- Ripe bananas, mashed (3 medium, about 1½ cups or 340g) – The spottier, the better. Really. You want bananas that are almost black—that’s where all the sweetness and moisture comes from. If your bananas aren’t ripe enough, you can bake them at 300°F for 15 minutes to soften them up.
- All-purpose flour (1¾ cups or 218g) – Spoon and level it. Don’t scoop directly from the bag—you’ll end up with too much flour and dry bread.
- Baking soda (1 teaspoon) – Make sure it’s fresh. If it’s been sitting in your pantry for two years, it won’t work as well.
- Salt (½ teaspoon) – I use fine sea salt. Don’t skip this—it balances the sweetness.
- Vanilla extract (1 teaspoon) – Pure vanilla is better, but imitation works fine. I’ve used both, and honestly, the difference is subtle.
- Plain yogurt or buttermilk (¼ cup or 60ml) – This is the secret ingredient. It adds moisture and makes the bread tender. I prefer buttermilk, but plain yogurt works just as well. If you don’t have either, you can add 1 teaspoon of lemon juice to regular milk and let it sit for 5 minutes.
For the Topping
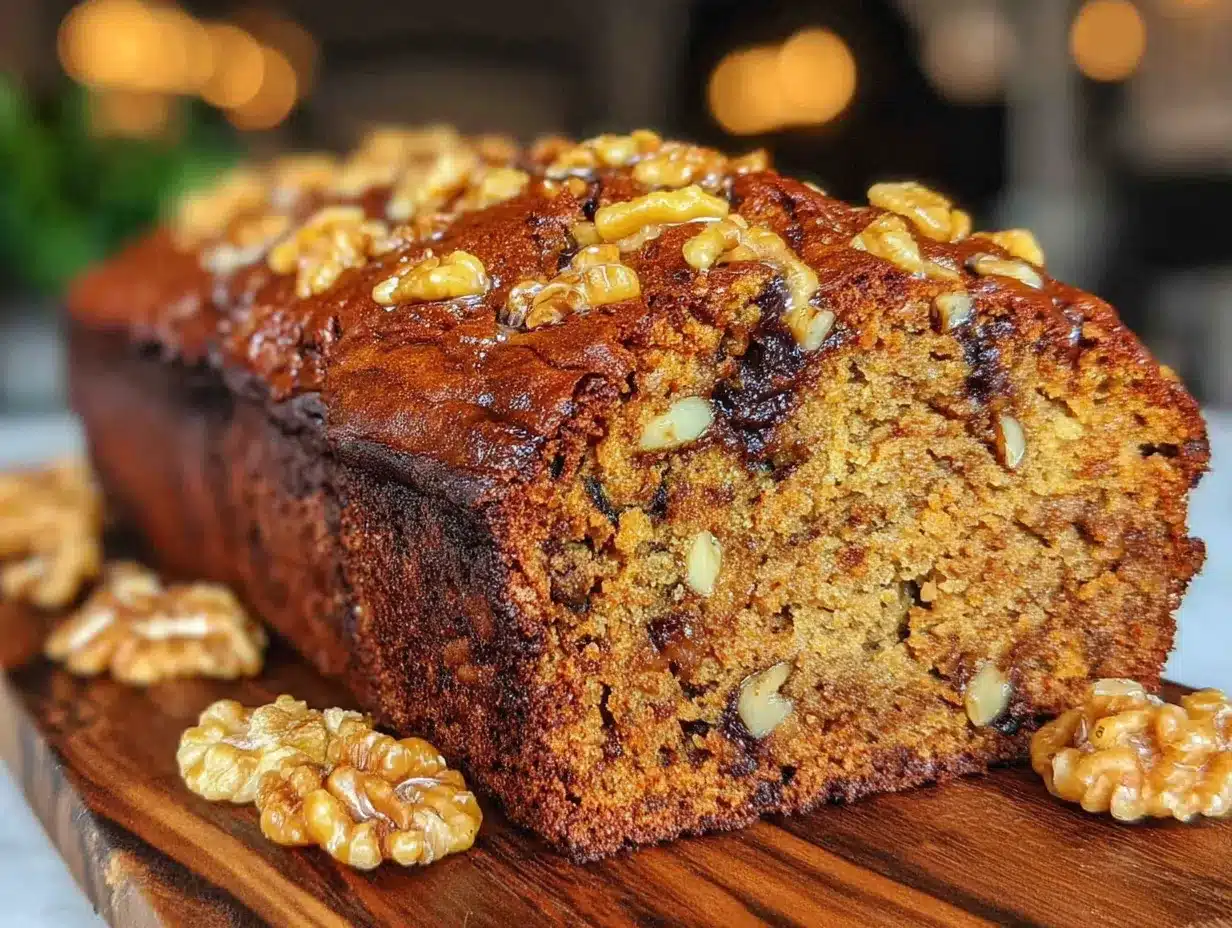
- Walnuts, chopped (1 cup or 120g) – Toast them first if you have time. It brings out their flavor. I like them roughly chopped so you get big chunks in every bite. If you don’t like walnuts, you can use pecans or leave them out entirely.
- Optional: A sprinkle of coarse sugar on top before baking. It gives the crust a nice crunch.
Equipment Needed
You don’t need fancy equipment for this recipe. I’ve made it in a college dorm kitchen with a fork and a mixing bowl, and it still turned out great. Here’s what you’ll need:
- 9×5-inch loaf pan – This is the standard size. If you use a smaller pan, the bread will take longer to bake and might not cook through in the middle. If you use a larger pan, the bread will be shorter and bake faster.
- Large mixing bowl – Any bowl works. I use a glass one because I can see if the butter and sugar are properly creamed.
- Medium mixing bowl – For mixing the dry ingredients.
- Electric hand mixer or stand mixer – You can do this by hand, but it takes some elbow grease. The hand mixer makes the creaming step much easier.
- Rubber spatula – For folding in the bananas and walnuts. A wooden spoon works too, but the spatula is gentler on the batter.
- Parchment paper – I line my loaf pan with parchment paper, leaving an overhang on two sides. It makes lifting the bread out so much easier. If you don’t have parchment, you can grease the pan well with butter.
- Cooling rack – Letting the bread cool in the pan for 10 minutes, then transferring it to a rack, prevents the bottom from getting soggy.
Preparation Method
- Preheat your oven to 350°F (175°C). Position the rack in the center. While the oven heats up, line your 9×5-inch loaf pan with parchment paper, leaving some overhang on the long sides. This will make lifting the bread out a breeze later.
- Toast the walnuts (optional but recommended). Spread the chopped walnuts on a baking sheet and toast them in the oven for 5-7 minutes, until they smell fragrant. Keep an eye on them—they burn fast. Let them cool while you prepare the batter.
- Cream the butter and sugar. In a large mixing bowl, beat the softened butter and granulated sugar together until light and fluffy. This takes about 3-4 minutes with an electric mixer. You’re looking for a pale, creamy color. Don’t rush this step—it’s what gives the bread its tender texture. The first time I made this, I only mixed for a minute, and the bread was denser. Learning from my mistakes here.
- Add the eggs one at a time. Beat in the first egg until it’s fully incorporated, then add the second. Scrape down the sides of the bowl with a spatula after each addition. The mixture might look slightly curdled at this point—that’s okay, especially if your eggs were cold.
- Mix in the vanilla and mashed bananas. Add the vanilla extract and the mashed bananas. Mix on low speed until just combined. You’ll notice the batter looks a little lumpy—that’s fine. Overmixing at this stage will make the bread tough.
- Combine the dry ingredients. In a separate medium bowl, whisk together the all-purpose flour, baking soda, and salt. This ensures the baking soda is evenly distributed so your bread rises properly.
- Alternate adding the dry ingredients and the yogurt. Add half the flour mixture to the wet ingredients, mixing on low speed until just combined. Then add the yogurt (or buttermilk) and mix. Finally, add the remaining flour mixture and mix until you see no more streaks of flour. Remember: mix until just combined. A few lumps are okay.
- Fold in the walnuts. Use a rubber spatula to gently fold in the toasted walnuts. Don’t overmix—you want the walnuts distributed evenly, but you don’t want to deflate the batter.
- Pour the batter into the prepared pan. Use the spatula to spread it evenly. If you’re adding the coarse sugar topping, sprinkle it on now. Tap the pan on the counter a couple of times to release any air bubbles.
- Bake for 55-65 minutes. The bread is done when a toothpick inserted into the center comes out clean or with just a few moist crumbs. If the top is browning too quickly (after about 40 minutes), tent it loosely with aluminum foil. Every oven is different—mine runs hot, so I start checking at 50 minutes.
- Cool in the pan for 10 minutes. Then use the parchment paper overhang to lift the bread out and transfer it to a cooling rack. Let it cool completely before slicing—about 1 hour. I know it’s tempting to cut into it warm, but it will be too soft and might crumble. Trust me, I’ve made that mistake more times than I’d like to admit.
Cooking Tips & Techniques
Let me share some things I’ve learned the hard way so you don’t have to. The first time I made banana bread, I was 19, living in a shared apartment, and I forgot to add the sugar. The bread was inedible—like eating a dense, sweetless brick. My roommate tried to be nice about it, but we both knew. Since then, I’ve learned a few tricks.
The banana situation is the most important part. If your bananas aren’t ripe enough, your bread won’t be sweet or moist enough. I’m serious—wait until they’re almost black. If you’re impatient (like me), you can speed things up by baking the bananas at 300°F for 15-20 minutes until they’re soft and dark. Let them cool before mashing. Another trick: microwave them for 2-3 minutes until they’re soft. It works in a pinch.
Don’t overmix the batter. This is the number one mistake people make. Once you add the flour, mix only until you can’t see any more dry flour. Overmixing develops the gluten, which makes the bread tough and dense. You want it tender, not chewy. I usually stop mixing a little before I think it’s ready—the last few folds with the spatula finish the job.
Check your oven temperature. Ovens lie. Mine runs about 25°F hot, so I set it to 325°F when the recipe says 350°F. If your bread is browning too fast on the outside but still raw in the middle, your oven is too hot. If it’s pale and takes forever to bake, it’s too cool. An oven thermometer is a cheap investment that saves a lot of frustration.
Let it cool completely. I know, I know. The smell is incredible, and you want to eat it now. But slicing into warm banana bread is like trying to cut a cloud—it just falls apart. Give it at least an hour. If you can wait until the next day, even better. The flavors meld together overnight, and the texture gets even more moist. I once made two loaves—one for that day and one for the next—and the second one was noticeably better.
Variations & Adaptations
One of the best things about this recipe is how adaptable it is. I’ve tried dozens of variations over the years, and here are my favorites:
Chocolate Chip Banana Bread: Swap the walnuts for 1 cup of chocolate chips. I prefer dark chocolate chips because they’re not too sweet, but milk chocolate works too. My kids love this version—they call it “dessert bread” and eat it for breakfast if I don’t stop them.
Gluten-Free Banana Bread: Use a 1:1 gluten-free flour blend instead of all-purpose flour. I’ve had good results with Bob’s Red Mill and King Arthur brands. Add an extra tablespoon of yogurt to help with moisture. The texture will be slightly different—a little more crumbly—but it’s still delicious.
Vegan Banana Bread: Replace the butter with coconut oil (use the same amount, but melted and cooled slightly), use flax eggs (1 tablespoon ground flaxseed + 3 tablespoons water per egg), and use a plant-based yogurt. I’ve made this for a friend who’s vegan, and honestly, I couldn’t tell the difference.
Spiced Banana Bread: Add 1 teaspoon of cinnamon, ½ teaspoon of nutmeg, and ¼ teaspoon of cloves to the flour mixture. It gives the bread a warm, cozy flavor that’s perfect for fall. I made this version last Thanksgiving, and it was gone before the turkey was carved.
Nut-Free Banana Bread: If you’re allergic to nuts or just don’t like them, leave out the walnuts entirely. You can replace them with dried fruit like raisins or cranberries, or just keep it plain. The bread is still moist and delicious without them.
Serving & Storage Suggestions
This banana bread is best served at room temperature or slightly warm. If you want to go the extra mile, slice it, toast it lightly, and spread a little butter on top. The butter melts into the warm bread, and the edges get slightly crispy—it’s heaven.
For a more indulgent treat, serve it with a dollop of whipped cream or a drizzle of honey. I sometimes make a simple cream cheese frosting (4 oz cream cheese, 2 tablespoons butter, 1 cup powdered sugar, 1 teaspoon vanilla) and spread it on top. It turns the bread into a proper dessert.
Storage: Wrap the cooled bread tightly in plastic wrap or aluminum foil and store it at room temperature for up to 4 days. Do not refrigerate it—the fridge dries out baked goods. If you live in a humid climate, you might want to store it in an airtight container to prevent mold.
Freezing: This bread freezes beautifully. Wrap it tightly in plastic wrap, then in aluminum foil, and freeze for up to 3 months. You can freeze the whole loaf or individual slices. To thaw, leave it at room temperature for a few hours or pop a slice in the microwave for 15-20 seconds. I always keep a loaf in the freezer for emergencies—like unexpected guests or late-night cravings.
Flavor development: Here’s a secret: this banana bread actually gets better after a day or two. The moisture from the bananas distributes more evenly, and the flavors meld together. If you can resist eating it right away, wrap it up and let it sit overnight. You’ll be rewarded with an even more delicious loaf.
Nutritional Information & Benefits
Here’s the estimated nutritional breakdown for one slice (based on 10 slices per loaf):
| Nutrient | Amount per Slice |
|---|---|
| Calories | 285 |
| Total Fat | 14g |
| Saturated Fat | 6g |
| Cholesterol | 55mg |
| Sodium | 230mg |
| Total Carbohydrates | 37g |
| Dietary Fiber | 2g |
| Sugars | 18g |
| Protein | 5g |
This banana bread isn’t health food—let’s be real—but it does have some redeeming qualities. Bananas are rich in potassium and vitamin B6, which support heart health and energy metabolism. Walnuts are packed with omega-3 fatty acids, which are great for brain health. And hey, it’s made with real ingredients, no preservatives, and no artificial anything. That counts for something, right?
If you’re watching your sugar intake, you can reduce the sugar to ½ cup without affecting the texture too much. The bananas provide natural sweetness, so you won’t miss it as much as you think. I’ve made this version for friends with diabetes, and they loved it.
Conclusion
This classic banana bread with walnuts is more than just a recipe—it’s a reminder that sometimes the best things come from the most unexpected places. That burnt pan and those spotty bananas taught me that perfection isn’t always the goal. Sometimes you just need to trust the process and see what happens.
I hope you make this bread and love it as much as I do. Don’t be afraid to tweak it—add more walnuts, swap in chocolate chips, or try it with a sprinkle of cinnamon on top. The best recipes are the ones you make your own. And if you forget the sugar like I did that one time? Well, there’s always next time.
I’d love to hear how yours turns out. Did you add something unexpected? Did you eat the whole loaf in one sitting (no judgment)? Leave a comment below and let me know. And if you’re looking for more easy, homemade recipes, check out our crispy garlic chicken for dinner, or our easy fluffy pancakes for breakfast. Happy baking, friends!
FAQs
Can I use frozen bananas for this recipe?
Absolutely! Frozen bananas work great. Thaw them completely, then drain off any excess liquid before mashing. The texture will be a bit softer, but the flavor is just as good. I actually keep a bag of overripe bananas in my freezer specifically for baking.
Why did my banana bread sink in the middle?
This usually happens for one of three reasons: the oven temperature was too low, the bread was underbaked, or too much baking soda was used. Make sure your oven is properly preheated and check the bread with a toothpick before taking it out. Also, measure your baking soda carefully—a little too much can cause the bread to rise too fast and then collapse.
Can I make this recipe without walnuts?
Yes, absolutely. The walnuts are optional. If you’re not a fan, you can leave them out entirely, or replace them with pecans, chocolate chips, or dried fruit. The bread will still be moist and delicious without them.
How do I know when the banana bread is done?
Insert a toothpick or a thin knife into the center of the bread. If it comes out clean or with just a few moist crumbs, it’s done. If it comes out with wet batter, it needs more time. Also, the edges of the bread should be pulling away from the pan slightly, and the top should be golden brown.
Can I double this recipe?
Yes, you can double it easily. Just use a larger bowl and bake in two separate loaf pans. You can also bake it in a 9×13-inch pan, but the baking time will be shorter—start checking at 30 minutes. I’ve made a double batch for parties before, and it always disappears fast.
Pin This Recipe!
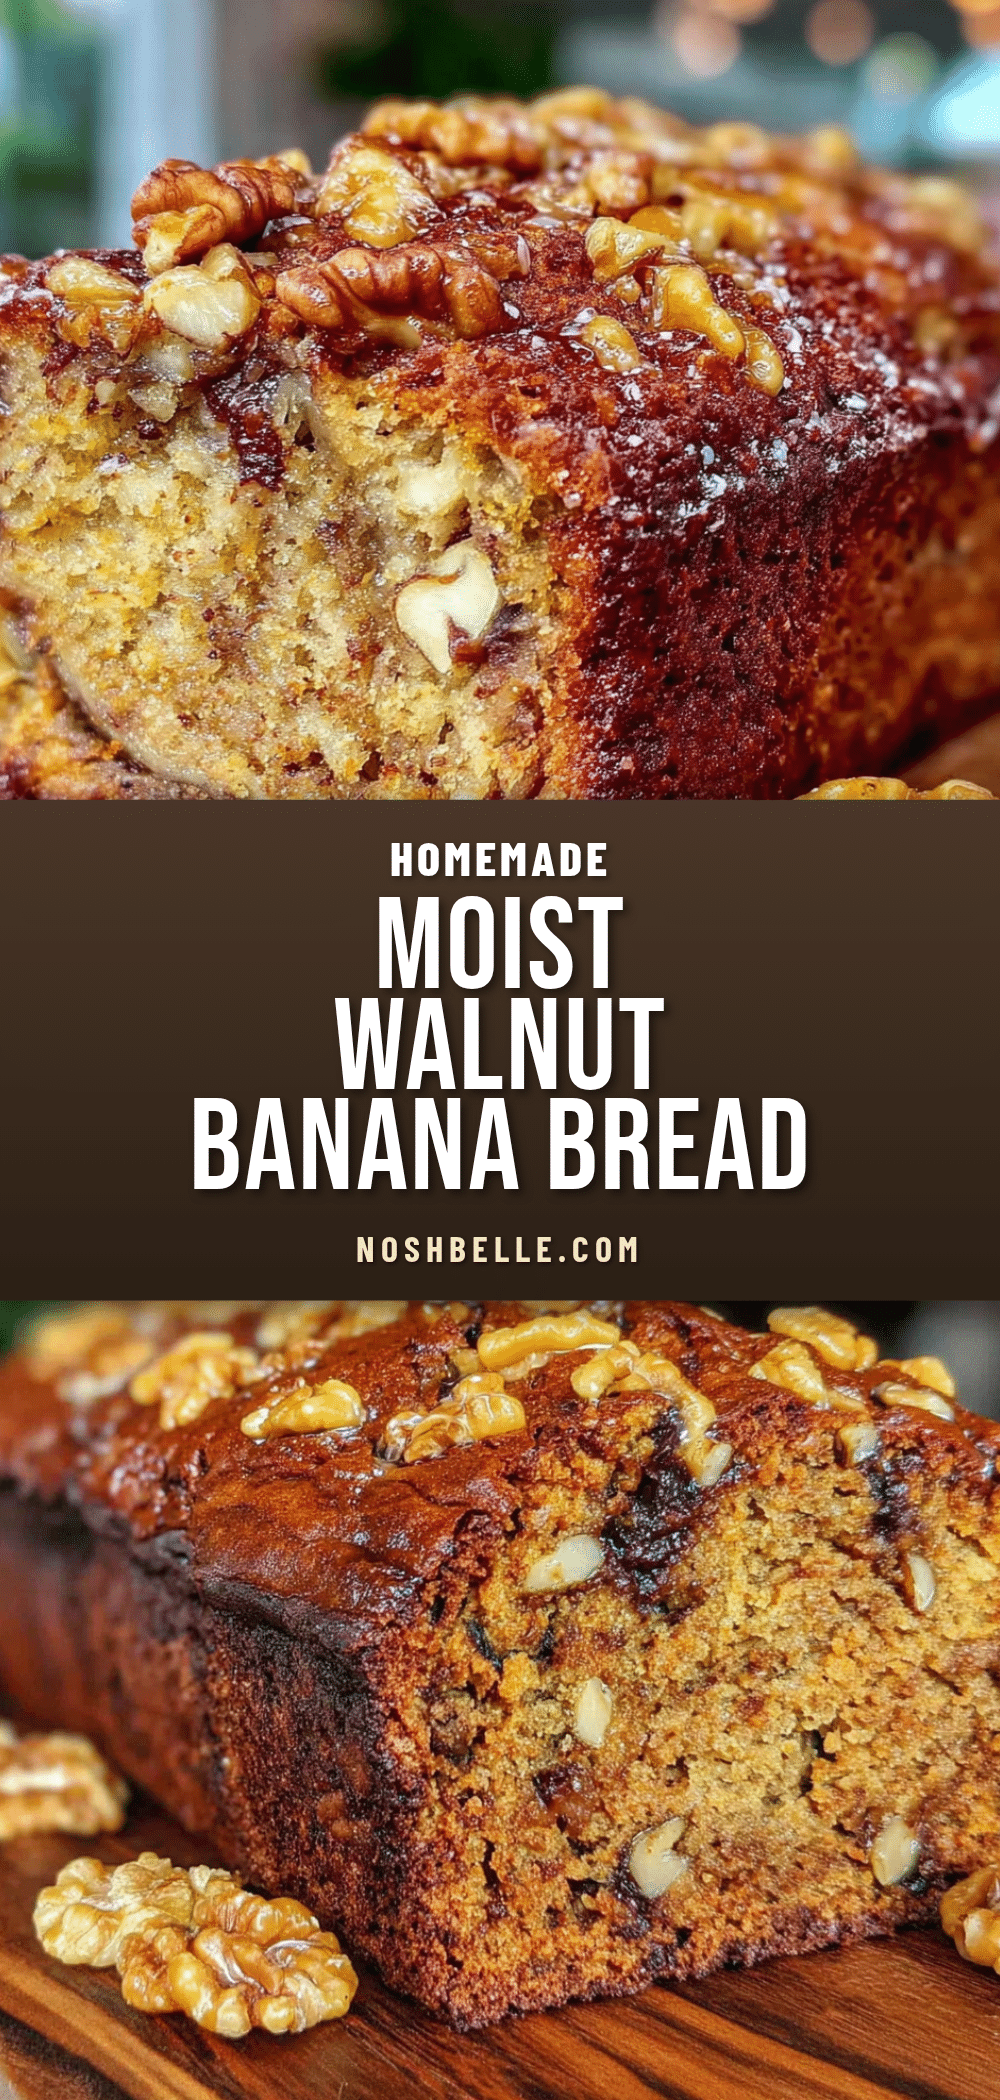
Classic Banana Bread with Walnuts – Easy Moist Homemade Recipe
This classic banana bread with walnuts is incredibly moist, tender, and packed with crunchy walnuts. It’s a quick and easy recipe that turns overripe bananas into a crowd-pleasing treat perfect for any occasion.
- Prep Time: 15 minutes
- Cook Time: 55 minutes
- Total Time: 1 hour 10 minutes
- Yield: 10 servings 1x
- Category: Dessert
- Cuisine: American
Ingredients
- 1/2 cup (113g) unsalted butter, softened
- 3/4 cup (150g) granulated sugar
- 2 large eggs, room temperature
- 3 medium ripe bananas, mashed (about 1½ cups or 340g)
- 1¾ cups (218g) all-purpose flour
- 1 teaspoon baking soda
- ½ teaspoon fine sea salt
- 1 teaspoon vanilla extract
- ¼ cup (60ml) plain yogurt or buttermilk
- 1 cup (120g) walnuts, chopped (toasted optional)
Instructions
- Preheat your oven to 350°F (175°C). Position the rack in the center. Line a 9×5-inch loaf pan with parchment paper, leaving overhang on the long sides.
- Toast the walnuts (optional): Spread chopped walnuts on a baking sheet and toast for 5-7 minutes until fragrant. Let cool.
- In a large mixing bowl, cream the softened butter and granulated sugar together until light and fluffy, about 3-4 minutes with an electric mixer.
- Beat in the eggs one at a time, fully incorporating each before adding the next. Scrape down the sides of the bowl after each addition.
- Mix in the vanilla extract and mashed bananas on low speed until just combined. The batter may look slightly lumpy.
- In a separate medium bowl, whisk together the all-purpose flour, baking soda, and salt.
- Alternate adding the dry ingredients and the yogurt (or buttermilk) to the wet mixture: add half the flour mixture, mix until just combined, then add the yogurt, mix, then add the remaining flour mixture. Mix until no streaks of flour remain. Do not overmix.
- Gently fold in the toasted walnuts with a rubber spatula until evenly distributed.
- Pour the batter into the prepared loaf pan and spread evenly. If desired, sprinkle coarse sugar on top. Tap the pan on the counter to release air bubbles.
- Bake for 55-65 minutes, until a toothpick inserted into the center comes out clean or with a few moist crumbs. If the top browns too quickly, tent with foil after about 40 minutes.
- Cool in the pan for 10 minutes, then use the parchment overhang to lift the bread out and transfer to a cooling rack. Cool completely before slicing (about 1 hour).
Notes
For best results, use very ripe (almost black) bananas. Do not overmix the batter once flour is added. Let the bread cool completely before slicing to prevent crumbling. The bread actually tastes better the next day as flavors meld. To freeze, wrap tightly in plastic wrap and foil for up to 3 months.
Nutrition
- Serving Size: 1 slice
- Calories: 285
- Sugar: 18
- Sodium: 230
- Fat: 14
- Saturated Fat: 6
- Carbohydrates: 37
- Fiber: 2
- Protein: 5
Keywords: banana bread, walnut banana bread, moist banana bread, easy banana bread, homemade banana bread, classic banana bread