My neighbor wasn’t trying to impress anyone. I’d stopped by to borrow a cup of sugar—cliché, I know, but I was mid-batch of something that had gone sideways—and the sight hit me before I even got inside. Through the sliding glass door, I saw her three kids sitting at the kitchen island, each one methodically assembling little cracker-and-cheese stacks from plastic compartment trays. They weren’t store-bought Lunchables. They were homemade. And the kids were eating them with this quiet, satisfied focus that I’d only ever seen in commercials for things that never actually work that way in real life.
She saw me staring and shrugged. “Oh, it’s nothing. Just snack boxes. Takes ten minutes.” Ten minutes. I mean, I’d spent more time than that that morning trying to convince my own kid that a cheese stick was a perfectly acceptable snack. And here she was, casually producing what looked like a bento box dream, and she wasn’t even charging me for the privilege of watching her kids eat without a single complaint. Honestly, I felt a little offended on behalf of my own parenting efforts. But mostly, I felt inspired.
That’s the thing about a good copycat recipe—it’s not really about replicating something from the store. It’s about realizing you can make it better, faster, and with ingredients you actually feel good about. These easy copycat Lunchable snack boxes with pepperoni and cheese are exactly that. No preservatives, no weird plastic-wrapped crackers that taste like cardboard, no paying five bucks for what amounts to a few bites. You get to control the quality, the portions, and honestly, the joy factor. Maybe you’ve been there—standing in the grocery aisle, your kid tugging at your sleeve, and you’re staring at those little boxes thinking, “There has to be a better way.” There is. And it starts with a cutting board and about as much effort as making toast.
Why You’ll Love This Recipe
Let’s be real for a second. I’ve tested this concept more times than I care to admit, tweaking everything from cracker thickness to cheese-to-pepperoni ratios. After about a dozen trial runs (and a very patient family), I landed on a formula that just works. Here’s why this version stands out from every other snack box you’ve ever seen:
- Ready in Under 10 Minutes: No joke. If you can open packages and arrange things on a tray, you’ve got the skills for this. Perfect for those mornings when you realize lunch is in an hour and you have nothing prepped.
- Simple Ingredients You Already Know: No mystery meat, no unpronounceable additives. You pick the crackers, the cheese, and the pepperoni. That’s it. Three ingredients. Your pantry already has most of it.
- Perfect for Lunchboxes, Road Trips, and Picky Eaters: Whether it’s a school lunch, a snack for a long car ride, or a quick afternoon bite that keeps the hangry monster at bay, these boxes deliver every single time.
- Budget-Friendly and Bulk-Ready: A pack of pepperoni and a block of cheese cost way less than four store-bought boxes. Make a whole week’s worth in one go and save both money and sanity.
- Crowd-Pleasing Magic: I’ve served these at playdates, and the kids devoured them before the adults even finished pouring coffee. They’re also weirdly popular with adults—I’ve caught myself snacking on them at 10 p.m. more than once.
What makes this recipe different from just throwing crackers on a plate is the intentionality. It’s not lazy—it’s efficient. You’re building a snack that feels special without the stress. The texture combo of crispy cracker, salty pepperoni, and creamy cheese is basically engineered for satisfaction. Plus, you can customize each box to match whoever’s eating it. My kid likes extra cheese; I prefer a double pepperoni situation. No arguments, no compromises. It’s comfort food reimagined as a practical, everyday win. And honestly, after that first bite where everything comes together, you’ll understand why this isn’t just a snack—it’s a little moment of peace in a busy day.
What Ingredients You Will Need
This recipe uses simple, pantry-friendly ingredients to deliver that classic Lunchable experience without the plastic packaging or preservatives. The beauty is in the flexibility—you can swap, substitute, and adjust based on what you have on hand or what your family prefers.
- Mini Crackers (about 12–16 per box): Look for round, square, or fish-shaped crackers. I personally love Ritz Minis or Club crackers for their buttery flavor and sturdy texture. They hold up well against the cheese and pepperoni without getting soggy too quickly. If you’re gluten-free, use your favorite GF mini crackers—just be aware they may be more delicate.
- Sliced Pepperoni (about 8–12 slices per box): Standard deli-style pepperoni works best. I recommend getting it from the deli counter rather than pre-packaged—it’s usually thicker and has better flavor. Turkey pepperoni is a great lower-fat option, and vegetarian pepperoni is available at most grocery stores now. For a spicier kick, look for hot pepperoni or add a pinch of red pepper flakes to the box.
- Cheddar Cheese Slices or Cubes (about 2–3 ounces per box): Sharp cheddar provides that classic tangy flavor that pairs perfectly with pepperoni. You can use pre-sliced cheese, but I prefer slicing it myself from a block—it’s cheaper and you can control the thickness. Colby Jack, Mozzarella, or even Provolone work beautifully too. For dairy-free families, Violife or Daiya cheddar-style slices melt well and taste great cold.
- Optional Add-Ins for Variety: A few baby carrots, cucumber rounds, apple slices, or a small handful of grapes add color and nutrition. Dark chocolate chips or a small cookie make it feel like a treat. A tiny container of ranch dressing or hummus for dipping takes it to another level.
- For the Boxes Themselves: Reusable bento boxes, compartment meal prep containers, or even muffin tin liners in a lunch bag work perfectly. I use a set of silicone divided containers that are dishwasher safe and have lasted me years. You can also use paper cupcake liners in a standard lunchbox to create makeshift compartments.
When selecting pepperoni, look for slices that are uniform in size so they fit nicely on the crackers. For cheese, a good rule of thumb is to cut it into pieces about the same size as your crackers—this makes stacking easier and looks more polished. If you’re making these for a crowd, pre-slice everything the night before and store components separately in the fridge. Assembly in the morning takes literally two minutes.
Equipment Needed
You don’t need fancy gadgets for this recipe, which is part of its charm. Here’s what I use and what you can substitute if you’re in a pinch:
- Cutting Board and Sharp Knife: For slicing cheese and any optional veggies. A serrated knife works best for cheese without sticking.
- Divided Bento Boxes or Meal Prep Containers: These are ideal for keeping crackers, pepperoni, and cheese separate until eating. I’ve had great luck with the Bentgo brand, but any container with compartments works. If you don’t have one, use a standard lunchbox with silicone muffin cups or small reusable containers to separate items.
- Small Cookie Cutters (Optional but Fun): Star, heart, or animal-shaped cutters make cheese slices more exciting for kids. My daughter loves it when I cut her cheddar into little dinosaurs, and honestly, it takes an extra 30 seconds.
- Parchment Paper or Beeswax Wraps: If your container doesn’t have a tight seal, a layer of parchment between the crackers and pepperoni prevents sogginess. Beeswax wraps are reusable and eco-friendly.
- Measuring Cups (Optional): If you’re portioning out snacks like baby carrots or grapes, a small measuring cup helps keep portions consistent. But honestly, eyeballing it works fine.
I once made these on a camping trip using a plastic knife and a paper plate, and they still turned out great. Don’t overthink the equipment—if you have a container and a knife, you’re good to go.
Preparation Method

- Prep Your Workspace (2 minutes): Clear your counter and gather all ingredients. Wash any fruits or veggies you’re adding. Lay out your containers so assembly is streamlined. I like to line them up like an assembly line—it feels productive and keeps me from forgetting anything.
- Slice the Cheese (3 minutes): If using a block of cheddar, cut it into slices about 1/4-inch thick, then cut those slices into squares or rectangles roughly the size of your crackers. If using pre-sliced cheese, simply cut each slice into quarters or halves depending on cracker size. Pro tip: Cut cheese while it’s cold—it’s less likely to crumble or stick to the knife.
- Portion the Pepperoni (1 minute): Count out 8–12 slices of pepperoni per box. If your pepperoni is large, you can cut each slice in half or into quarters. For smaller crackers, I sometimes cut pepperoni into strips or small triangles—it makes stacking easier and looks more intentional.
- Assemble the Crackers (2 minutes): Place 12–16 mini crackers in one compartment of each container. If you’re worried about them getting stale, store them in a separate small baggie inside the lunchbox and add them just before eating. But honestly, if your container seals well, they stay crisp for hours.
- Arrange the Cheese and Pepperoni (2 minutes): Place cheese slices in a second compartment and pepperoni in a third. Keep them separate from the crackers to prevent any moisture transfer. If you’re using a two-compartment container, layer the pepperoni and cheese together—they don’t make each other soggy.
- Add Extras (2 minutes): Fill any remaining compartments with baby carrots, cucumber rounds, apple slices, grapes, or a small treat. A tiny container of ranch or hummus adds dipping fun. I sometimes add a small square of dark chocolate for a sweet finish.
- Seal and Store (30 seconds): Close the containers tightly and refrigerate if not eating within an hour. These keep well in the fridge for up to 3 days—just note that crackers may soften slightly over time. For best texture, add crackers fresh each morning if prepping multiple days ahead.
Sensory Cues: When you open the container later, you should smell the savory pepperoni and sharp cheese—no weird plastic odors. The crackers should still have a satisfying snap when bitten. If the cheese has softened slightly from being refrigerated, that’s normal and actually improves the texture for stacking.
Troubleshooting: If your crackers get soggy, try adding a small piece of parchment paper between the crackers and other ingredients. If the cheese slices stick together, separate them with small pieces of wax paper. If your pepperoni feels greasy, blot it with a paper towel before assembling.
Cooking Tips & Techniques
I learned the hard way that not all crackers are created equal for this. The first time I tried it with saltines, they shattered into a million pieces by lunchtime. Stick with sturdy mini crackers—Ritz Minis, Club crackers, or even pretzel crisps work beautifully. They’re designed to hold up to toppings without disintegrating.
Another mistake I made early on was using pre-shredded cheese. It sounds convenient, but shredded cheese doesn’t stack well on crackers—it falls off and makes a mess. Sliced cheese is the way to go. If you’re short on time, buy pre-sliced cheese and just cut it into smaller pieces. It takes an extra 30 seconds and makes a world of difference.
For the pepperoni, I’ve found that thicker slices from the deli counter stay firmer and don’t release as much oil as the thin, pre-packaged kind. If you only have thin pepperoni, layer two slices together for a heartier bite. You can also pan-fry the pepperoni for 30 seconds per side to render some fat and make it crispier—this is especially good if you’re serving these as a snack at home rather than packing them for later.
Timing-wise, I recommend assembling these the night before for school lunches. Everything stays fresh in the fridge overnight, and you save precious morning minutes. Just add any fresh fruit or veggies in the morning to prevent them from getting soggy. If you’re packing for a road trip, assemble them right before you leave and keep them in a cooler bag—they’ll stay perfect for hours.
Consistency tip: Use the same size crackers throughout a single box. It sounds picky, but mixed cracker sizes make stacking awkward and the eating experience less satisfying. Pick one cracker type per box and stick with it. Your inner perfectionist will thank you.
Variations & Adaptations
1. The Italian Deli Twist: Swap pepperoni for salami or prosciutto, and use provolone or fresh mozzarella pearls instead of cheddar. Add a few marinated artichoke hearts or roasted red peppers on the side. This version feels fancy enough for an adult lunch but is still simple enough for kids who like bold flavors.
2. The Vegetarian Garden Box: Replace pepperoni with roasted chickpeas, sun-dried tomatoes, or thinly sliced cucumber rounds. Use your favorite cheese or go fully plant-based with dairy-free cheese slices. Add a small container of hummus or balsamic vinaigrette for dipping. My vegetarian friend swears by this version and says it’s more satisfying than the original.
3. The Sweet and Savory Combo: Replace half the crackers with apple slices or pear slices. Use brie or gouda instead of cheddar, and add a drizzle of honey in a tiny container. The sweet-savory combination is absolutely addictive. I tried this on a whim after a cheese tasting event, and now it’s my go-to for afternoon snacks.
4. Gluten-Free Adaptation: Use your favorite gluten-free mini crackers or rice cakes. Many brands now make gluten-free versions that taste just as good as the original. Just be gentle when stacking, as gluten-free crackers tend to be more fragile. Schar and Simple Mills both make excellent options.
5. Low-Carb/Keto Version: Skip the crackers entirely and use cucumber rounds, bell pepper slices, or cheese crisps as the base. Load up on pepperoni and cheese, and add some olives or pickles for extra flavor. My husband follows a keto diet, and he says this version actually tastes better than the original because the flavors are more concentrated.
Serving & Storage Suggestions
Serve these snack boxes cold or at room temperature—they’re designed to be eaten straight from the container. If you’re packing for a school lunch, pull the container from the fridge in the morning and add an ice pack to keep everything fresh until lunchtime. The cheese and pepperoni taste best when they’ve had about 10 minutes to come to room temperature, but they’re still delicious straight from the fridge.
For presentation, arrange the components neatly in their compartments. A little effort here goes a long way—kids (and adults) eat with their eyes first. If you’re feeling fancy, cut the cheese into fun shapes with small cookie cutters. My daughter lights up when she opens her lunchbox and sees star-shaped cheddar.
Storage is straightforward: keep assembled boxes in an airtight container in the refrigerator for up to 3 days. The crackers may soften slightly after day one, so if you’re prepping for the whole week, store crackers separately and add them each morning. Pepperoni and cheese can be pre-sliced and stored together in a sealed container for up to 5 days.
For freezing, I don’t recommend freezing fully assembled boxes—the texture of the crackers and cheese will suffer. However, you can freeze pepperoni slices and cheese blocks separately for longer storage. Thaw overnight in the fridge before using. The flavors actually develop nicely after a day in the fridge, so don’t be afraid to make these a day ahead.
Nutritional Information & Benefits
Per serving (one box with 12 crackers, 8 pepperoni slices, and 2 ounces of cheddar cheese): approximately 350-400 calories, 22g protein, 18g fat, 28g carbohydrates, 2g fiber. Values will vary based on your specific ingredients and portion sizes.
The combination of protein from the cheese and pepperoni with carbohydrates from the crackers provides sustained energy—perfect for active kids or adults who need a midday boost. Cheese is an excellent source of calcium and vitamin D, supporting bone health. Pepperoni adds iron and B vitamins, though it’s higher in sodium, so balance with low-sodium options if needed.
This recipe is naturally low in added sugar (unless you add sweet extras), making it a smart choice for anyone watching their sugar intake. For a lower-sodium version, use reduced-sodium crackers and turkey pepperoni. For a heart-healthy option, choose part-skim mozzarella and lean turkey pepperoni. Always check labels for potential allergens—dairy and gluten are the primary concerns here.
From a wellness perspective, I love that this snack box gives you complete control over what goes into your body. No artificial colors, no preservatives, no high-fructose corn syrup. Just real food, arranged beautifully. It’s a small win for your health that doesn’t feel like a sacrifice.
Conclusion
These easy copycat Lunchable snack boxes with pepperoni and cheese have genuinely changed how I approach snack time. They’re proof that you don’t need complicated recipes or fancy equipment to make something that feels special. A few simple ingredients, a little bit of forethought, and you’ve got a lunchbox win that costs less, tastes better, and makes you feel like you’ve got your act together—even on the chaotic mornings.
I love that this recipe is endlessly adaptable. Maybe you’ll stick with the classic pepperoni and cheddar combo, or maybe you’ll experiment with salami and brie. Maybe you’ll add apple slices and honey, or go full veggie with hummus and cucumbers. The point is, you’re in control. Make it your own. That’s the beauty of a copycat recipe—it’s a starting point, not a rulebook.
So go ahead, give it a try. Your kids (or your inner child) will thank you. And when you find your perfect combination, I’d love to hear about it. Drop a comment below or tag me in your snack box creations—I’m always looking for new ideas to try. Happy snacking!
Frequently Asked Questions
Can I use any type of cracker for these snack boxes?
Yes, but sturdy crackers work best. Mini Ritz, Club crackers, pretzel crisps, or even whole-grain crackers hold up well. Avoid thin, fragile crackers like saltines—they tend to break apart during transport. Gluten-free crackers are fine, just handle them gently.
How far in advance can I make these?
You can assemble them up to 3 days in advance if stored in an airtight container in the refrigerator. For best texture, add crackers fresh each morning if prepping more than a day ahead. The cheese and pepperoni actually taste better after a day in the fridge as the flavors meld together.
Can I make these nut-free for school lunches?
Absolutely. This recipe is naturally nut-free as written, but always check labels on crackers and pepperoni for potential cross-contamination. If adding extras like fruit or veggies, avoid any nut-containing dips or spreads. Most standard cheddar cheese and pepperoni brands are nut-free.
What’s the best way to keep crackers from getting soggy?
Keep crackers in a separate compartment from moist ingredients like cheese and pepperoni. If your container doesn’t have dividers, place a small piece of parchment paper or a silicone muffin cup between the crackers and other items. Adding crackers fresh in the morning is the foolproof method.
Can I use this recipe for adult lunches or meal prep?
Definitely! These snack boxes are perfect for adult lunches too. Try the Italian Deli variation with salami and provolone, or the Sweet and Savory version with brie and apple slices. Portion them into adult-sized containers with extra veggies and a small treat for a satisfying work lunch that beats any cafeteria option.
Pin This Recipe!
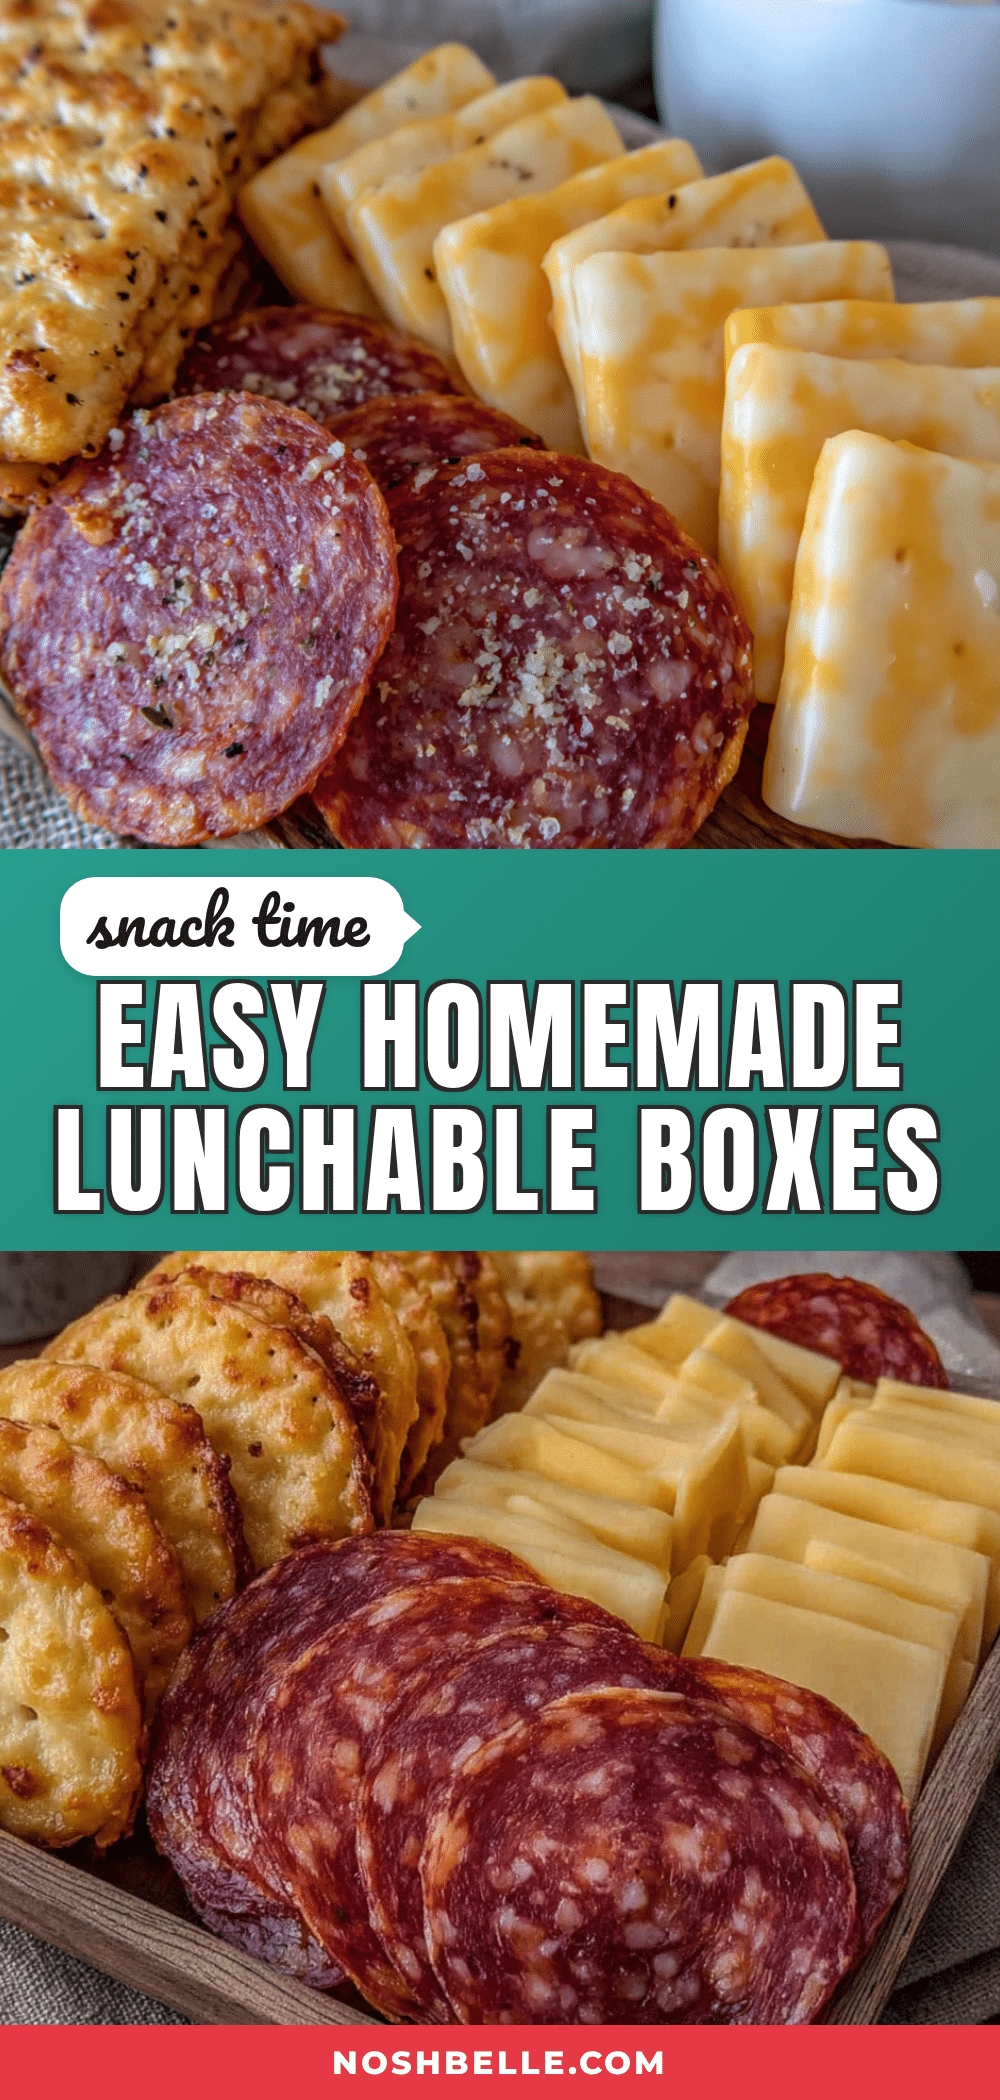
Easy Copycat Lunchable Snack Boxes: Best Pepperoni & Cheese

These easy copycat Lunchable snack boxes with pepperoni and cheese are made in under 10 minutes with simple, wholesome ingredients. Perfect for lunchboxes, road trips, and picky eaters, they’re budget-friendly and endlessly customizable.
- Prep Time: 10 minutes
- Cook Time: 0 minutes
- Total Time: 10 minutes
- Yield: 4 servings
- Category: Snack
- Cuisine: American
Ingredients
- Mini crackers (about 12–16 per box)
- Sliced pepperoni (about 8–12 slices per box)
- Cheddar cheese slices or cubes (about 2–3 ounces per box)
- Optional: baby carrots, cucumber rounds, apple slices, grapes, dark chocolate chips, ranch dressing or hummus
Instructions
- Prep your workspace: Clear your counter and gather all ingredients. Wash any fruits or veggies you’re adding. Lay out your containers.
- Slice the cheese: If using a block of cheddar, cut it into slices about 1/4-inch thick, then cut those slices into squares or rectangles roughly the size of your crackers. If using pre-sliced cheese, cut each slice into quarters or halves.
- Portion the pepperoni: Count out 8–12 slices of pepperoni per box. If large, cut each slice in half or into quarters.
- Assemble the crackers: Place 12–16 mini crackers in one compartment of each container.
- Arrange the cheese and pepperoni: Place cheese slices in a second compartment and pepperoni in a third. Keep them separate from the crackers.
- Add extras: Fill any remaining compartments with baby carrots, cucumber rounds, apple slices, grapes, or a small treat. Add a tiny container of ranch or hummus if desired.
- Seal and store: Close the containers tightly and refrigerate if not eating within an hour. These keep well in the fridge for up to 3 days.
Notes
For best texture, add crackers fresh each morning if prepping multiple days ahead. Sturdy crackers like Ritz Minis or Club crackers work best. Avoid thin, fragile crackers like saltines. If crackers get soggy, add a small piece of parchment paper between crackers and other ingredients. For a lower-sodium version, use reduced-sodium crackers and turkey pepperoni.
Nutrition
- Serving Size: 1 box (12 crackers,
- Calories: 375
- Sugar: 2
- Sodium: 850
- Fat: 18
- Saturated Fat: 9
- Carbohydrates: 28
- Fiber: 2
- Protein: 22
Keywords: copycat lunchable, homemade lunchable, pepperoni and cheese snack box, bento box lunch, kid-friendly snack, easy lunch idea, no-cook snack, meal prep snack


