My sister swore she hated white chocolate. For years. Her entire adult life, actually. She’d pick around the white chocolate chips in a cookie, push aside a slice of my mom’s famous bark, and wrinkle her nose at anything labeled “creamy.” Then last December, I made this peppermint bark fudge “just for myself” to bring to a neighbor’s cookie swap and found her standing at my kitchen counter at 10 p.m., spoon in hand, scraping the last bits of fudge out of the pan with a cracker. I didn’t say a word. I just watched her catch herself in the act of proving herself wrong. “Don’t tell anyone,” she mumbled, and I promised I wouldn’t. But honestly, I’m telling everyone now because this stuff does that to people. It’s the kind of recipe that makes skeptics into believers before they even realize what’s happening. Maybe you’ve got someone like that in your life—someone who thinks they know what they don’t like. This fudge is your secret weapon.
Let me tell you, the power went out halfway through my first attempt at making traditional peppermint bark. I had the chocolate melting, the candy canes crushed, and then—poof. Total darkness. I stood there holding my spatula like an idiot, realizing I couldn’t even see the stove. That’s when I decided there had to be a better way. A faster way. A way that didn’t depend on double boilers or ovens or electricity for crying out loud. This recipe was born from that moment of frustration, and honestly, it’s better than anything I could have made on the stove anyway. It’s got that perfect fudge texture—creamy, dense, just firm enough to hold its shape—with crunchy bits of peppermint throughout and a gorgeous swirl of dark chocolate on top. And it takes five minutes. I mean it. Five minutes from “I want fudge” to “the pan is in the fridge.” That’s not marketing hype. That’s just how fast this comes together.
Why You’ll Love This Recipe
This isn’t just another holiday dessert recipe. This is the one that saves your sanity when you’ve got twenty things to do and someone just texted asking what you’re bringing to the party. I’ve tested this recipe six times across three different kitchens, with different brands of chocolate chips and different types of peppermint candies. It works every single time. Here’s why it’s earned a permanent spot in my holiday rotation:
- Truly Five Minutes: I mean it. No baking, no boiling, no waiting for water to simmer. You melt, you stir, you pour. That’s it.
- Pantry-Friendly Ingredients: You need sweetened condensed milk, chocolate chips, and candy canes. That’s three ingredients. Maybe four if you count the vanilla. You probably already have most of this.
- Perfect for Holiday Gifting: This fudge slices cleanly, stacks beautifully in tins, and keeps for weeks in the fridge. It’s the edible gift that makes people think you worked way harder than you did.
- Crowd-Pleaser Across Generations: Kids love the crunch. Adults love the nostalgia. Even my white chocolate-hating sister loves it. It’s got universal appeal.
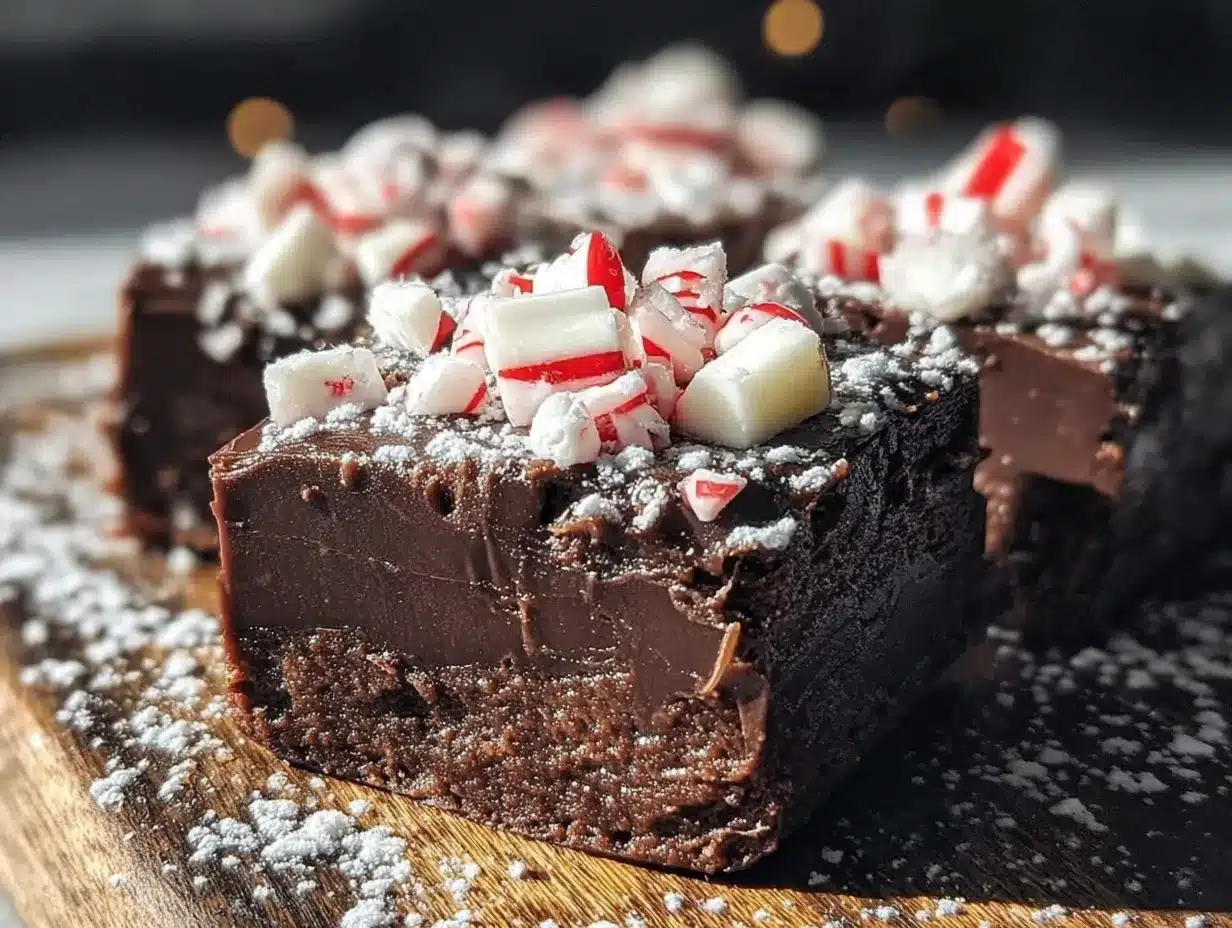
- Unbelievably Delicious Texture: The combination of creamy white chocolate fudge with dark chocolate swirls and crunchy peppermint bits creates something that’s greater than the sum of its parts. It’s not just fudge. It’s an experience.
What makes this recipe different from every other peppermint bark or fudge recipe out there? It’s the texture. Traditional peppermint bark can be brittle and crumbly. Traditional fudge requires a candy thermometer and patience I simply don’t have. This recipe splits the difference perfectly—it’s got the creamy density of fudge with the festive look of bark, and it sets up firm enough to slice without falling apart. Plus, you don’t have to temper chocolate or worry about seizing. It’s practically foolproof. I’ve made it with my six-year-old nephew and with my eighty-year-old grandmother. Both turned out perfect.
This is the kind of recipe that makes you close your eyes after the first bite. It’s comfort food reimagined—faster, simpler, but with the same soul-soothing satisfaction. Perfect for impressing holiday guests without breaking a sweat, or turning a regular Tuesday into something a little more festive.
What Ingredients You Will Need
This recipe uses simple, everyday ingredients to deliver big holiday flavor without the fuss. Most of these are pantry staples or easy to find at any grocery store during the holiday season. Here’s what you’ll need:
For the Fudge Base
- 3 cups white chocolate chips (I prefer Ghirardelli or Guittard for the smoothest melt—store brands can sometimes seize up)
- 1 can (14 ounces) sweetened condensed milk (full-fat works best; don’t use evaporated milk or low-fat versions—the texture won’t be the same)
- 1 teaspoon vanilla extract (pure vanilla, not imitation, if you can swing it—it makes a difference in the overall flavor)
- 1/4 teaspoon salt (just a pinch to balance the sweetness)
For the Topping
- 1/2 cup dark chocolate chips (or semi-sweet if that’s what you’ve got—60% cacao is my sweet spot)
- 1/2 cup crushed peppermint candies or candy canes (about 6-8 regular-sized candy canes, crushed medium-fine—not powder, not chunks)
- 1 teaspoon coconut oil or vegetable shortening (optional, for thinning the dark chocolate drizzle)
Ingredient Tips from My Kitchen
Let me save you from my mistakes. First, don’t use “white melting wafers” or almond bark thinking it’s the same as white chocolate chips. It’s not. Melting wafers have a different fat content and won’t give you that creamy fudge texture—they’ll set up harder and almost waxy. Stick with real white chocolate chips. Second, for the peppermint, I’ve learned that crushing candy canes in a zip-top bag with a rolling pin works fine, but you get more consistent results with a food processor using short pulses. You want pieces that are about the size of small peas—big enough to crunch but small enough to distribute evenly. And here’s a tip nobody tells you: crush the peppermint before you start anything else. Your hands get sticky, and you don’t want to be dealing with shattered candy cane pieces while your chocolate is melting.
If you’re making this for someone with dietary restrictions, use dairy-free white chocolate chips and a can of coconut sweetened condensed milk. The texture will be slightly different—a little softer—but still delicious. For a nut-free version, just make sure your chocolate chips are processed in a nut-free facility. Most major brands are, but check the label if allergies are a concern.
Equipment Needed
- 8×8-inch baking pan (glass or metal both work—just line it well)
- Parchment paper or aluminum foil (non-stick foil is a lifesaver here)
- Medium microwave-safe bowl (glass is best; plastic can warp)
- Rubber spatula (silicone, for scraping every last bit of fudge)
- Small microwave-safe bowl (for melting the dark chocolate drizzle)
- Zip-top bag or food processor (for crushing peppermint)
- Rolling pin (if you’re going the bag-and-smash route)
- Measuring cups and spoons
You don’t need a candy thermometer, a double boiler, or any fancy equipment. I’ve made this in a rental cabin with a microwave that looked like it was from 1992 and it still turned out perfectly. The most important tool is patience—specifically, the patience to let it set in the fridge for at least two hours before cutting. Trust me on that one.
Preparation Method
This comes together fast, so I recommend having everything measured and ready before you start. The actual active time is about five minutes, but you’ll move quicker if your ingredients are prepped.
- Line your 8×8 pan with parchment paper or foil. Leave a few inches of overhang on two opposite sides—this creates “handles” that let you lift the entire block of fudge out cleanly later. Spray the parchment lightly with non-stick spray if you’re feeling cautious, though I’ve found parchment alone works fine.
- Crush your peppermint candies. Place them in a sturdy zip-top bag and smash with a rolling pin until you have a mix of fine pieces and small chunks. Alternatively, pulse in a food processor 5-6 times. You want about 1/2 cup total. Set aside 2 tablespoons for the top garnish and keep the rest for mixing into the fudge.
- Melt the white chocolate base. In a medium microwave-safe bowl, combine the 3 cups white chocolate chips and the entire can of sweetened condensed milk. Microwave in 30-second intervals, stirring well after each, until smooth and fully melted. This usually takes about 90 seconds total in my microwave. Don’t rush it—chocolate can burn quickly if you go too long without stirring. The mixture will look grainy at first, then suddenly turn silky and smooth. That’s your cue to stop.
- Stir in vanilla and salt. Add the vanilla extract and salt, stirring until fully incorporated. The salt is important here—it cuts the sweetness and makes the peppermint pop. Taste the mixture at this point if you want (careful, it’s hot). It should taste like melted white chocolate dreams.
- Fold in most of the peppermint. Reserve those 2 tablespoons of crushed peppermint for the top. Pour the rest into the fudge mixture and fold gently with your spatula until evenly distributed. Don’t overmix—you want distinct pieces of peppermint, not pink-stained fudge.
- Pour into prepared pan. Scrape every last bit of fudge into your lined pan. Use the spatula to spread it into an even layer, pushing into the corners. Tap the pan gently on the counter a few times to release air bubbles and level the surface.
- Melt the dark chocolate drizzle. In a small microwave-safe bowl, combine the 1/2 cup dark chocolate chips with 1 teaspoon coconut oil (if using). Microwave in 20-second intervals, stirring between each, until smooth. This melts faster than the white chocolate—about 40 seconds total.
- Drizzle and swirl. Use a spoon to drizzle the melted dark chocolate over the white fudge layer in zigzag patterns. Don’t worry about being perfect—rustic looks better here. Take a knife or toothpick and gently swirl the dark chocolate into the white, creating marble patterns. Stop before it becomes one uniform color.
- Sprinkle with reserved peppermint. Immediately sprinkle those reserved 2 tablespoons of crushed peppermint over the top while the dark chocolate is still wet. Press down gently so the pieces stick. Work quickly here—the chocolate sets fast.
- Chill until firm. Place the pan in the refrigerator for at least 2 hours, or up to overnight. The fudge needs to be completely firm before cutting. I’ve learned this the hard way—cutting too early gives you messy, sticky edges instead of clean squares.
- Slice and serve. Once firm, lift the entire block out using the parchment handles. Place on a cutting board and use a sharp chef’s knife to cut into 1-inch squares. Wipe the knife clean between cuts for the neatest edges. You should get about 36 pieces, depending on how generous your squares are.
Cooking Tips & Techniques
I’ve made this recipe more times than I care to count, and I’ve learned a few things the hard way. Here’s what I wish someone had told me before my first attempt:
Don’t rush the melting process. I know it’s called “5-minute fudge,” but that five minutes includes melting time. If you crank your microwave to full power and blast it for two minutes straight, you’ll end up with scorched, grainy chocolate that won’t set properly. Low and slow wins this race. Thirty-second intervals, stir thoroughly, repeat. The mixture will look separated and weird at first—that’s normal. Keep stirring. It will come together.
Watch out for humidity. Chocolate and moisture don’t mix. If you’re making this on a rainy day or in a steamy kitchen, your chocolate might seize up (turn grainy and stiff). If that happens, stir in a teaspoon of coconut oil or vegetable shortening and keep stirring. It should smooth out. If it doesn’t, honestly, just start over. Seized chocolate won’t set into proper fudge.
Let it set completely. This is the hardest part, I know. Two hours feels like forever when you can smell peppermint and chocolate in your fridge. But I’ve cut into fudge after an hour and ended up with a sticky mess that looked more like frosting than fudge. Patience pays off here. If you’re in a hurry, pop it in the freezer for 45 minutes instead of the fridge for 2 hours.
Use a sharp knife for cutting. A dull knife will drag through the fudge and mess up those clean edges. Run your knife under hot water, dry it, then slice. Wipe the blade clean between each cut. This gives you those beautiful, bakery-style squares that look like you bought them from a fancy shop.
Variations & Adaptations
Once you’ve mastered the basic recipe, here are some ways to switch it up:
- Dark Chocolate Base: Swap the white chocolate chips for dark or semi-sweet chocolate chips. Use a white chocolate drizzle on top instead of dark. The peppermint stands out beautifully against the dark chocolate background.
- Mint Chocolate Chip Version: Fold in 1/4 cup mini chocolate chips along with the crushed peppermint. The extra chocolate bits make every bite feel like a discovery.
- Vegan-Friendly Option: Use dairy-free white chocolate chips and a can of coconut sweetened condensed milk. The texture will be slightly softer—almost like a truffle—but the flavor is spot-on. Chill for an extra hour to help it set.
- Peppermint Mocha Twist: Add 1 teaspoon instant espresso powder to the white chocolate mixture before melting. The coffee flavor deepens the chocolate notes and makes this feel extra grown-up.
- Nutty Crunch: Fold in 1/4 cup toasted chopped almonds or pecans along with the peppermint. The nutty crunch adds another layer of texture that’s absolutely addictive.
I tried the dark chocolate base version last year when I ran out of white chocolate chips mid-recipe (it happens to the best of us). Honestly? I might like it better. The dark chocolate is less sweet, so the peppermint really shines through. My kids still prefer the original white chocolate version, so now I just make both and call it a tasting flight.
Serving & Storage Suggestions
This fudge is best served cold or at cool room temperature. If it sits out too long, it gets soft and loses that clean snap when you bite into it. I like to arrange the squares on a white platter with a few extra candy canes scattered around for visual appeal. It’s stunning against the white ceramic.
For holiday cookie trays, this fudge pairs beautifully with classic sugar cookies, gingerbread men, and chocolate crinkle cookies. The peppermint flavor cuts through the richness of butter cookies and adds a refreshing note to an otherwise heavy dessert spread. I also love serving it alongside a cup of hot cocoa or a strong black coffee—the contrast is perfect.
Storage: Store fudge in an airtight container in the refrigerator for up to 3 weeks. Layer pieces between sheets of parchment or wax paper so they don’t stick together. I’ve also frozen this fudge successfully for up to 3 months—just wrap the whole block in plastic wrap, then foil, then place in a freezer bag. Thaw in the refrigerator overnight before slicing and serving.
Gifting: This fudge is my go-to homemade gift during the holidays. I pack squares in small decorative tins lined with parchment, tie with a ribbon, and attach a handwritten tag. It looks like I spent hours on it. I don’t correct that assumption.
Nutritional Information & Benefits
Let’s be real—this is a treat, not a health food. But here’s the approximate breakdown per 1-inch square (based on 36 pieces):
- Calories: 145
- Fat: 7g
- Carbohydrates: 19g
- Sugar: 17g
- Protein: 2g
- Sodium: 45mg
That said, there are some bright spots. Dark chocolate contains antioxidants called flavonoids that support heart health. Peppermint has been used for centuries to aid digestion and freshen breath. And honestly? Sometimes the mental health benefits of eating something delicious far outweigh the nutritional trade-offs. I believe in balance—enjoy this fudge during the holidays, savor every bite, and don’t feel guilty about it. Life is too short for bad fudge and food guilt.
This recipe contains dairy and may contain traces of nuts depending on your chocolate brand. It’s not suitable for vegan diets unless you use the substitutions listed above.
Frequently Asked Questions
Can I use milk chocolate instead of white chocolate?
Absolutely. Milk chocolate will give you a sweeter, creamier fudge that’s closer to traditional milk chocolate fudge. Just know that the peppermint flavor will be less pronounced because milk chocolate is sweeter and richer. I’d recommend using dark chocolate drizzle on top to maintain some contrast.
Why did my fudge turn out grainy?
Grainy fudge usually means the chocolate was overheated or moisture got into the mixture. Always melt in short intervals and stir well between each. If your bowl or spatula had even a drop of water, it could cause the chocolate to seize. Next time, make sure everything is bone-dry before you start.
Can I make this without a microwave?
Yes! Use a double boiler instead. Place your bowl over a pot of simmering water (make sure the bowl doesn’t touch the water) and stir constantly until melted. It takes a few minutes longer but works just as well. Just be careful not to let any steam get into the chocolate.
How do I get clean cuts without the fudge cracking?
Let the fudge come to room temperature for about 5-10 minutes before cutting. If it’s straight from the fridge, it can be too firm and crack. Use a sharp chef’s knife and wipe it clean between each cut. For the absolute cleanest edges, run your knife under hot water, dry it, then slice.
Can I double this recipe?
Yes, but use a 9×13 pan instead of 8×8. The fudge will be slightly thinner but still perfect. You’ll need to increase the chilling time to about 3-4 hours since there’s more volume to set. Everything else doubles exactly.
Conclusion
This easy 5-minute no-bake peppermint bark fudge has become my holiday signature, and I think it’s about to become yours too. It’s the recipe that proves you don’t need fancy techniques or hours in the kitchen to create something that looks and tastes like it came from a professional bakery. It’s forgiving enough for beginners, impressive enough for company, and quick enough for the busiest holiday schedule.
I love this recipe because it reminds me that the best things in life don’t have to be complicated. Some of my happiest holiday memories now involve standing in my kitchen with my sister, sneaking bites of fudge while pretending to wrap presents, laughing at how she spent years denying what she clearly always loved. That’s what this fudge is to me—not just a dessert, but a little moment of connection wrapped up in chocolate and peppermint.
I’d love to hear how yours turns out. Did you add your own twist? Did you convert a white chocolate skeptic in your life? Drop a comment below and share your story. And if you’re looking for more no-fuss holiday treats, don’t miss my easy peppermint bark cookies—they’re another 5-minute wonder that’ll save your holiday sanity. Happy cooking, friends. Go make some fudge.
Pin This Recipe!
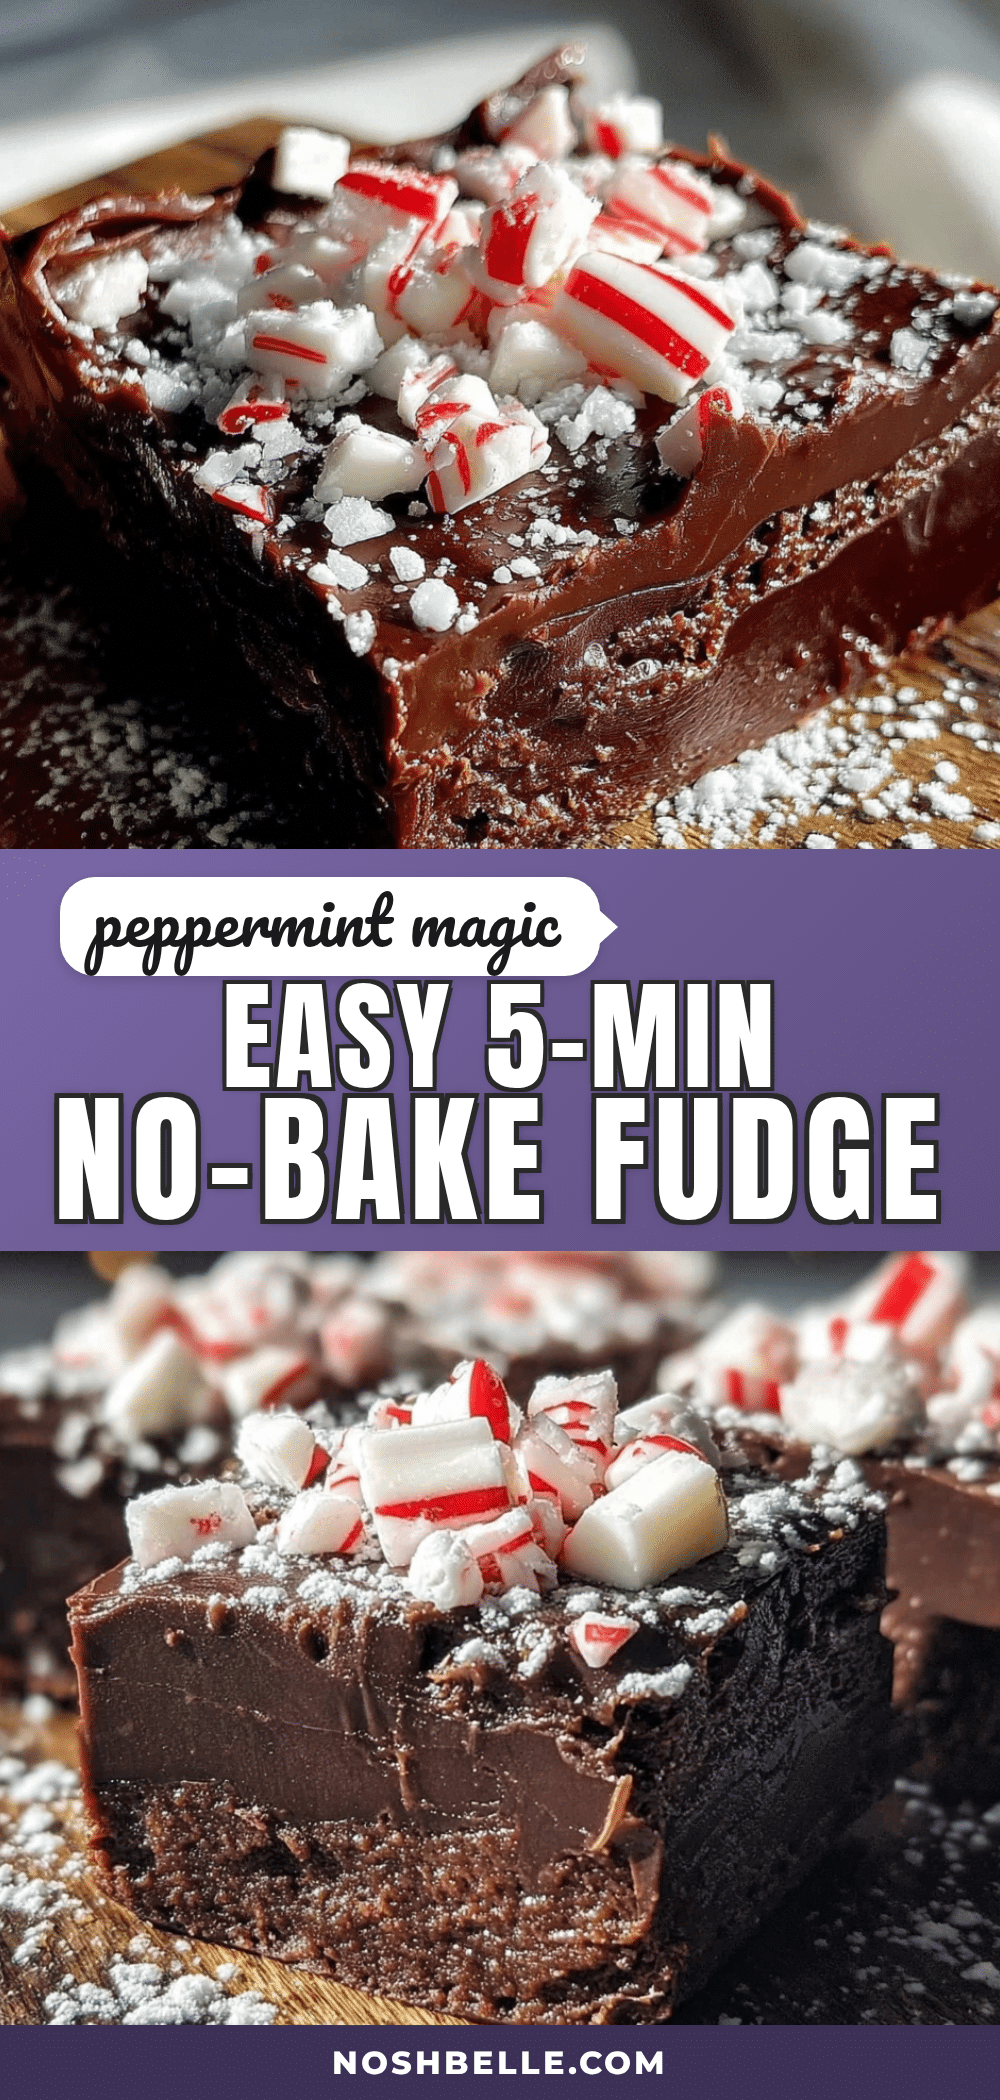
Easy 5-Minute No-Bake Peppermint Bark Fudge Recipe

This creamy, no-bake peppermint bark fudge comes together in just five minutes with only a few simple ingredients. It’s the perfect holiday treat for gifting or enjoying with family, featuring a white chocolate fudge base, dark chocolate swirls, and crunchy peppermint bits.
- Prep Time: 5 minutes
- Cook Time: 0 minutes
- Total Time: 2 hours 5 minutes (includes chilling time)
- Yield: 36 servings 1x
- Category: Dessert
- Cuisine: American
Ingredients
- 3 cups white chocolate chips (preferably Ghirardelli or Guittard)
- 1 can (14 ounces) sweetened condensed milk (full-fat)
- 1 teaspoon vanilla extract (pure vanilla recommended)
- 1/4 teaspoon salt
- 1/2 cup dark chocolate chips (or semi-sweet, 60% cacao recommended)
- 1/2 cup crushed peppermint candies or candy canes (about 6–8 regular-sized candy canes)
- 1 teaspoon coconut oil or vegetable shortening (optional, for thinning dark chocolate drizzle)
Instructions
- Line an 8×8-inch baking pan with parchment paper or foil, leaving overhang on two opposite sides for easy removal. Lightly spray with non-stick spray if desired.
- Crush peppermint candies in a zip-top bag with a rolling pin or pulse in a food processor until you have a mix of fine pieces and small chunks (about 1/2 cup total). Set aside 2 tablespoons for garnish.
- In a medium microwave-safe bowl, combine 3 cups white chocolate chips and the entire can of sweetened condensed milk. Microwave in 30-second intervals, stirring well after each, until smooth and fully melted (about 90 seconds total).
- Stir in vanilla extract and salt until fully incorporated.
- Fold in the remaining crushed peppermint (reserving 2 tablespoons for topping) until evenly distributed. Do not overmix.
- Pour the fudge mixture into the prepared pan and spread into an even layer. Tap the pan gently on the counter to release air bubbles.
- In a small microwave-safe bowl, combine 1/2 cup dark chocolate chips with 1 teaspoon coconut oil (if using). Microwave in 20-second intervals, stirring between each, until smooth (about 40 seconds total).
- Drizzle the melted dark chocolate over the white fudge layer in zigzag patterns. Use a knife or toothpick to gently swirl the dark chocolate into the white, creating marble patterns.
- Immediately sprinkle the reserved 2 tablespoons of crushed peppermint over the top while the dark chocolate is still wet. Press down gently.
- Refrigerate for at least 2 hours, or until completely firm. For faster setting, freeze for 45 minutes.
- Once firm, lift the fudge out using the parchment handles. Place on a cutting board and cut into 1-inch squares using a sharp chef’s knife, wiping the blade clean between cuts.
Notes
For best results, use real white chocolate chips, not melting wafers. Crush peppermint before starting to avoid sticky hands. Let fudge set completely before cutting for clean edges. Store in an airtight container in the refrigerator for up to 3 weeks, or freeze for up to 3 months.
Nutrition
- Serving Size: 1 square (1-inch)
- Calories: 145
- Sugar: 17
- Sodium: 45
- Fat: 7
- Saturated Fat: 4
- Carbohydrates: 19
- Protein: 2
Keywords: peppermint bark fudge, no-bake fudge, 5-minute fudge, holiday fudge, white chocolate fudge, peppermint dessert, easy fudge recipe


