It was 11:47 PM on a random Tuesday, and I was hit with the most specific craving for a warm, spiced muffin. I didn’t have the energy for a grocery run or the patience for a complicated recipe, but I had a can of pumpkin puree in the pantry and a stick of butter that was begging to be browned. The idea arrived like a whisper—brown butter pumpkin muffins, but make them simple enough for a Tuesday night. I mean, honestly, the best ideas come when you’re half-asleep and not overthinking things, right?
So there I was, standing in my kitchen in pajamas, browning butter at midnight. The nutty aroma filled the house, and I knew I was onto something. I grabbed the muffin tin, mixed the batter with one eye open, and popped them in the oven. When they came out, golden and fragrant, I nearly burned my tongue on the first bite. That’s when I knew—this wasn’t just another pumpkin muffin recipe. This was *the* one. The one that would make my kids actually ask for seconds. The one that would become our go-to fall favorite.
Let me tell you, these brown butter pumpkin muffins are everything you want in a fall treat. They’re moist, tender, and packed with that cozy pumpkin spice flavor we all crave when the leaves start changing. The brown butter adds this incredible nutty depth that takes them from good to “close your eyes and savor it” good. And the best part? They’re ridiculously easy to make. Maybe you’ve been there—wanting a homemade treat but not wanting to spend hours in the kitchen. These muffins are your answer.
I’ve made these muffins at least a dozen times since that late-night experiment, and they never disappoint. They’ve become my secret weapon for school bake sales, weekend brunches, and those afternoons when the kids come home from school with that “I need something warm and cozy” look. Honestly, if you make one pumpkin recipe this fall, make it these brown butter pumpkin muffins. Your kitchen will smell amazing, your family will love you, and you’ll feel like a total rockstar for pulling off something this delicious with almost no effort.
Why You’ll Love This Recipe
These aren’t just any pumpkin muffins—they’re the kind that makes you wonder why you ever bothered with boxed mixes. I’ve tested this recipe more times than I can count, tweaking the brown butter time, adjusting the spice blend, and even letting my picky-eating nephew be the final judge. He gave them two thumbs up, and that’s saying something from a kid who usually only eats plain pasta and chicken nuggets.
- Quick & Easy: Comes together in under 30 minutes, perfect for busy school mornings or last-minute fall gatherings.
- Simple Ingredients: No fancy grocery trips needed—you probably already have everything in your pantry right now.
- Perfect for Fall: Great for Halloween parties, Thanksgiving brunch, or just a cozy weekend baking session with the kids.
- Crowd-Pleaser: Always gets rave reviews from kids and adults alike. My neighbor, who claims she “doesn’t like pumpkin,” ate three in one sitting.
- Unbelievably Delicious: The brown butter and pumpkin spice combo is next-level comfort food. It’s the kind of muffin that makes you close your eyes after the first bite.
What makes these muffins different from every other pumpkin muffin recipe out there? It’s the brown butter, hands down. That simple extra step—browning the butter until it’s golden and nutty—transforms the entire flavor profile. It adds this warm, toasty depth that perfectly complements the pumpkin and spices. Plus, I’ve found that using a mix of brown and white sugar gives them the perfect sweetness and keeps them incredibly moist for days. This isn’t just another version of pumpkin muffins—it’s my best version, perfected through trial and error (and a few burnt batches, let me tell you).
This recipe is the kind that makes you feel like a kitchen genius without actually having to work that hard. It’s comfort food reimagined—faster, simpler, but with the same soul-soothing satisfaction. Perfect for impressing guests without stress, or turning an ordinary fall morning into something memorable. Your family will think you spent hours in the kitchen, but you and I will know the secret.
What Ingredients You Will Need
This recipe uses simple, wholesome ingredients to deliver bold flavor and satisfying texture without the fuss. Most of these are pantry staples you probably already have on hand, which makes these muffins perfect for spontaneous baking sessions.
- Unsalted butter (½ cup / 1 stick) – You’ll brown this to create that nutty, toasty flavor. I recommend using a good quality butter like Kerrygold for the best results—the higher fat content browns more evenly.
- Pumpkin puree (1 cup / 240g) – Make sure you’re using 100% pure pumpkin puree, not pumpkin pie filling. I prefer Libby’s brand for consistent texture and flavor. (Pro tip: freeze leftover puree in ice cube trays for later use!)
- Granulated sugar (½ cup / 100g) – Adds sweetness and helps create that tender crumb.
- Light brown sugar (½ cup / 100g, packed) – Adds moisture and a deeper, caramel-like sweetness. Dark brown sugar works too if that’s what you have.
- Large eggs (2, room temperature) – Room temperature eggs incorporate better into the batter for a lighter texture. (Quick tip: place cold eggs in warm water for 5 minutes to bring them to room temp.)
- Vanilla extract (1 teaspoon) – Enhances all the warm flavors. Pure vanilla extract is best, but imitation works in a pinch.
- All-purpose flour (1¾ cups / 220g) – Provides structure. Spoon and level your flour for the most accurate measurement—don’t scoop directly from the bag!
- Baking soda (1 teaspoon) – Helps the muffins rise and become fluffy.
- Baking powder (½ teaspoon) – Gives them an extra lift.
- Salt (½ teaspoon) – Balances the sweetness and enhances the other flavors. I use fine sea salt.
- Pumpkin pie spice (2 teaspoons) – The backbone of that classic fall flavor. If you don’t have pumpkin pie spice, make your own: 1 teaspoon cinnamon, ½ teaspoon ginger, ¼ teaspoon nutmeg, ¼ teaspoon allspice, and a pinch of cloves.
- Cinnamon (1 teaspoon) – Adds extra warmth. I’m a cinnamon lover, so I always add a little more than most recipes call for.
- Milk (¼ cup / 60ml) – Adds moisture. Any milk works—dairy, almond, oat, or soy. I’ve used all of them with great results.
Optional add-ins: Chocolate chips (½ cup), chopped pecans (½ cup), or dried cranberries (¼ cup) for extra texture and flavor. My kids love the chocolate chip version best!
Equipment Needed
You don’t need any fancy equipment to make these muffins, which is part of their charm. Here’s what you’ll need:
- Muffin tin (12-cup standard size) – I recommend a light-colored metal pan for even baking. Dark pans can cause the bottoms to brown too quickly.
- Paper liners (12) – Makes cleanup a breeze and keeps the muffins from sticking. I like using festive fall-themed liners for extra coziness.
- Small saucepan – For browning the butter. A light-colored pan helps you see when the butter turns golden.
- Large mixing bowl – For combining the wet ingredients.
- Medium mixing bowl – For whisking the dry ingredients.
- Whisk – For smoothly combining ingredients without overmixing.
- Rubber spatula – For folding the batter together gently.
- Cooling rack – Essential for cooling the muffins properly so they don’t get soggy on the bottom.
- Ice cream scoop or large spoon – For evenly distributing the batter into the muffin cups.
If you don’t have a cooling rack, you can use a wire rack from your oven or even just a clean dish towel. And if you’re using a dark non-stick muffin pan, reduce the oven temperature by 25°F to prevent over-browning.
Preparation Method
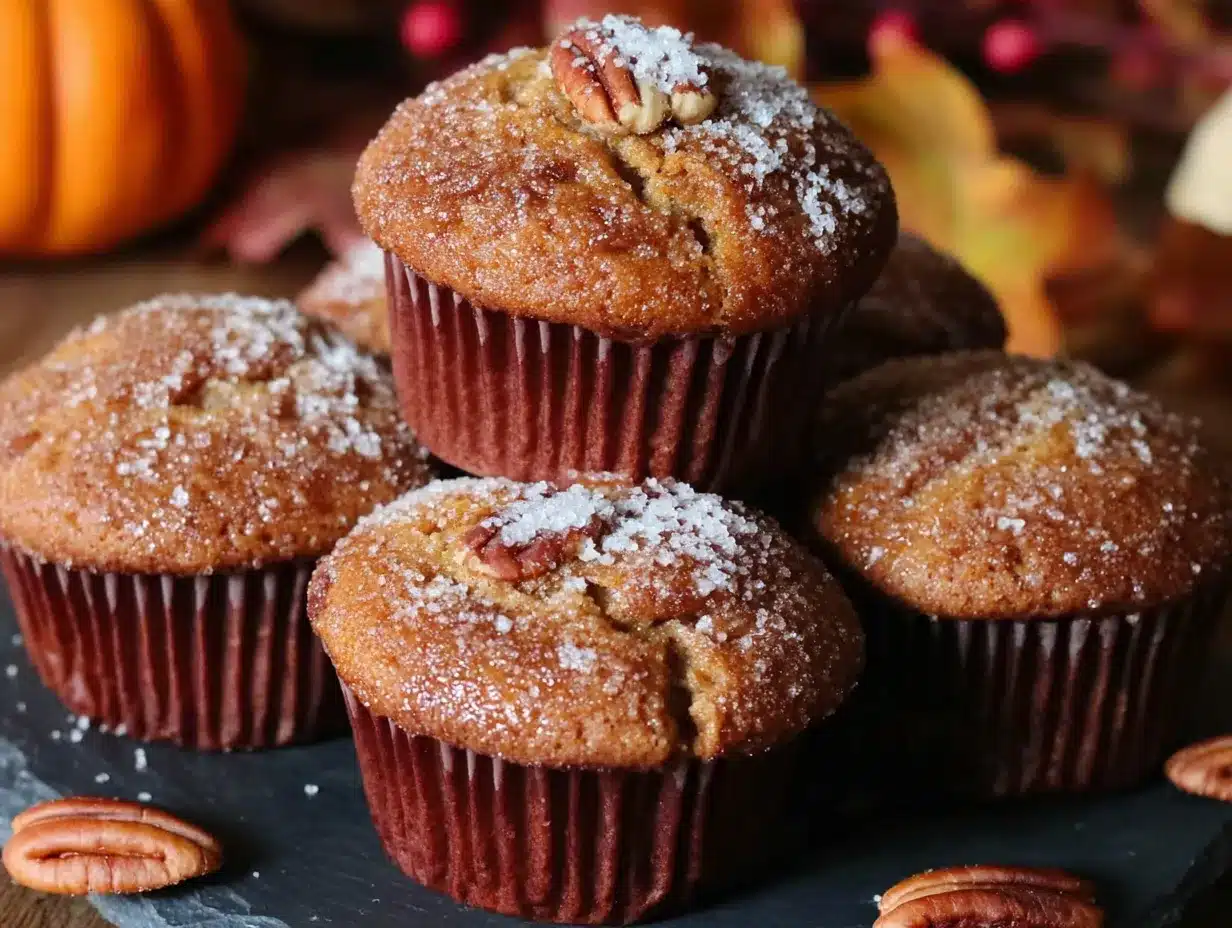
- Preheat your oven to 375°F (190°C). Line a 12-cup muffin tin with paper liners. This is non-negotiable—trust me, you don’t want to deal with stuck muffins. I learned that lesson the hard way.
- Brown the butter. Place the ½ cup (1 stick) of unsalted butter in a small saucepan over medium heat. Let it melt completely, then continue cooking, swirling the pan occasionally. You’ll see it start to foam and bubble—that’s normal. After about 4-5 minutes, the butter will turn a golden amber color and smell wonderfully nutty. Watch it carefully! Once it reaches that color and you see tiny brown specks at the bottom, remove it from the heat immediately. Pour it into a heatproof bowl to stop the cooking process. Let it cool for 5-10 minutes. (I once walked away for “just a second” and ended up with burnt butter—don’t be like me!)
- Mix the wet ingredients. In a large bowl, whisk together the cooled brown butter, pumpkin puree, granulated sugar, brown sugar, eggs, vanilla extract, and milk. Whisk until smooth and well combined. The mixture should be glossy and smell amazing already.
- Combine the dry ingredients. In a medium bowl, whisk together the all-purpose flour, baking soda, baking powder, salt, pumpkin pie spice, and cinnamon. Make sure there are no lumps—the spices tend to clump together.
- Fold the batter together. Pour the dry ingredients into the wet ingredients. Use a rubber spatula to gently fold everything together. Here’s the most important tip: stop mixing as soon as you no longer see streaks of flour. A few small lumps are totally fine. Overmixing will make your muffins tough and dense, and nobody wants that.
- Fill the muffin cups. Use an ice cream scoop or large spoon to divide the batter evenly among the 12 muffin cups. Fill each cup about ¾ full—they’ll rise nicely without overflowing. If you want bakery-style domed tops, fill them slightly more, about ⅞ full.
- Bake the muffins. Place the muffin tin in the preheated oven and bake for 16-18 minutes, or until a toothpick inserted into the center of a muffin comes out clean or with just a few moist crumbs. The tops should be golden brown and spring back when lightly touched.
- Cool properly. Let the muffins cool in the pan for 5 minutes. This allows them to set so they don’t fall apart when you remove them. Then transfer them to a wire cooling rack to cool completely. If you’re impatient like me, you can eat one after about 10 minutes—just be careful not to burn your mouth!
Cooking Tips & Techniques
After making these muffins more times than I can count, I’ve picked up a few tricks that make a real difference. Let me share them so you don’t have to learn the hard way like I did.
The brown butter game. Browning butter is simple but requires your full attention. Use a light-colored saucepan so you can actually see the color change. Swirl the pan constantly once the butter melts, and the moment you see those golden brown specks form and smell that nutty aroma, pull it off the heat. It goes from perfect to burnt in about 30 seconds. I had to toss an entire batch once because I got distracted by a phone call—learn from my mistake!
Room temperature ingredients matter. I know, I know, nobody plans ahead perfectly. But cold eggs and cold milk can make the batter seize up and create denser muffins. If you forgot to take them out ahead of time, place the eggs in a bowl of warm water for 5 minutes, and microwave the milk for 10-15 seconds. It makes a real difference in the final texture.
The scoop and level method. When measuring your flour, don’t scoop directly from the bag with your measuring cup. This packs the flour down and you’ll end up with too much, making dry muffins. Instead, spoon the flour into the measuring cup, then level it off with the back of a knife. It takes an extra 5 seconds but guarantees perfect results every time.
Don’t overmix, seriously. This is the number one mistake people make with muffins. Mix until the flour just disappears into the batter, even if there are a few small lumps. Overmixing develops the gluten too much, and you’ll end up with tough, rubbery muffins instead of tender, fluffy ones. I speak from experience—my first batch was more like hockey pucks than muffins.
Check for doneness early. Ovens vary wildly in temperature. Start checking your muffins at the 15-minute mark. Insert a toothpick into the center of a muffin in the middle of the pan (it’s usually the last one to bake through). If it comes out clean or with just a few moist crumbs, they’re done. If there’s wet batter, give them another 2-3 minutes and check again.
Variations & Adaptations
One of the best things about this recipe is how versatile it is. I’ve experimented with all sorts of variations, and they’ve all been delicious in their own way. Here are some of my favorites:
Chocolate Chip Pumpkin Muffins. This is my kids’ absolute favorite version. Fold in ½ cup of semi-sweet or dark chocolate chips right before you fill the muffin cups. The warm, melty chocolate paired with the spiced pumpkin and nutty brown butter is absolutely divine. I’ve also used white chocolate chips for a sweeter twist, and they were a hit at the school bake sale.
Gluten-Free Version. Substitute the all-purpose flour with a 1:1 gluten-free baking flour blend. I’ve had great results with Bob’s Red Mill 1:1 Baking Flour. The texture is slightly more delicate, but the flavor is just as amazing. Just be careful not to overmix, as gluten-free batters can get gummy if overworked.
Vegan Adaptation. Replace the eggs with flax eggs (2 tablespoons ground flaxseed mixed with 6 tablespoons water, let sit for 5 minutes) and use a plant-based milk like almond or oat milk. For the butter, use vegan butter—I like Miyoko’s or Earth Balance. The texture will be a bit denser, but the brown butter flavor still shines through beautifully.
Pumpkin Cream Cheese Muffins. For a bakery-style treat, make a cream cheese filling. Beat 4 oz cream cheese with 2 tablespoons sugar and ½ teaspoon vanilla. Drop a spoonful into the center of each muffin cup before baking. The creamy, tangy center is a perfect contrast to the spiced muffin. My friend Sarah requests these every time she comes over for coffee.
Spice It Up. If you’re a spice lover like me, add an extra ½ teaspoon of ginger and a pinch of cardamom to the dry ingredients. It adds a warm, slightly floral note that pairs beautifully with the brown butter. I also love adding a pinch of black pepper—it sounds weird, but it really brings out the warmth of the other spices.
Serving & Storage Suggestions
These muffins are delicious at any temperature, but they’re truly magical when served warm, about 10 minutes out of the oven. The brown butter flavor is most pronounced when they’re fresh, and the texture is perfectly tender.
Serving ideas: Serve them for breakfast with a hot cup of coffee or chai tea. They’re also perfect for an afternoon snack with a glass of cold milk—my kids’ favorite combo. For a special treat, split a muffin in half, toast it lightly, and spread with a pat of salted butter. It takes them to a whole new level of deliciousness.
Storage: Store leftover muffins in an airtight container at room temperature for up to 3 days. To keep them extra moist, place a paper towel at the bottom of the container and another on top of the muffins. This absorbs excess moisture without making them soggy. Trust me, this trick works wonders.
Freezing instructions: These muffins freeze beautifully! Let them cool completely, then place them in a single layer in a freezer-safe bag or container. They’ll keep for up to 3 months. When you’re ready to enjoy one, simply microwave it for 20-30 seconds, or let it thaw at room temperature for about an hour. The flavor actually gets even better after freezing—the spices have time to meld together.
Reheating: For that fresh-from-the-oven experience, reheat a muffin in a 300°F oven for 5-7 minutes, or in the microwave for 15-20 seconds. If you’re reheating multiple muffins, wrap them in foil and warm them in the oven—it keeps them from drying out.
One thing I love about these muffins is that the flavors actually deepen and develop over time. Day-old muffins taste even more spiced and cozy than fresh ones. So don’t feel like you have to eat them all in one sitting—although, let’s be honest, that’s usually what happens in my house.
Nutritional Information & Benefits
While these muffins are definitely a treat, they do offer some surprising nutritional benefits thanks to the star ingredient—pumpkin! Here’s a rough estimate per muffin (based on 12 muffins, without any add-ins):
- Calories: Approximately 220-250
- Fat: 10-12g
- Carbohydrates: 30-35g
- Protein: 3-4g
- Fiber: 2-3g
- Sugar: 16-18g
Pumpkin is packed with vitamin A (beta-carotene), which supports eye health and immune function. It’s also a good source of fiber, which helps keep you feeling full and satisfied. The brown butter adds healthy fats that help your body absorb the fat-soluble vitamins in the pumpkin. So while these are definitely a dessert or treat, they’re not completely empty calories!
Dietary considerations: This recipe can be made gluten-free (using a 1:1 gluten-free flour blend) and vegan (using the substitutions mentioned above). It contains dairy (butter, milk) and eggs, so it’s not suitable for those with dairy or egg allergies unless adapted. The muffins are nut-free as written, making them a great option for school bake sales or lunchboxes.
I personally love that I can feel good about giving these to my kids. They get a serving of vegetables (yes, pumpkin counts!) without even knowing it, and the fiber helps keep their blood sugar stable—no crazy sugar highs and crashes after snack time.
Conclusion
These brown butter pumpkin muffins have become a staple in my kitchen for a reason. They’re simple enough for a Tuesday night baking session, special enough for holiday gatherings, and so delicious that even my pickiest eater asks for seconds. The brown butter adds a depth of flavor that makes them taste way more complicated than they actually are, and the pumpkin spice blend gives you all the cozy fall vibes without any of the work.
I truly believe this is the only pumpkin muffin recipe you’ll ever need. It’s been tested, tweaked, and perfected through countless batches, and it never fails to deliver. Whether you’re making them for your family, a school event, or just because you’re craving something warm and cozy, these muffins will not disappoint.
Now I’d love to hear from you! Have you tried making brown butter before? What’s your favorite fall treat to bake? Drop a comment below and let me know how these muffins turned out for you. And if you loved them as much as we do, please share this recipe with a friend who needs a little extra coziness in their life. Happy baking, friends!
Frequently Asked Questions
Can I use pumpkin pie filling instead of pumpkin puree?
No, I wouldn’t recommend it. Pumpkin pie filling is already sweetened and spiced, which will throw off the sugar and spice balance in this recipe. Stick with 100% pure pumpkin puree for the best results. If you only have pumpkin pie filling, you’ll need to reduce the sugar and spices significantly, but the texture might still be off.
Why did my muffins turn out dense and heavy?
This usually happens for one of two reasons: overmixing the batter or using too much flour. Overmixing develops gluten, which makes muffins tough and dense. Mix only until the flour disappears, even if there are a few lumps. Also, make sure you’re measuring your flour correctly—spoon it into the measuring cup and level it off, don’t scoop directly from the bag.
Can I make these muffins ahead of time?
Absolutely! These muffins are actually better the next day—the flavors have time to meld and deepen. You can bake them up to 3 days in advance and store them in an airtight container at room temperature. They also freeze beautifully for up to 3 months. Just thaw and reheat for that fresh-from-the-oven experience.
How do I know when the butter is properly browned?
You’re looking for two things: color and smell. The butter will turn from yellow to a golden amber color, and you’ll see tiny brown specks forming at the bottom of the pan. The smell will change from buttery to nutty and toasty. It usually takes about 4-5 minutes over medium heat. Watch it carefully—it goes from perfect to burnt very quickly!
Can I make these into mini muffins?
Yes! Mini muffins are perfect for little hands or for parties. Reduce the baking time to 10-12 minutes, and start checking for doneness at the 10-minute mark. You’ll get about 24-30 mini muffins from this recipe. They’re great for lunchboxes or as a quick breakfast on busy mornings.
Pin This Recipe!
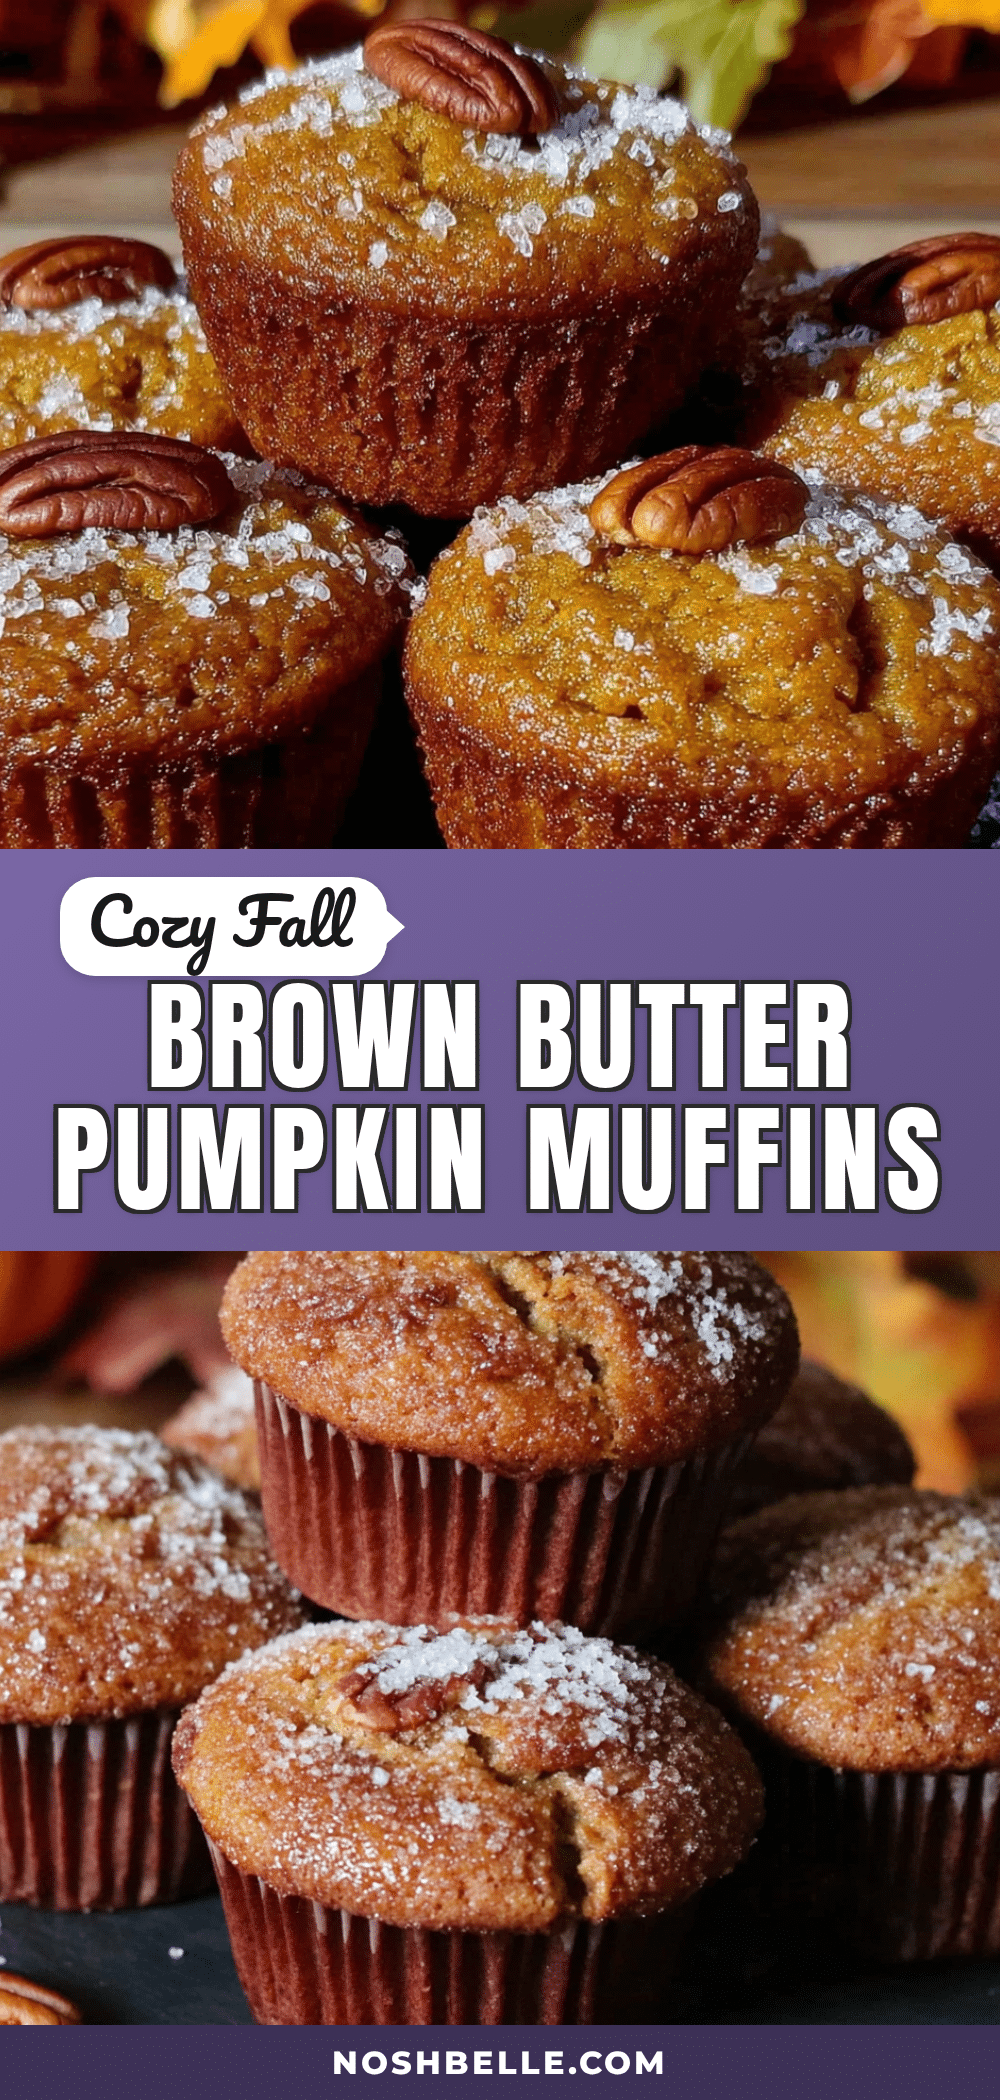
Easy Brown Butter Pumpkin Muffins – Best Kid-Approved Fall Recipe
These moist, tender brown butter pumpkin muffins are packed with cozy pumpkin spice flavor and a nutty depth from browned butter. They come together in under 30 minutes with simple pantry ingredients, making them the perfect fall treat for busy mornings or last-minute gatherings.
- Prep Time: 10 minutes
- Cook Time: 18 minutes
- Total Time: 28 minutes
- Yield: 12 muffins 1x
- Category: Dessert
- Cuisine: American
Ingredients
- ½ cup (1 stick) unsalted butter
- 1 cup (240g) pumpkin puree (100% pure, not pumpkin pie filling)
- ½ cup (100g) granulated sugar
- ½ cup (100g) light brown sugar, packed
- 2 large eggs, room temperature
- 1 teaspoon vanilla extract
- 1¾ cups (220g) all-purpose flour
- 1 teaspoon baking soda
- ½ teaspoon baking powder
- ½ teaspoon salt (fine sea salt)
- 2 teaspoons pumpkin pie spice
- 1 teaspoon cinnamon
- ¼ cup (60ml) milk (dairy or non-dairy)
Instructions
- Preheat your oven to 375°F (190°C). Line a 12-cup muffin tin with paper liners.
- Brown the butter: Place ½ cup unsalted butter in a small saucepan over medium heat. Melt completely, then continue cooking, swirling occasionally, until it turns golden amber and smells nutty (about 4-5 minutes). Remove from heat immediately and pour into a heatproof bowl. Let cool for 5-10 minutes.
- Mix the wet ingredients: In a large bowl, whisk together the cooled brown butter, pumpkin puree, granulated sugar, brown sugar, eggs, vanilla extract, and milk until smooth and glossy.
- Combine the dry ingredients: In a medium bowl, whisk together the flour, baking soda, baking powder, salt, pumpkin pie spice, and cinnamon until no lumps remain.
- Fold the batter together: Pour the dry ingredients into the wet ingredients. Use a rubber spatula to gently fold until just combined—a few small lumps are fine. Do not overmix.
- Fill the muffin cups: Use an ice cream scoop or large spoon to divide the batter evenly among the 12 muffin cups, filling each about ¾ full.
- Bake the muffins: Bake for 16-18 minutes, or until a toothpick inserted into the center comes out clean or with a few moist crumbs. The tops should be golden and spring back when lightly touched.
- Cool properly: Let the muffins cool in the pan for 5 minutes, then transfer to a wire cooling rack to cool completely.
Notes
For best results, use room temperature eggs and milk. Measure flour by spooning and leveling—do not scoop directly from the bag. Brown butter can go from perfect to burnt quickly; watch carefully. Muffins can be stored in an airtight container at room temperature for up to 3 days or frozen for up to 3 months. Optional add-ins: ½ cup chocolate chips, ½ cup chopped pecans, or ¼ cup dried cranberries.
Nutrition
- Serving Size: 1 muffin
- Calories: 235
- Sugar: 17
- Sodium: 280
- Fat: 11
- Saturated Fat: 6
- Carbohydrates: 33
- Fiber: 2
- Protein: 4
Keywords: brown butter pumpkin muffins, easy pumpkin muffins, fall muffins, kid-approved muffins, pumpkin spice muffins