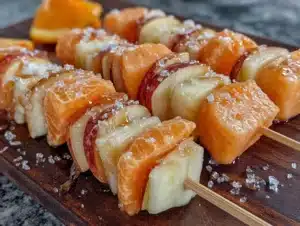
I was standing in line at the post office—honestly, my least favorite errand—when the woman ahead of me, who I’d only ever seen walking her golden retriever, turned around and started talking about Halloween snacks. Not costumes or decorations, but snacks. She had this way of describing things that made you see them, and she said, “You know, the best thing I ever made for my kid’s class party was a fruit tray shaped like a pumpkin. No sugar, no fuss, and the kids went crazy for it.” I almost laughed. A fruit tray? At Halloween? But then she described it—the way the orange slices fanned out, the little stem made of a kiwi—and I couldn’t stop thinking about it. I mean, I’d been stress-planning a Halloween get-together and had already resigned myself to a table full of candy and store-bought cookies. But this? This was different. I went home, grabbed a cantaloupe, and gave it a shot. The first one was a little lopsided, honestly, and the stem fell off twice. But the second one? It was a thing of beauty. And now, every year, I make this Easy Pumpkin-Shaped Halloween Fruit Tray, and it’s always the first thing to disappear.
Why You’ll Love This Recipe
Let’s be real—Halloween is usually a sugar bomb. Between the candy, the cupcakes, and the ghost-shaped cookies, it’s easy to feel like you’ve already overdone it before the party even starts. That’s why this Easy Pumpkin-Shaped Halloween Fruit Tray is such a game-changer. It’s the healthy snack that nobody feels cheated eating, and honestly, it’s way more fun than a regular fruit platter.
- Quick & Easy: This tray comes together in under 20 minutes. No baking, no blending, no waiting. Just chop, arrange, and serve.
- Simple Ingredients: You only need a few types of fruit—cantaloupe, honeydew, kiwi, and maybe some berries. Nothing fancy, nothing hard to find.
- Perfect for Halloween Parties: Whether it’s a classroom celebration, a work potluck, or a family get-together, this tray fits right in. It’s festive without being over the top.
- Crowd-Pleaser: I’ve seen kids who swear they hate fruit go back for seconds. The pumpkin shape is just that appealing.
- Unbelievably Delicious: The combination of sweet cantaloupe, tangy kiwi, and crisp honeydew is just right. It’s refreshing, light, and satisfying all at once.
What sets this recipe apart is the technique. Instead of just dumping fruit onto a platter, you’re creating a visual centerpiece. The orange slices mimic pumpkin ridges, and a simple kiwi stem finishes the look. It’s not just another fruit tray—it’s the best version of a healthy Halloween snack.
What Ingredients You Will Need
This recipe uses simple, fresh fruit to create a striking visual effect. The key is picking fruit that’s ripe but still firm enough to hold its shape when sliced.
- 1 medium cantaloupe (ripe but firm, for the main pumpkin body)
- 1 small honeydew melon (for contrast and filling)
- 2 kiwis (one for the stem, one for garnish)
- 1 cup seedless green grapes (optional, for filling gaps)
- 1/2 cup fresh blueberries or blackberries (for color contrast)
- 1 small orange (optional, for extra pumpkin color)
- Fresh mint leaves (for garnish, optional but nice)
For the best results, I recommend using a cantaloupe that feels heavy for its size and smells sweet at the stem end. If you can’t find a good cantaloupe, a small sugar pumpkin or butternut squash-shaped melon works just as well. For the honeydew, look for one that has a creamy yellow rind—that means it’s ripe.
You can easily swap fruits based on what’s in season or what your family prefers. In the fall, I sometimes use sliced apples tossed in lemon juice to prevent browning. If you’re making this for a crowd with dietary restrictions, it’s naturally gluten-free, dairy-free, and vegan.
Equipment Needed
You don’t need anything fancy to pull this off. Here’s what I use:
- Large round platter or cutting board (at least 12 inches in diameter)
- Sharp chef’s knife (for clean cuts through melons)
- Melon baller (optional, but makes nice round shapes)
- Small paring knife (for detail work on the stem)
- Cutting board (for prep work)
- Paper towels (to dry fruit and wipe the platter)
If you don’t have a melon baller, just use a small cookie scoop or even a teaspoon. Honestly, I’ve made this with just a knife and a cutting board and it turned out great. The key is having a sharp blade so you don’t bruise the fruit.
For the platter, I like using a white one because it makes the orange and green colors pop. But any large, flat surface will work—even a clean baking sheet in a pinch.
Preparation Method
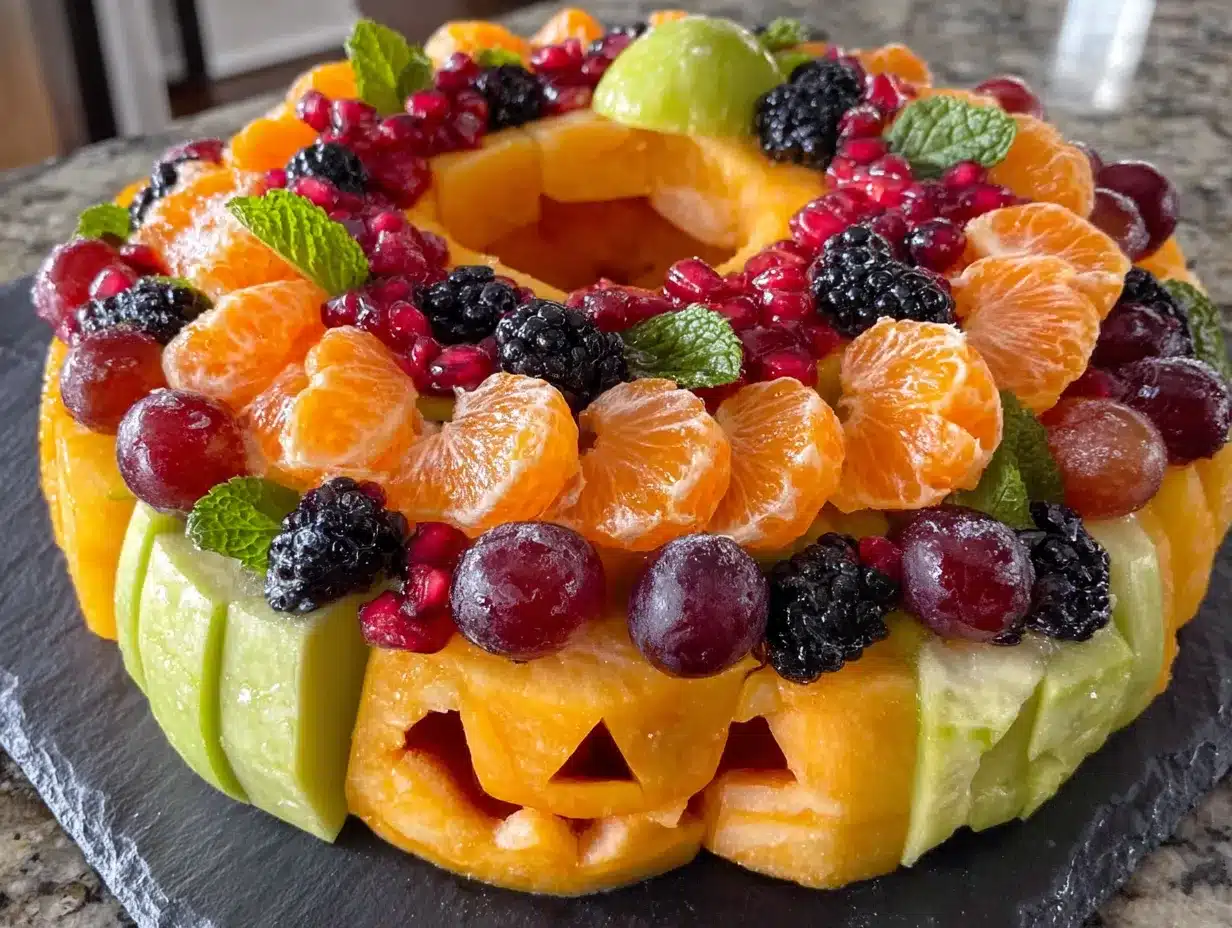
Let me walk you through this step by step. I promise, it’s easier than it looks.
- Prep the cantaloupe: Cut the cantaloupe in half through the equator (not from stem to blossom end). Scoop out the seeds and stringy bits. Using a melon baller or a spoon, scoop out balls of orange flesh. You want about 2 cups worth. Set them aside.
- Shape the pumpkin base: Take the remaining cantaloupe half (the one that looks like a bowl) and place it cut-side down on your platter. This will be the main pumpkin shape. If it wobbles, trim a tiny slice off the bottom to make it flat.
- Create the ridges: Using a paring knife, gently score shallow lines from the top center of the cantaloupe down to the bottom, about 1 inch apart. This creates the pumpkin rib effect. Don’t cut too deep—just through the rind.
- Make the stem: Peel one kiwi and cut it in half lengthwise. Take one half and trim it into a small, stubby stem shape (about 1.5 inches tall). Place it on top of the cantaloupe, pressing gently so it stays.
- Fill the gaps: Arrange the cantaloupe balls around the base of the pumpkin, like a halo. This hides any uneven edges and adds more pumpkin color.
- Add the honeydew: Cut the honeydew in half, scoop out seeds, and use the melon baller to make green balls. Arrange these in clusters around the pumpkin, alternating with the cantaloupe balls.
- Add the grapes and berries: Tuck green grapes and blueberries into any empty spaces. This fills the tray and adds pops of color.
- Garnish with kiwi: Slice the remaining kiwi into thin rounds. Arrange them around the edge of the platter for a leafy look.
- Add mint leaves: Tuck a few mint leaves near the stem and around the base for a fresh, garden-finished look.
- Serve immediately or refrigerate: This tray is best served within an hour of assembly. If you need to make it ahead, prep the fruit and store it separately, then assemble just before serving.
A quick tip: if the cantaloupe half starts to slide on the platter, dab a little bit of honey or maple syrup underneath it as “glue.” It works like a charm and adds a touch of sweetness.
Cooking Tips & Techniques
Here are some things I’ve learned the hard way so you don’t have to.
Choose the right melon: A cantaloupe that’s too ripe will be mushy and hard to carve. One that’s underripe won’t have much flavor. Look for one that gives slightly at the stem end but still feels firm all over.
Keep your knife sharp: A dull knife will crush the fruit instead of cutting it. I learned this after my first attempt ended up looking like a sad, squashed pumpkin. A sharp blade makes all the difference.
Don’t overthink the shape: Pumpkins are naturally imperfect. If your cantaloupe is a little lopsided, lean into it. It’ll look more authentic. I once made one that was slightly flat on one side, and someone said it looked like a pumpkin that had been sitting on the ground too long. It was a hit.
Use a paper towel to dry the fruit: Wet fruit slides around on the platter and makes everything look messy. Pat each piece dry before arranging. It takes an extra minute but makes the final presentation so much cleaner.
Work in stages: I like to prep all the fruit first, then arrange everything at once. It keeps the workflow smooth and prevents the fruit from sitting out too long before serving.
Variations & Adaptations
One of the best things about this Easy Pumpkin-Shaped Halloween Fruit Tray is how easy it is to customize. Here are some variations I’ve tried over the years.
Berry Pumpkin: Instead of using a whole cantaloupe half as the base, arrange orange slices in a circle on the platter to form a flat pumpkin shape. Fill the center with strawberries, raspberries, and blackberries. This works great if you don’t have a melon or want a lighter option.
Apple Pumpkin: Slice red and green apples thinly (toss them in lemon water to prevent browning) and arrange them in a pumpkin shape. Use a strip of green apple peel as the stem. This version is super crunchy and perfect for fall.
Watermelon Pumpkin: For a larger party, use a small seedless watermelon. Cut it in half, scoop out the flesh with a melon baller, and use the empty rind as the pumpkin shell. Fill it with the watermelon balls and other fruits. It’s a showstopper.
Dairy-Free Yogurt Dip: Serve the tray with a side of dairy-free vanilla yogurt or coconut cream for dipping. It adds a creamy element without any dairy. My kids love this version.
Serving & Storage Suggestions
This fruit tray is best served chilled, straight from the fridge. I like to set it out about 10 minutes before guests arrive so it loses some of the chill but stays crisp.
For presentation, place the tray in the center of the table with small forks or toothpicks around the edges. If you’re serving it at a party, consider putting it on a slightly elevated surface so it becomes a focal point.
Leftover fruit can be stored in an airtight container in the fridge for up to 2 days. The cantaloupe and honeydew will hold up well, but the grapes and berries might get a little soft. I usually just eat the leftovers for breakfast the next day—no complaints here.
If you’re making this ahead of time, prep all the fruit and store each type in separate containers. Assemble the tray no more than an hour before serving. The cantaloupe half can be carved and stored wrapped in plastic wrap for up to 24 hours, but I find it’s freshest when done the same day.
Nutritional Information & Benefits
This Easy Pumpkin-Shaped Halloween Fruit Tray is as healthy as it is beautiful. Here’s a rough breakdown per serving (about 1 cup of mixed fruit):
| Nutrient | Amount |
|---|---|
| Calories | 80-100 |
| Total Fat | 0g |
| Sodium | 15mg |
| Total Carbohydrates | 20-25g |
| Dietary Fiber | 2-3g |
| Sugars | 15-18g (natural) |
| Protein | 1-2g |
| Vitamin C | 60% DV |
| Vitamin A | 50% DV |
Cantaloupe is packed with vitamin A and C, both of which support immune health—perfect for the cold and flu season that often follows Halloween. Honeydew provides hydration and a good dose of potassium. Grapes and berries add antioxidants that help fight inflammation.
This recipe is naturally gluten-free, dairy-free, vegan, and nut-free, making it safe for most dietary needs. The only potential allergen is the fruit itself, but that’s rare.
Conclusion
I know it’s easy to get caught up in the sugar and the store-bought treats around Halloween. But honestly, this Easy Pumpkin-Shaped Halloween Fruit Tray has become a tradition in my house for a reason. It’s the thing that makes everyone stop and smile—kids, adults, even the person who swears they don’t like fruit. It’s healthy, it’s fast, and it’s genuinely fun to make.
I hope you give it a try, and I hope you make it your own. Maybe you’ll add pomegranate seeds for a pop of red, or use a different melon for the base. That’s the beauty of this recipe—it’s a canvas for your creativity.
If you make this, let me know how it turns out. Leave a comment below or tag me in your photos. I love seeing how different people interpret the same idea. Happy Halloween, and happy snacking!
Frequently Asked Questions
Can I make this fruit tray the night before?
You can prep the fruit the night before and store each type separately in airtight containers in the fridge. Assemble the tray no more than an hour before serving for the best presentation. The cantaloupe half can be carved and wrapped in plastic wrap overnight.
What if I can’t find a good cantaloupe?
No worries! You can use a small sugar pumpkin (the edible kind), a butternut squash-shaped melon, or even arrange orange slices in a circle on the platter to form a flat pumpkin shape. The visual effect is still there.
How do I keep the fruit from turning brown?
For apples or pears, toss them in a mixture of 1 tablespoon lemon juice and 1 cup water. For the cantaloupe, it naturally doesn’t brown quickly, but you can lightly brush it with lemon juice if you’re concerned. Keep the tray covered with plastic wrap in the fridge until serving.
Is this recipe safe for school parties?
Absolutely! Since it’s all fresh fruit, it’s naturally nut-free, gluten-free, and dairy-free. Just double-check with the school about any specific allergies. I’ve brought this to multiple classroom parties and it’s always a hit.
How many people does this serve?
This tray typically serves 8-10 people as a snack. If you’re using it as a dessert or alongside other treats, it might stretch to 12. For a larger crowd, double the recipe and make two pumpkins, or use a larger watermelon as the base.
Pin This Recipe!
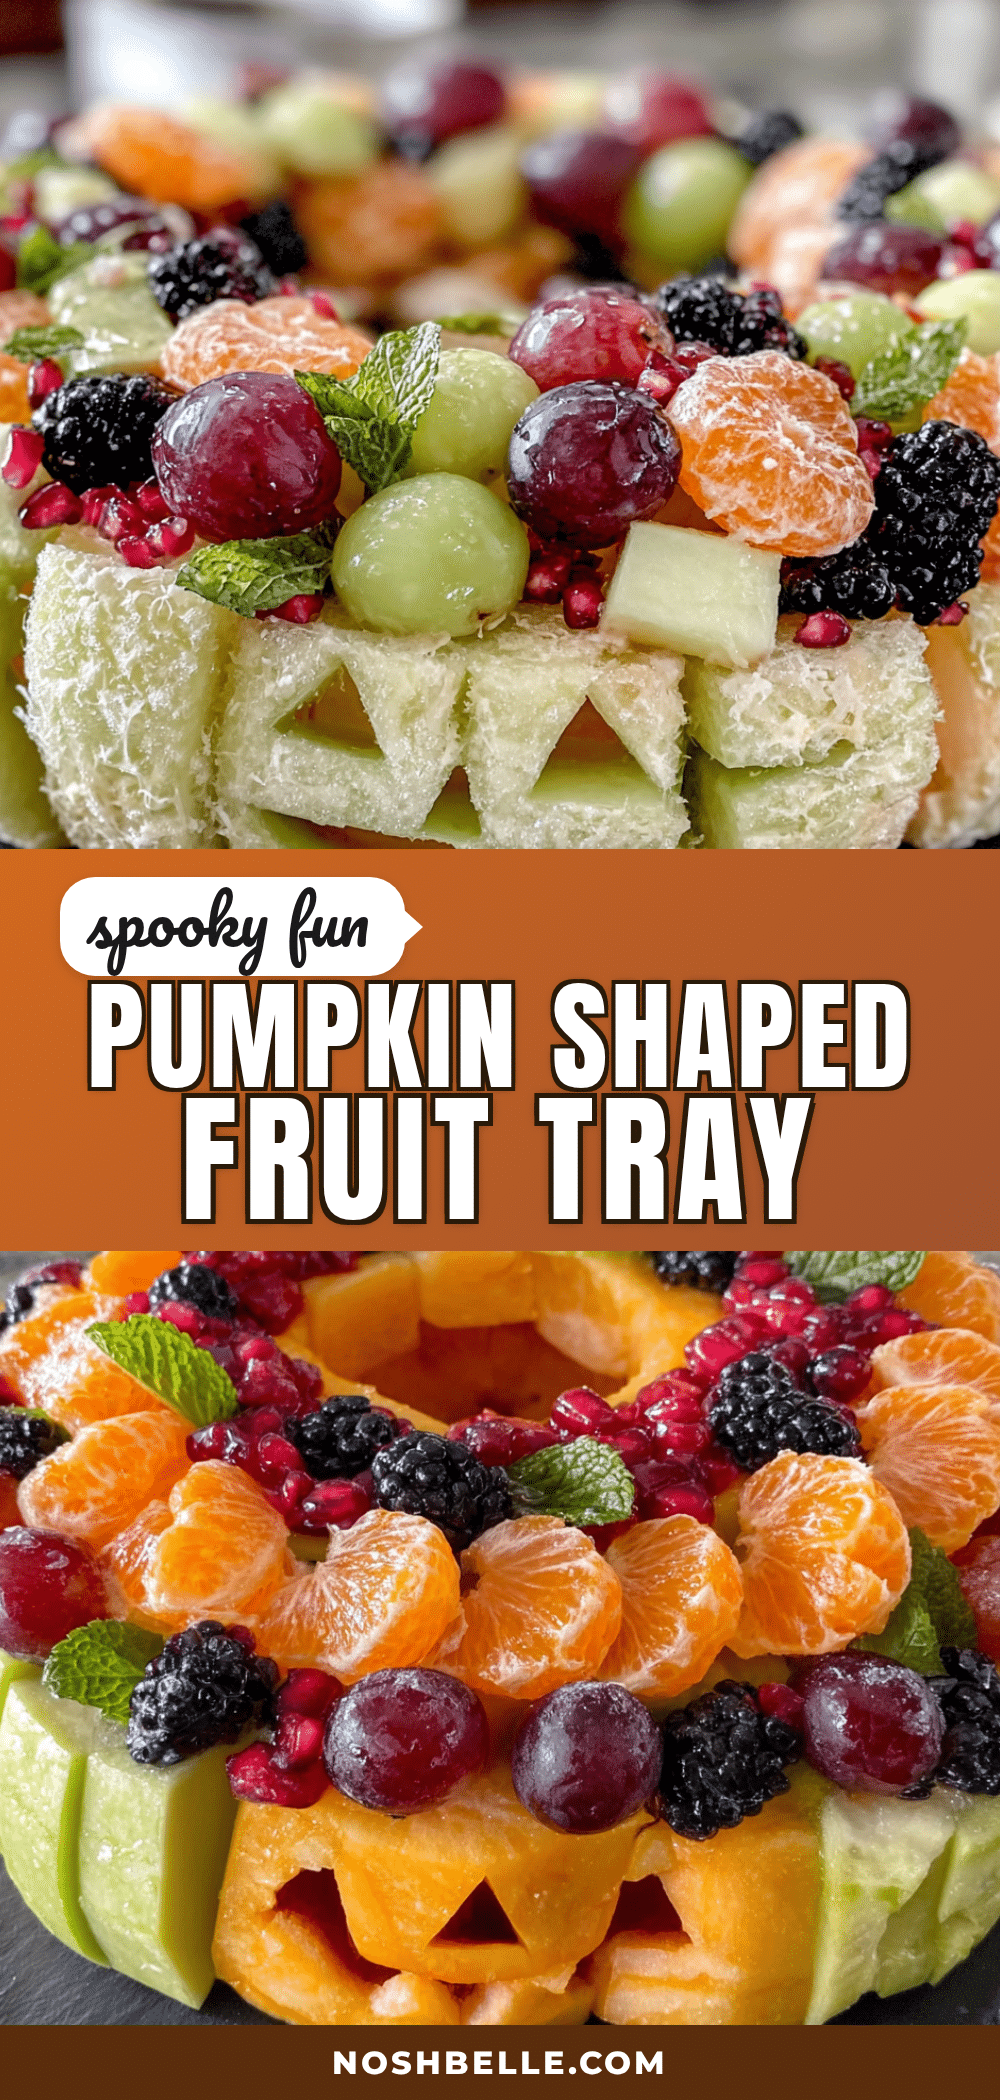
Easy Pumpkin Halloween Fruit Tray: Best + Healthy Snack
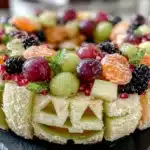
A festive and healthy Halloween snack that’s quick to assemble and visually stunning. This fruit tray shaped like a pumpkin uses fresh cantaloupe, honeydew, kiwi, and berries to create a crowd-pleasing centerpiece that kids and adults love.
- Prep Time: 20 minutes
- Cook Time: 0 minutes
- Total Time: 20 minutes
- Yield: 8-10 servings 1x
- Category: Snack
- Cuisine: American
Ingredients
- 1 medium cantaloupe (ripe but firm, for the main pumpkin body)
- 1 small honeydew melon (for contrast and filling)
- 2 kiwis (one for the stem, one for garnish)
- 1 cup seedless green grapes (optional, for filling gaps)
- 1/2 cup fresh blueberries or blackberries (for color contrast)
- 1 small orange (optional, for extra pumpkin color)
- Fresh mint leaves (for garnish, optional but nice)
Instructions
- Prep the cantaloupe: Cut the cantaloupe in half through the equator (not from stem to blossom end). Scoop out the seeds and stringy bits. Using a melon baller or a spoon, scoop out balls of orange flesh. You want about 2 cups worth. Set them aside.
- Shape the pumpkin base: Take the remaining cantaloupe half (the one that looks like a bowl) and place it cut-side down on your platter. This will be the main pumpkin shape. If it wobbles, trim a tiny slice off the bottom to make it flat.
- Create the ridges: Using a paring knife, gently score shallow lines from the top center of the cantaloupe down to the bottom, about 1 inch apart. This creates the pumpkin rib effect. Don’t cut too deep—just through the rind.
- Make the stem: Peel one kiwi and cut it in half lengthwise. Take one half and trim it into a small, stubby stem shape (about 1.5 inches tall). Place it on top of the cantaloupe, pressing gently so it stays.
- Fill the gaps: Arrange the cantaloupe balls around the base of the pumpkin, like a halo. This hides any uneven edges and adds more pumpkin color.
- Add the honeydew: Cut the honeydew in half, scoop out seeds, and use the melon baller to make green balls. Arrange these in clusters around the pumpkin, alternating with the cantaloupe balls.
- Add the grapes and berries: Tuck green grapes and blueberries into any empty spaces. This fills the tray and adds pops of color.
- Garnish with kiwi: Slice the remaining kiwi into thin rounds. Arrange them around the edge of the platter for a leafy look.
- Add mint leaves: Tuck a few mint leaves near the stem and around the base for a fresh, garden-finished look.
- Serve immediately or refrigerate: This tray is best served within an hour of assembly. If you need to make it ahead, prep the fruit and store it separately, then assemble just before serving.
Notes
Choose a cantaloupe that is ripe but firm for best carving results. If the cantaloupe half slides on the platter, dab a little honey or maple syrup underneath as ‘glue’. For apples or pears, toss in lemon water to prevent browning. The tray is best assembled within an hour of serving.
Nutrition
- Serving Size: 1 cup of mixed fruit
- Calories: 80100
- Sugar: 1518
- Sodium: 15
- Carbohydrates: 2025
- Fiber: 23
- Protein: 12
Keywords: Halloween fruit tray, pumpkin fruit platter, healthy Halloween snack, fruit pumpkin, easy fruit tray, no-bake Halloween treat