My nephew asked me last week why I couldn’t just use refrigerated crescent roll dough for Halloween mummy hot dogs instead of making my own dough from scratch. I started to explain why that wouldn’t work — then stopped. Honestly, I had no good reason. I’d just always done it the hard way, assuming homemade was somehow better for a kids’ Halloween snack. So I grabbed a tube of Pillsbury, and let me tell you, I’ve never looked back. The dough wrapped around those hot dogs perfectly, baked up golden and flaky, and my nephew looked at me like I’d just discovered fire.
The kitchen got messy, I’m not gonna lie. Flour ended up on the floor, the crescent roll dough tore in a couple spots, and I may have burned my finger trying to adjust a “mummy bandage” mid-bake. But that first batch of mummy hot dogs came out looking ridiculous in the best way — little wrapped-up guys with mustard eyes staring back at us. My nephew named each one before eating them, which is either adorable or slightly concerning. Maybe you’ve been there, watching a kid turn simple food into a whole personality.
That’s the thing about these mummy hot dogs — they’re not fancy, but they bring this weird, joyful energy to Halloween that store-bought candy just can’t match. You get the crispy, buttery crust wrapped around a juicy hot dog, plus the fun of making faces on each one. I keep making them every October because they’re the kind of recipe that makes everyone smile, even the adults who pretend they’re too old for silly food. And honestly? They taste way better than they have any right to.
Why You’ll Love This Recipe
These Easy Halloween Mummy Hot Dogs are about to become your go-to for every spooky gathering. I’ve tested this recipe about six times now — once with puff pastry (too greasy), once with pizza dough (too chewy), and four times with crescent rolls (absolutely perfect). Here’s why they work so well:
- Super Quick & Easy: From fridge to table in under 25 minutes. No complicated steps, no fancy equipment. Perfect for those “I forgot it’s Halloween” moments.
- Simple Ingredients: You need exactly four things — hot dogs, crescent roll dough, mustard, and ketchup. That’s it. No specialty stores required.
- Perfect for Halloween Parties: Whether it’s a classroom celebration, a neighborhood potluck, or just a spooky movie night at home, these mummies steal the show every time.
- Crowd-Pleaser: Kids devour them, adults sneak them when no one’s looking, and everyone talks about how cute they are. I’ve watched grown men eat six in one sitting.
- Unbelievably Delicious: The combination of flaky, buttery crust with a salty, juicy hot dog is just… chef’s kiss. It’s comfort food dressed up in a Halloween costume.
What makes these mummy hot dogs different from every other version out there? It’s the technique. Most recipes tell you to wrap the dough in a spiral, but I’ve found that cutting the crescent roll dough into thin strips gives you way more control. You get that authentic mummy look without the dough bunching up in weird places. Plus, the strips bake up crispier, so every bite has that satisfying crunch before you hit the tender hot dog inside.
This isn’t just another Halloween snack — it’s the one that makes you close your eyes after the first bite and think, “Why don’t I make these all year round?” It’s silly, it’s simple, and it’s absolutely perfect for creating those little moments of joy that Halloween is really about.
What Ingredients You Will Need
This recipe keeps things beautifully simple. You don’t need a grocery list longer than your arm or a dozen specialty items. Here’s what you’ll need to make the best mummy hot dogs of your life:
- 1 package (8-count) refrigerated crescent roll dough — I prefer Pillsbury for the flakiest texture, but any brand works. Look for the sheets version if you want to cut your own strips, though the perforated triangles work fine too.
- 8 beef hot dogs — Go with quality here. I like Hebrew National or Applegate for a cleaner ingredient list. The better the hot dog, the better the final bite.
- Yellow mustard — This is for the mummy eyes. The bright yellow color shows up best against the golden dough.
- Ketchup — Optional, but I like adding tiny red dots for a “blood” effect around the eyes. Kids love this, obviously.
- Cooking spray or melted butter — For brushing the tops before baking. Butter gives a richer color and flavor, but spray works in a pinch.
- Sesame seeds or poppy seeds (optional) — Sprinkle these on before baking for extra texture. Not traditional, but adds a nice touch.
A few ingredient notes from my kitchen to yours: If you’re feeding a crowd, double the recipe. These disappear fast. For the hot dogs, I’ve tried both regular and jumbo sizes — regular works better because the dough-to-meat ratio stays balanced. Jumbo hot dogs leave you with too much meat and not enough crispy dough.
For a vegetarian version, use plant-based hot dogs. Just check the cooking time since they sometimes bake up differently. And if you’re avoiding processed foods altogether, you can swap in pre-cooked chicken sausages or turkey dogs. The taste changes, but the fun factor stays the same.
One more thing — don’t skip the butter or spray. I tried a batch without any fat on top, and they came out pale and sad-looking. That little bit of fat is what gives you that gorgeous golden-brown mummy skin.
Equipment Needed
You don’t need a fancy kitchen to pull these off. Here’s what I use every time:
- Baking sheet — A standard half-sheet pan works perfectly. Line it with parchment paper or a silicone baking mat for easy cleanup.
- Sharp knife or pizza cutter — For cutting the crescent roll dough into strips. A pizza cutter gives you cleaner edges, but a knife works fine.
- Pastry brush — For applying butter or oil. If you don’t have one, just use a paper towel dipped in oil.
- Small bowl — For the mustard and ketchup eyes. You’ll use a toothpick or the tip of a knife to apply them.
- Toothpicks — Helpful for adjusting the dough strips if they shift during baking. Also good for applying the mustard eyes.
- Cooling rack — Optional, but helps keep the bottoms from getting soggy.
I’ve made these in a toaster oven too — just reduce the temperature by 25 degrees and watch them closely. They cook faster in smaller spaces. And honestly, if you’re in a dorm room or a tiny apartment, a toaster oven works like a charm.
Preparation Method
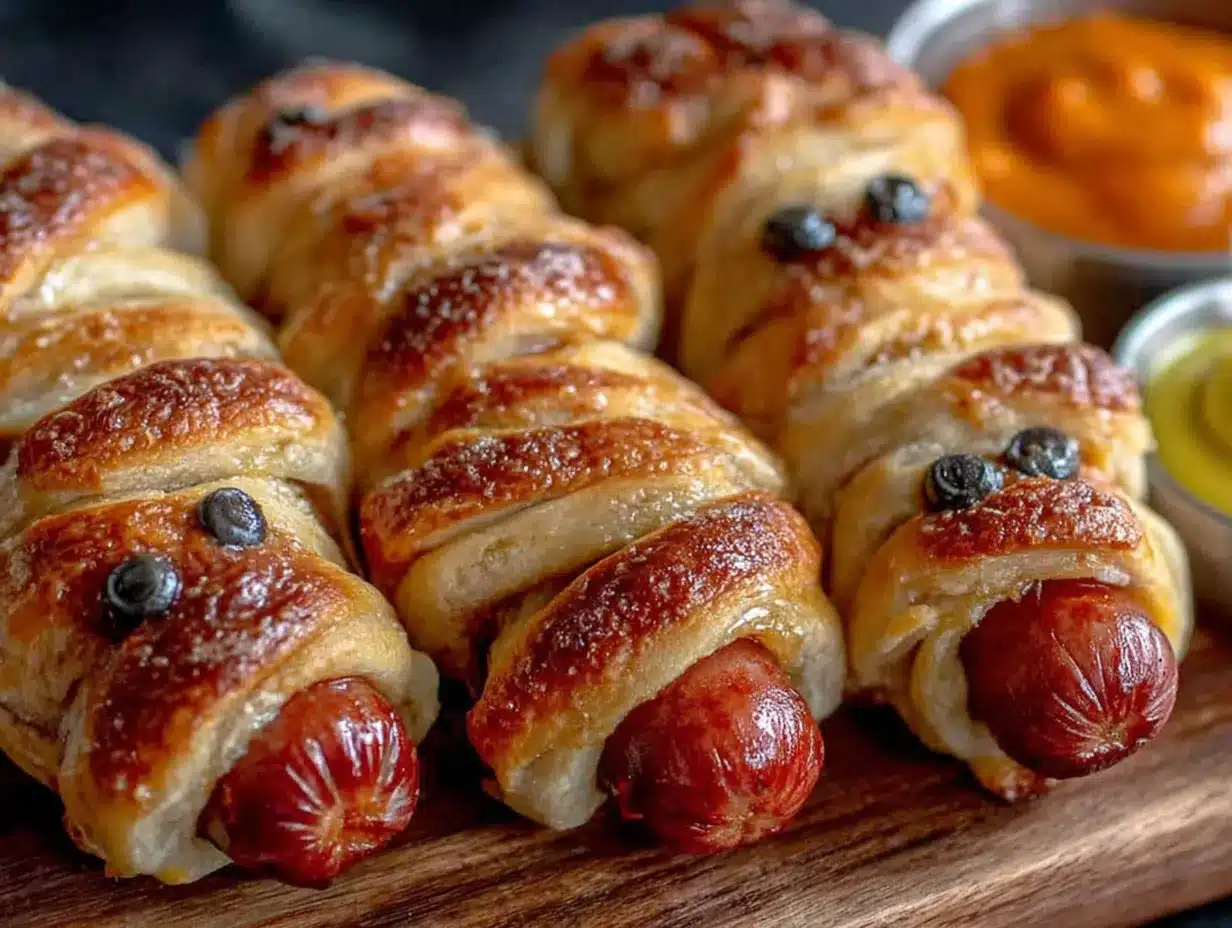
Let me walk you through this step by step. I’ve made these so many times I could do it in my sleep, but I’ll slow it down so you get perfect mummies every time.
- Preheat your oven to 375°F (190°C). Line a baking sheet with parchment paper. This is non-negotiable — the dough will stick to an unlined sheet, and nobody wants to scrape mummy guts off a pan.
- Unroll the crescent roll dough onto a clean cutting board. If you’re using the perforated triangle sheets, press the seams together gently with your fingers. You want a solid rectangle of dough. If you’re using the seamless sheets, even better — just unroll and go.
- Cut the dough into thin strips — about 1/4 inch wide. Use a pizza cutter for the cleanest cuts. You should get about 12-15 strips per sheet. Don’t stress about perfection; mummies are supposed to look a little messy. I’ve had strips that were basically dough noodles, and they still worked.
- Pat the hot dogs dry with a paper towel. This helps the dough stick better. Wet hot dogs make the dough slide around, and your mummies will look like they’re trying to escape their bandages.
- Wrap each hot dog with 2-3 strips of dough, leaving a small gap at the top for the eyes. Start at one end and work your way up, overlapping the strips slightly. Don’t wrap too tightly — the dough expands as it bakes, and tight wrapping will cause tearing. Leave the ends of the hot dog exposed so they look like little mummy feet.
- Place the wrapped hot dogs on the prepared baking sheet, spacing them about 2 inches apart. They’ll puff up a bit, so give them room to breathe.
- Brush each mummy with melted butter or cooking spray. This is what gives them that gorgeous golden color. Don’t skip this step — I learned the hard way that naked dough bakes up pale and sad.
- Bake for 12-15 minutes, or until the dough is golden brown and the hot dogs are heated through. The edges of the strips should be crispy and slightly darker than the centers. Every oven runs differently, so check at the 12-minute mark.
- Let them cool on the baking sheet for 2-3 minutes. This lets the dough set so it doesn’t fall apart when you add the eyes.
- Add the eyes using mustard. Dip a toothpick into yellow mustard and dot two small circles near the top of each mummy. For extra spookiness, add a tiny dot of ketchup in the center of each mustard eye — it looks like little bloodshot eyes. Or just leave them as yellow eyes. Both are adorable.
- Serve immediately while they’re still warm. The dough is crispiest fresh out of the oven, and the hot dogs are at their juiciest.
One thing I’ve learned: if the dough strips start sticking to your fingers, lightly dust them with flour. Also, if a strip breaks, just press it back together — the heat will seal it during baking. No one will ever know.
Cooking Tips & Techniques
After making these mummy hot dogs more times than I care to count, I’ve picked up a few tricks that make the process smoother and the results better.
The biggest mistake people make is over-wrapping the hot dogs. I did this my first time — used like five strips per hot dog — and ended up with these doughy blobs that looked more like burritos than mummies. Two to three strips is perfect. You want the hot dog to show through in spots, like a real mummy with gaps in its bandages.
Temperature matters more than you think. If your crescent roll dough is too cold, it cracks when you try to wrap it. Let it sit at room temperature for about 10 minutes before cutting. Too warm, and it gets sticky and hard to handle. That Goldilocks zone makes all the difference.
Here’s a trick I wish I’d known sooner: if you’re making these for a party, you can prep them ahead of time. Wrap the hot dogs in dough strips, place them on the baking sheet, and refrigerate for up to 4 hours. Then just brush with butter and bake when you’re ready. The cold dough actually holds its shape better during baking.
Don’t crowd the pan. I tried fitting all 8 mummies on one half-sheet pan once, and they ended up touching each other during baking. The dough stuck together, and when I tried to separate them, the mummies lost their eyes. Spread them out — your future self will thank you.
For extra crispy mummies, try this: after brushing with butter, sprinkle a tiny pinch of salt over the top. It draws out moisture and helps the dough crisp up. Plus, that salty-buttery combination with the hot dog is just incredible.
One more thing — if you’re using turkey or chicken hot dogs, they release more moisture during baking. Pat them extra dry before wrapping, and consider baking them on a wire rack set inside the baking sheet. This lets air circulate underneath and prevents soggy bottoms.
Variations & Adaptations
These mummy hot dogs are endlessly adaptable. Here are some variations I’ve tried and loved:
Cheesy Mummies: Before wrapping, slice the hot dog lengthwise about halfway through and stuff a thin strip of cheddar or mozzarella inside. The cheese melts out during baking and looks like mummy guts. Kids absolutely lose their minds over this version.
Spicy Mummies: Use spicy Italian sausages instead of regular hot dogs, and add a dash of cayenne pepper to the butter before brushing. The heat cuts through the richness of the dough beautifully. My brother-in-law requests these every Halloween.
Pizza Mummies: Brush the dough strips with pizza sauce before wrapping, and add a sprinkle of Italian seasoning on top. Serve with marinara for dipping. It’s like a pizza roll and a hot dog had a spooky baby.
Gluten-Free Mummies: Use gluten-free crescent roll dough (I’ve found that the brand Schär works well) or even gluten-free puff pastry sheets. The texture is slightly different — a bit more crumbly — but the taste is still fantastic.
Breakfast Mummies: Swap the hot dogs for breakfast sausages and use pancake batter instead of crescent roll dough. Cook them on a griddle like pancakes, wrapping the batter around the sausage as it cooks. Serve with maple syrup for dipping. This is my favorite non-Halloween version.
Veggie Mummies: Replace hot dogs with carrot sticks or zucchini spears that have been lightly steamed. The dough wraps around them the same way, and you get a slightly healthier snack. My vegetarian sister-in-law approves.
Serving & Storage Suggestions
These mummy hot dogs are best served warm, right after the eyes go on. The contrast between the crispy, just-baked dough and the juicy hot dog is at its peak within the first 15 minutes. I like to arrange them on a platter with a small bowl of ketchup and mustard for dipping, plus some extra mustard eyes on the side in case any fall off during transport.
For a full Halloween spread, pair them with:
- Pumpkin-shaped cheese crackers
- Veggie sticks arranged like a graveyard (use a dip as the “dirt”)
- Spiderweb cupcakes for dessert
- Apple cider or a fun Halloween punch
Storage: If you somehow have leftovers (unlikely, but possible), let them cool completely, then store in an airtight container in the refrigerator for up to 3 days. The dough will soften, but they’re still tasty.
Reheating: Pop them in a 350°F oven for 5-7 minutes to bring back some of the crispiness. The microwave works in a pinch (30 seconds), but the dough will be soft. I actually like them cold straight from the fridge — the dough gets chewy and the hot dog firms up. Don’t judge me.
Freezing: You can freeze the unbaked mummies. Wrap them in plastic wrap, then foil, and freeze for up to 2 months. Bake from frozen, adding 3-5 minutes to the cooking time. The dough might not be quite as flaky, but it’s still delicious.
One note on how flavors develop: these are definitely a “fresh is best” situation. The dough loses its magic after a day or two. But honestly, I’ve never had them last longer than 24 hours in my house.
Nutritional Information & Benefits
Let’s be real — these are a treat, not a health food. But here’s the breakdown per serving (one mummy hot dog):
- Calories: Approximately 220-250
- Protein: 8-10 grams
- Fat: 14-16 grams
- Carbohydrates: 18-20 grams
- Sodium: 600-700 mg (varies by hot dog brand)
The crescent roll dough provides some iron and B vitamins, while the hot dog offers protein. If you use turkey or chicken hot dogs, you’ll cut the fat and calories by about 30%. And if you’re watching your sodium, look for low-sodium hot dogs — they’re widely available now.
From a wellness perspective, I think of these as “joy food.” They’re not something you eat every day, but they bring so much happiness to a Halloween celebration that the occasional indulgence is totally worth it. Plus, making them with kids gets them involved in the kitchen, which is a win for everyone.
Potential allergens: wheat (in the crescent roll dough), dairy (in the butter), and soy (often in processed hot dogs). Check your ingredient labels if you’re cooking for someone with allergies.
Conclusion
These Easy Halloween Mummy Hot Dogs are the kind of recipe that proves you don’t need complicated techniques or fancy ingredients to create something memorable. They’re silly, they’re simple, and they bring out the kid in everyone who eats them. I’ve made them for Halloween parties, classroom celebrations, and even a grown-up dinner party where everyone pretended to be too sophisticated — until the platter was empty in five minutes.
What I love most about this recipe is how adaptable it is. You can make them exactly as written, or you can riff on them with cheese, spices, or different sausages. They’re a blank canvas for your Halloween creativity. And honestly, the look on a kid’s face when they see a plate of mummy hot dogs? That’s pure magic.
I’d love to hear how yours turn out. Did you add cheese? Make them spicy? Did your kids name their mummies before eating them? Drop a comment below and share your mummy-making adventures. And if you’re looking for more Halloween fun, check out my spiderweb dip recipe — it pairs perfectly with these little guys.
Happy Halloween, and happy cooking! May your mummies be golden, your eyes stay put, and your kitchen be filled with laughter.
Frequently Asked Questions
Can I use puff pastry instead of crescent roll dough?
Yes, but the texture will be different. Puff pastry is flakier and less sturdy, so the mummies might fall apart more easily. If you use puff pastry, cut it into thicker strips (about 1/2 inch) and bake at 400°F for 12-15 minutes.
How do I keep the mustard eyes from smearing?
Let the mummies cool for at least 2-3 minutes before adding the eyes. The residual heat will set the mustard slightly. Also, use a toothpick to apply the mustard rather than squeezing it directly from the bottle — you get more control.
Can I make these in an air fryer?
Absolutely! Preheat your air fryer to 350°F, place the mummies in a single layer (don’t overcrowd), and cook for 8-10 minutes. Check at the 8-minute mark — air fryers run hot and the dough can burn quickly.
What other foods can I use for the eyes?
Mustard is the classic, but you can also use small dots of ketchup, sriracha, or even cream cheese. For a less messy option, use candy eyes from the baking aisle — just press them on after baking while the dough is still warm.
How far ahead can I prep these?
You can wrap the hot dogs in dough up to 4 hours ahead and keep them refrigerated. Add the eyes just before serving, as the mustard can bleed into the dough if left too long. You can also freeze the unbaked mummies for up to 2 months.
Pin This Recipe!
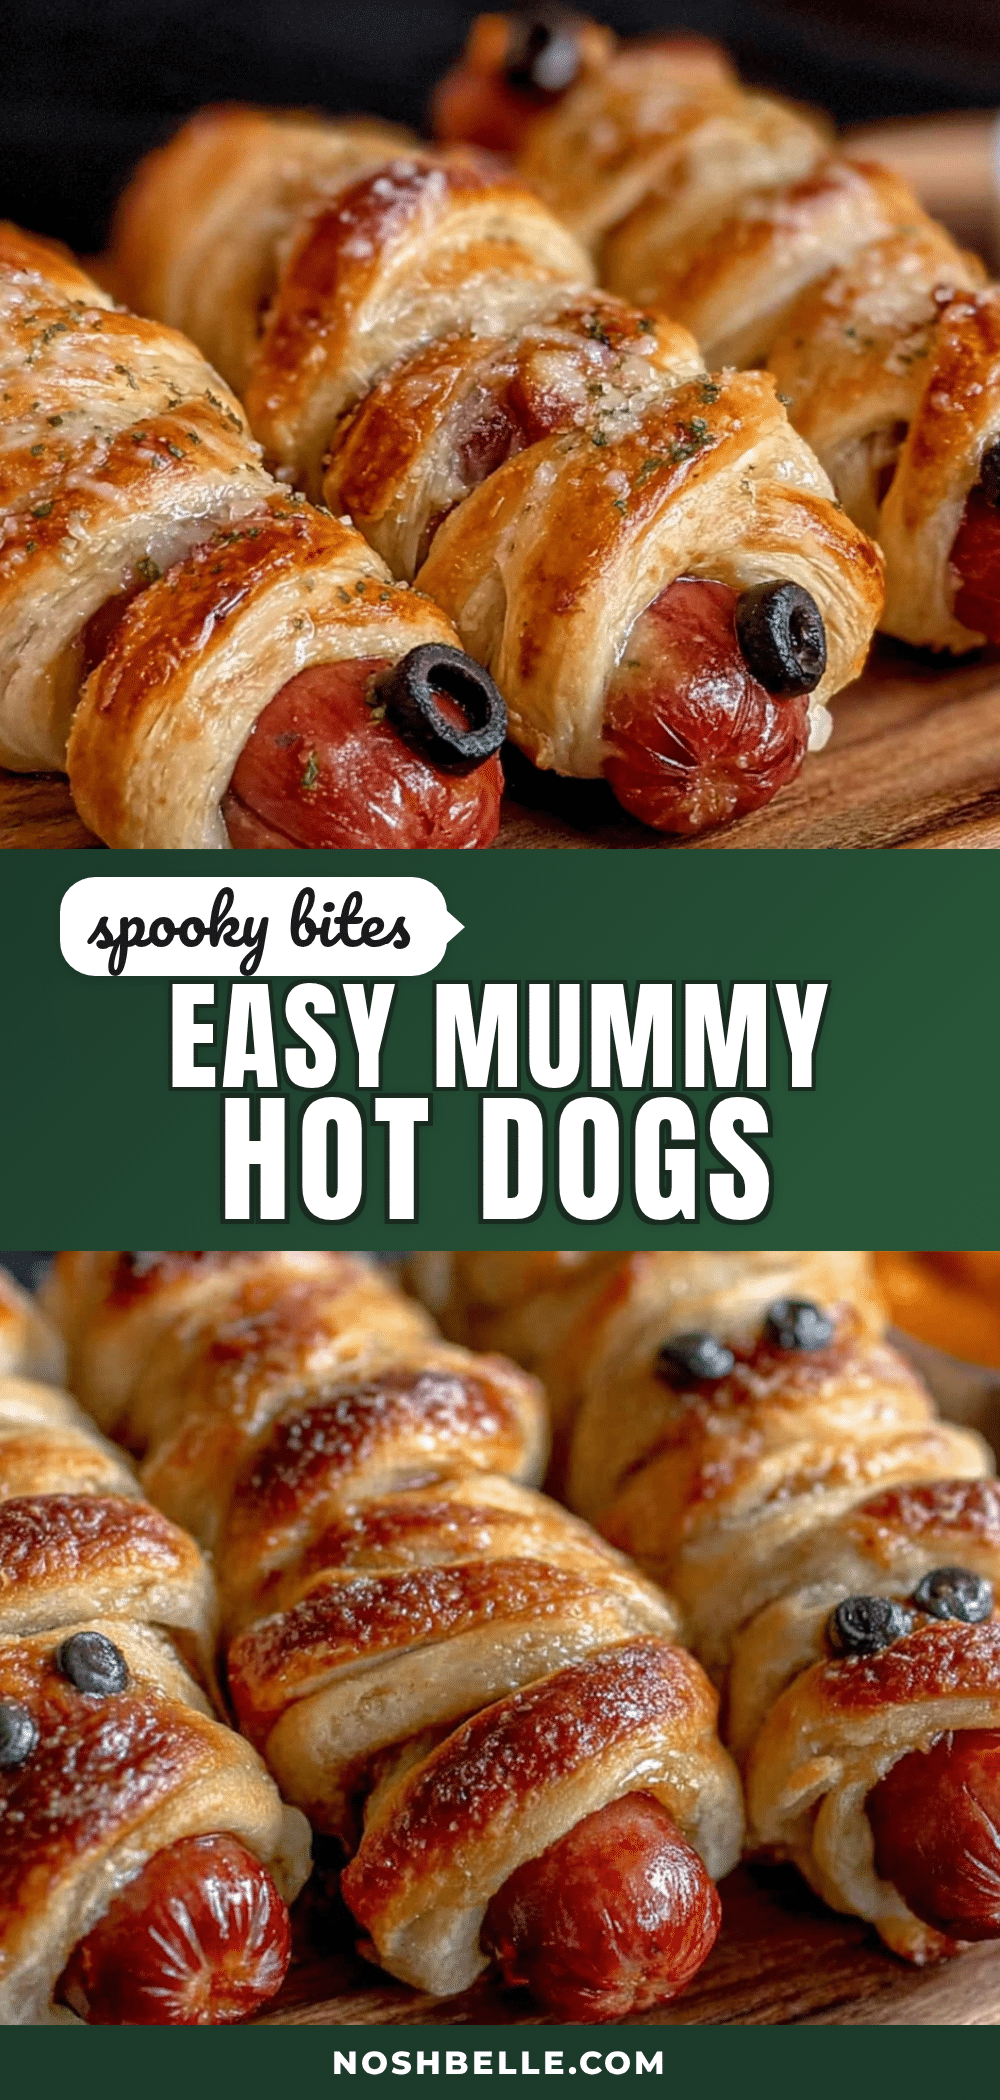
Easy Halloween Mummy Hot Dogs: Best Kid-Friendly Recipe

These Easy Halloween Mummy Hot Dogs are a quick, fun, and delicious snack perfect for Halloween parties. Made with just four ingredients, they feature flaky crescent roll dough wrapped around juicy hot dogs, with mustard eyes for a spooky touch.
- Prep Time: 10 minutes
- Cook Time: 15 minutes
- Total Time: 25 minutes
- Yield: 8 servings 1x
- Category: Appetizer
- Cuisine: American
Ingredients
- 1 package (8-count) refrigerated crescent roll dough
- 8 beef hot dogs
- Yellow mustard
- Ketchup (optional)
- Cooking spray or melted butter
- Sesame seeds or poppy seeds (optional)
Instructions
- Preheat your oven to 375°F (190°C). Line a baking sheet with parchment paper.
- Unroll the crescent roll dough onto a clean cutting board. If using perforated triangle sheets, press the seams together gently to form a solid rectangle.
- Cut the dough into thin strips, about 1/4 inch wide, using a pizza cutter or sharp knife.
- Pat the hot dogs dry with a paper towel to help the dough stick.
- Wrap each hot dog with 2-3 strips of dough, leaving a small gap at the top for the eyes. Start at one end and work your way up, overlapping the strips slightly. Do not wrap too tightly.
- Place the wrapped hot dogs on the prepared baking sheet, spacing them about 2 inches apart.
- Brush each mummy with melted butter or cooking spray.
- Bake for 12-15 minutes, or until the dough is golden brown and the hot dogs are heated through.
- Let them cool on the baking sheet for 2-3 minutes.
- Add the eyes using mustard. Dip a toothpick into yellow mustard and dot two small circles near the top of each mummy. For extra spookiness, add a tiny dot of ketchup in the center of each mustard eye.
- Serve immediately while still warm.
Notes
For best results, let crescent roll dough sit at room temperature for 10 minutes before cutting. Do not over-wrap hot dogs; 2-3 strips is perfect. For extra crispy mummies, sprinkle a tiny pinch of salt over the butter before baking. Unbaked mummies can be refrigerated for up to 4 hours or frozen for up to 2 months.
Nutrition
- Serving Size: 1 mummy hot dog
- Calories: 235
- Sugar: 4
- Sodium: 650
- Fat: 15
- Saturated Fat: 5
- Carbohydrates: 19
- Protein: 9
Keywords: Halloween, mummy hot dogs, kid-friendly, easy, crescent roll, hot dog, spooky snack