This was supposed to be a classic oatmeal cookie. I had the butter softening on the counter, the raisins measured out, and my three-year-old “helping” by dumping an entire container of cinnamon into a bowl that didn’t even belong to the recipe. The phone rang—my sister, asking about weekend plans—and by the time I got back, the butter had gone from soft to a deep, nutty brown in the pan I’d absentmindedly left on a low flame. I stood there, staring at it, thinking I’d ruined a whole stick of butter. My daughter was now wearing half the flour. Honestly, I almost just ordered pizza.
But I couldn’t let the butter go to waste, you know? So I grabbed the apples sitting in the fruit bowl—the ones getting a little soft, the ones I’d bought on sale three for a dollar—and started slicing. I figured I’d make a crisp instead. No fuss, no rolling dough, no patience required. I poured that browned butter over the oat topping, crossed my fingers, and shoved it in the oven. What came out was nothing like the oatmeal cookies I’d planned. It was better. Way better.
The smell alone brought my husband out of the home office. The kids were circling the kitchen island like little sharks. And when I pulled that golden, bubbling dish out of the oven, with the topping all crunchy and the apples soft and jammy underneath, I knew I’d accidentally stumbled onto something special. Maybe you’ve been there—the kitchen chaos, the near-disaster, the happy accident that ends up becoming a family favorite. That’s this crisp. It’s the recipe I make when I need a win, when the grocery budget is tight, and when I want everyone at the table to close their eyes after the first bite. It’s proof that sometimes the best things come from messing up.
Why You’ll Love This Recipe
Let me tell you why this brown butter apple crisp has become our go-to dessert, and why I think it’ll become yours too.
- Quick & Easy: From start to table in about 45 minutes. Most of that is hands-off oven time. Perfect for a Tuesday night when the kids are already asking what’s for dessert before dinner is even on the table.
- Simple Ingredients: You probably have everything in your pantry right now. Apples, oats, flour, butter, sugar, cinnamon. Nothing fancy, nothing expensive. This is a budget-friendly dessert through and through.
- Perfect for Family Meals: It’s not too sweet, not too fussy. Kids love the crunchy topping and soft apples. Adults love the depth of flavor from the brown butter. Everyone wins.
- Crowd-Pleaser: I’ve brought this to potlucks, weekend barbecues, and holiday dinners. It disappears every single time. People always ask for the recipe, and they’re always surprised when I tell them how simple it is.
- Unbelievably Delicious: The brown butter changes everything. It adds this nutty, almost caramel-like flavor that makes the whole thing taste way more complicated than it actually is. It’s comfort food at its finest—warm, cozy, and deeply satisfying.
What makes this recipe different from all the other apple crisps out there? It’s the brown butter, hands down. Most recipes skip this step, but taking those extra five minutes to brown the butter transforms the entire dish. It adds a richness that you just can’t get any other way. Plus, this version is designed to be flexible—use whatever apples are on sale, swap in gluten-free oats, add a handful of nuts if you have them. It’s forgiving, just like a good family recipe should be.
This isn’t just good. It’s the kind of dessert that makes you close your eyes after the first bite. The kind that makes the whole kitchen smell like fall, even in the middle of summer. The kind that turns a regular weeknight into something a little bit special, without breaking the bank or your sanity.
What Ingredients You Will Need
This recipe uses simple, wholesome ingredients to deliver bold flavor and satisfying texture without the fuss. Most of these are pantry staples, so you can whip this up on a whim without a special trip to the store.
- Apples (6 medium, about 2 pounds): Peeled, cored, and sliced into ¼-inch thick pieces. I recommend a mix of sweet and tart varieties. Honeycrisp and Granny Smith are my favorite combo. Gala, Fuji, or Braeburn also work great. (Pro tip: use whatever apples are on sale—this recipe is forgiving.)
- Granulated Sugar (¼ cup / 50g): For the apple filling. Just enough to sweeten without overpowering the fruit. You can reduce this slightly if your apples are very sweet.
- All-Purpose Flour (2 tablespoons / 16g): Helps thicken the apple juices as they cook, creating that lovely, jammy consistency.
- Ground Cinnamon (1 teaspoon): The classic apple spice. Adds warmth and depth. I use a generous teaspoon because I love cinnamon, but feel free to adjust to taste.
- Lemon Juice (1 tablespoon): Freshly squeezed is best. It brightens the apples and prevents them from browning too much while you prepare the topping.
- Unsalted Butter (½ cup / 1 stick / 113g): This is the star of the show. You’ll brown it for the topping, which gives the whole crisp that incredible nutty flavor. I use unsalted so I can control the salt level.
- Rolled Oats (1 cup / 90g): Old-fashioned oats work best here. They give the topping that perfect chewy-crunchy texture. Quick oats will work in a pinch, but the texture won’t be quite as good.
- All-Purpose Flour (¾ cup / 95g): For the topping. Creates structure and helps the crisp get those golden, crunchy clusters.
- Brown Sugar (½ cup / 100g, packed): Light or dark brown sugar both work. Dark brown sugar will give a deeper, more molasses-like flavor. I usually use light brown sugar for a milder sweetness.
- Salt (¼ teaspoon): A small amount balances the sweetness and enhances all the other flavors. Don’t skip it!
- Vanilla Extract (1 teaspoon): Adds warmth and rounds out the flavor of the topping. Pure vanilla extract is best, but imitation works fine too.
Ingredient Notes & Substitutions
- Apples: Any firm, baking-friendly apple works. Avoid Red Delicious, which turn mushy. If you only have one variety, that’s fine—the crisp will still be delicious.
- Oats: For a gluten-free version, use certified gluten-free rolled oats. The recipe works exactly the same.
- Butter: You can use salted butter if that’s what you have. Just reduce the added salt in the topping to a tiny pinch.
- Sugar: Coconut sugar can replace both the granulated and brown sugar if you prefer a less refined option. The flavor will be slightly different, but still good.
Equipment Needed
You don’t need any fancy tools for this recipe. Here’s what you’ll need:
- 8×8-inch Baking Dish: A 9×9-inch dish works too, but the crisp will be slightly thinner and may bake a few minutes faster. A 9-inch pie plate is also a great option.
- Medium Skillet or Saucepan: For browning the butter. A light-colored pan is helpful so you can see the butter change color, but any pan will do.
- Mixing Bowls: One large bowl for the apples, one medium bowl for the topping.
- Sharp Knife and Cutting Board: For peeling and slicing the apples. A vegetable peeler makes the job even faster.
- Measuring Cups and Spoons: For accurate measurements. Baking is a science, even if this recipe is forgiving.
- Wooden Spoon or Spatula: For stirring the butter as it browns and for mixing the topping.
- Cooling Rack: Optional, but helps the crisp cool evenly if you’re serving it later.
I’ve made this crisp in a cast-iron skillet before, and it works beautifully—just be careful when serving, as the handle will be hot. If you don’t have an 8×8 dish, you can even use a small casserole dish or a deep-dish pie plate. The beauty of a crisp is that it’s not fussy about the pan.
Preparation Method
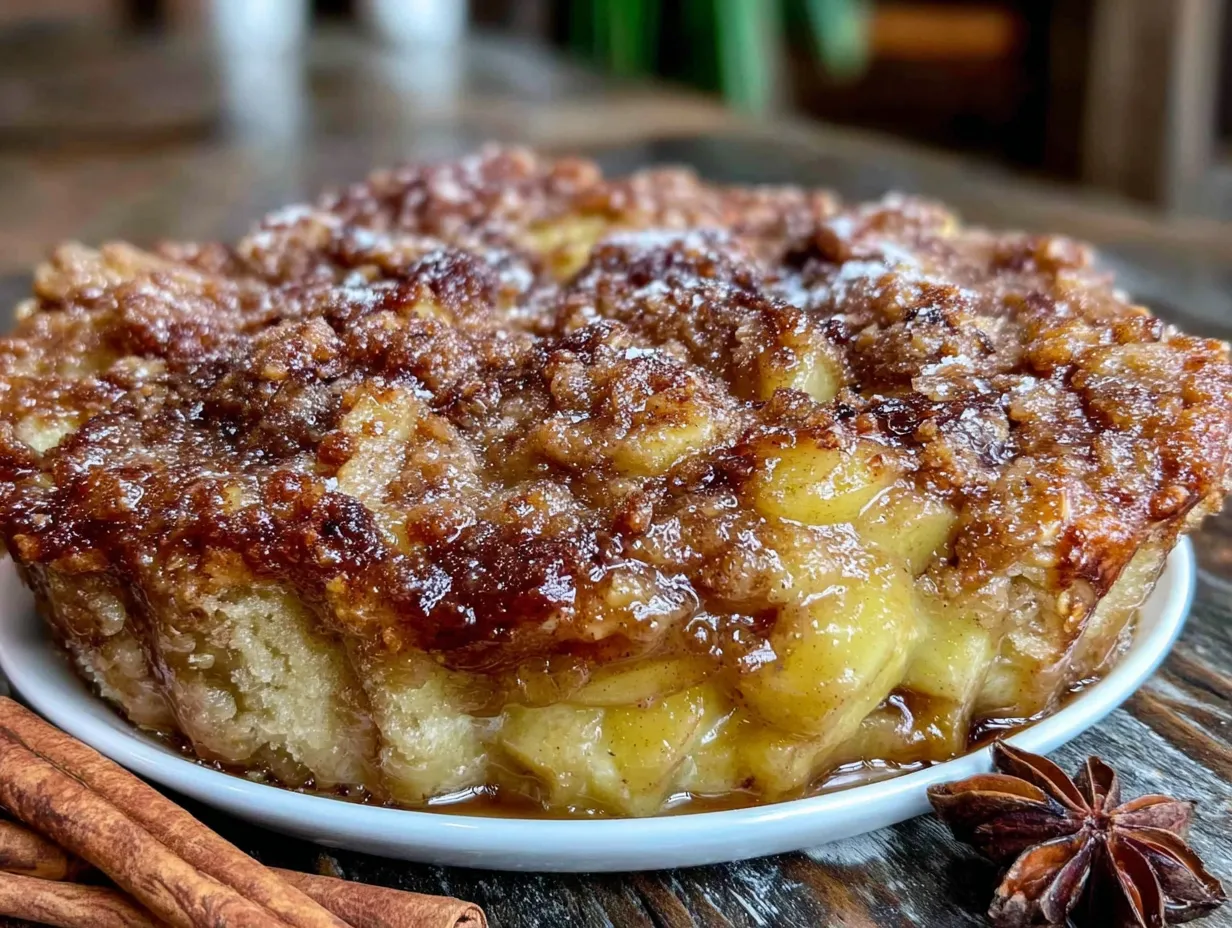
Let’s get cooking. This recipe comes together in about 15 minutes of active prep time, then the oven does the rest.
- Preheat your oven to 375°F (190°C). Place a rack in the center of the oven. While the oven heats, you can prep the apples and topping.
- Prepare the apples. Peel, core, and slice 6 medium apples into ¼-inch thick slices. Don’t stress about making them perfect—they’ll soften in the oven. Place the sliced apples in a large mixing bowl. Add ¼ cup granulated sugar, 2 tablespoons all-purpose flour, 1 teaspoon ground cinnamon, and 1 tablespoon lemon juice. Toss everything together until the apples are evenly coated. Set aside while you make the topping.
- Brown the butter. Place ½ cup (1 stick) unsalted butter in a medium skillet or saucepan over medium heat. Let it melt completely, then continue cooking, swirling the pan occasionally. The butter will start to foam and sputter—that’s normal. After about 3-5 minutes, you’ll see brown specks forming at the bottom of the pan, and the butter will smell nutty and amazing. Watch it carefully at this stage, because it can go from perfect to burnt very quickly. As soon as it’s golden brown and smells fragrant, remove it from the heat immediately. Pour it into a heatproof bowl to stop the cooking process.
- Make the topping. In a medium bowl, combine 1 cup rolled oats, ¾ cup all-purpose flour, ½ cup packed brown sugar, and ¼ teaspoon salt. Stir with a fork to combine. Pour the browned butter over the dry ingredients, add 1 teaspoon vanilla extract, and stir until everything is moistened and clumpy. The mixture should look like wet sand with some larger clusters. Don’t overmix—the clumps are what make the topping crunchy.
- Assemble the crisp. Pour the apple mixture into your 8×8-inch baking dish and spread it into an even layer. Sprinkle the oat topping evenly over the apples. Don’t press it down—you want it to stay loose so it bakes up crispy.
- Bake. Place the dish on a baking sheet to catch any drips (trust me on this one). Bake for 35-40 minutes, or until the topping is golden brown and the apple juices are bubbling up around the edges. If the topping is browning too quickly, tent the dish loosely with foil for the last 10 minutes of baking.
- Cool slightly before serving. Let the crisp rest on a cooling rack for at least 10-15 minutes. This allows the juices to thicken up a bit so you get clean servings. Serve warm, preferably with a scoop of vanilla ice cream or a drizzle of heavy cream.
Visual cues: The topping should be deep golden brown and feel firm to the touch. The apple juices should be thick and bubbly, not watery. If you see clear liquid pooling, give it another 5 minutes in the oven.
Cooking Tips & Techniques
I’ve made this crisp more times than I can count, and I’ve learned a few things along the way. Here are my best tips for success.
Watch the butter like a hawk. The first time I made brown butter, I got distracted by a kid asking for a snack, and I ended up with burnt butter that smelled like ash. It was a sad day. Brown butter goes from perfect to ruined in about 30 seconds. Stay at the stove, keep the heat at medium, and swirl the pan constantly once the butter starts foaming. The moment you see those brown specks and smell that nutty aroma, pull it off the heat.
Don’t skip the lemon juice. I know it seems like a small detail, but that tablespoon of lemon juice does two things: it keeps the apples from browning too much while you prep, and it adds a tiny bit of acidity that balances the sweetness. Without it, the crisp can taste one-dimensional.
Slice your apples evenly. This is one of those things that sounds fussy but actually matters. If some slices are thick and some are thin, they’ll cook at different rates. You’ll end up with mushy spots and crunchy spots. Aim for ¼-inch thick slices—about the width of a pencil.
Let it rest. I know it’s hard to wait when the kitchen smells like heaven, but letting the crisp rest for at least 10 minutes is essential. If you serve it straight out of the oven, the juices will be runny and your topping will slide right off. Patience pays off here.
Use a baking sheet underneath. I learned this one the hard way. Apple crisps bubble up, and sometimes that bubbling means juice spilling over the edges of your dish. Placing the dish on a baking sheet saves you from scrubbing burnt sugar off the bottom of your oven. Trust me on this.
Variations & Adaptations
This recipe is endlessly adaptable. Here are some of my favorite ways to change it up.
- Add nuts: Toss ½ cup chopped pecans or walnuts into the topping for extra crunch. Toast them along with the oats for even more flavor.
- Mix up the fruit: Use a combination of apples and pears, or swap in fresh or frozen berries for part of the apples. Peach and apple crisp is a summer favorite in my house.
- Make it gluten-free: Substitute the all-purpose flour with a 1:1 gluten-free baking flour blend, and use certified gluten-free oats. The texture will be slightly different, but still delicious.
- Add a warm spice blend: In addition to cinnamon, try adding ¼ teaspoon nutmeg, ¼ teaspoon ginger, and a pinch of cloves. It gives the crisp a chai-like warmth that’s perfect for fall.
- Try a different sweetener: Maple syrup or honey can replace the brown sugar in the topping. Use ⅓ cup maple syrup and reduce the butter to 6 tablespoons to keep the texture right.
- Individual servings: Divide the apple mixture and topping among 4-6 ramekins. Bake for about 20-25 minutes, or until bubbly. These are perfect for dinner parties or portion control.
My personal favorite variation? Adding a handful of fresh cranberries to the apple mixture in the fall. The tartness of the cranberries plays beautifully against the sweet, nutty topping. It’s become our Thanksgiving tradition.
Serving & Storage Suggestions
This apple crisp is best served warm, but it’s honestly good at any temperature. Here’s how to make the most of it.
Serving: Scoop into bowls and top with a generous scoop of vanilla ice cream. The cold creaminess against the warm, crunchy crisp is pure magic. If you don’t have ice cream, a drizzle of heavy cream or a dollop of whipped cream works beautifully. For a dairy-free option, try coconut whipped cream or a scoop of your favorite non-dairy ice cream.
What to serve alongside: This crisp is wonderful on its own, but it also pairs beautifully with a cup of hot coffee or a mug of spiced cider. If you’re serving it as part of a fall meal, it’s lovely alongside a slice of cheddar cheese—sounds weird, I know, but apple and cheddar is a classic combo for a reason.
Storage: Cover the baking dish tightly with foil or plastic wrap and store in the refrigerator for up to 4 days. The topping will lose some of its crunch over time, but the flavor will still be fantastic.
Reheating: The best way to reheat apple crisp is in the oven. Place it in a 350°F (175°C) oven for 10-15 minutes, or until warmed through. The microwave works in a pinch, but the topping will be soft rather than crispy. If you’re reheating in the microwave, try placing a paper towel under the bowl to absorb excess moisture.
Freezing: You can freeze the assembled but unbaked crisp for up to 3 months. Wrap the dish tightly in plastic wrap, then foil. Bake directly from frozen, adding about 15-20 minutes to the baking time. You can also freeze the baked crisp, but the texture will be softer after thawing.
Flavor development: Here’s a little secret—this crisp actually tastes even better the next day. The flavors meld together overnight, and the apples become even more jammy and delicious. If you can resist eating it all the first night, you’re in for a treat.
Nutritional Information & Benefits
While this is definitely a treat, it’s not without its redeeming qualities. Here’s a rough estimate of the nutritional content per serving (based on 8 servings).
- Calories: Approximately 320-350 per serving
- Fat: 13-15g (mostly from the butter)
- Carbohydrates: 50-55g
- Fiber: 4-5g (thanks to the apples and oats)
- Sugar: 30-35g (naturally occurring plus added)
- Protein: 3-4g
Health highlights: Apples are a great source of fiber and vitamin C, especially if you leave the peel on (though the texture is better peeled in this recipe). Oats provide soluble fiber, which is good for heart health. The brown butter adds a small amount of vitamin A and healthy fats.
Dietary considerations: This recipe can be made gluten-free with simple substitutions (see variations above). It’s naturally vegetarian and can be made vegan by using a plant-based butter alternative (though the browning process won’t work the same way with all vegan butters). It contains dairy and gluten in its standard form.
My take: Look, this is dessert. It’s not health food. But I feel good about serving it to my family because it’s made with real ingredients, not preservatives or artificial flavors. Plus, the fiber from the apples and oats means it’s more satisfying than a boxed dessert. Everything in moderation, right?
Conclusion
This brown butter apple crisp started as a mistake—a distracted moment in the kitchen that could have ended with burnt butter and takeout pizza. Instead, it became one of our most-loved family recipes. It’s proof that you don’t need fancy ingredients or complicated techniques to make something truly special.
What I love most about this recipe is how forgiving it is. You can use whatever apples are on sale. You can add nuts or leave them out. You can serve it with ice cream or eat it straight from the dish with a spoon (no judgment here). It’s a recipe that works with your life, not against it. And honestly, isn’t that what we all need?
I hope you give this crisp a try. I hope it fills your kitchen with that incredible brown butter and apple smell. And I hope it becomes a favorite in your home, just like it has in mine. If you make it, I’d love to hear how it turns out. Leave a comment below, tag me in your photos, or tell me about your own happy kitchen accidents. After all, some of the best things in life come from things not going according to plan.
Happy baking, friends. You’ve got this.
Frequently Asked Questions
Can I use quick oats instead of rolled oats?
Yes, you can. The texture will be slightly different—quick oats absorb more liquid and won’t give you quite the same crunchy clusters. But in a pinch, they work just fine. I’ve done it when I ran out of rolled oats, and nobody complained.
Do I have to peel the apples?
You don’t have to, but I recommend it for this recipe. The peel can become tough and chewy during baking, and it can prevent the apples from breaking down into that soft, jammy texture. If you’re short on time or don’t mind the texture, leaving the peel on is totally fine.
Can I make this ahead of time?
Absolutely. You can assemble the crisp (without baking) up to 24 hours in advance. Cover and refrigerate, then bake as directed, adding about 5-10 minutes to the baking time since you’re starting from cold. Leftover baked crisp is also delicious the next day—just reheat in the oven for best results.
Why did my topping turn out soggy?
This usually happens for one of two reasons: either the topping was pressed down too firmly onto the apples, or the crisp wasn’t baked long enough. The topping should be sprinkled loosely over the fruit, not packed down. And make sure you’re baking until the juices are bubbling and the topping is deep golden brown. If you’re unsure, give it an extra 5 minutes.
Can I double this recipe?
Yes! Double all the ingredients and bake in a 9×13-inch dish. You’ll need to increase the baking time to about 45-50 minutes. Keep an eye on the topping—if it’s browning too quickly, tent with foil for the last 15 minutes of baking. This is my go-to for potlucks and holiday gatherings.
Pin This Recipe!
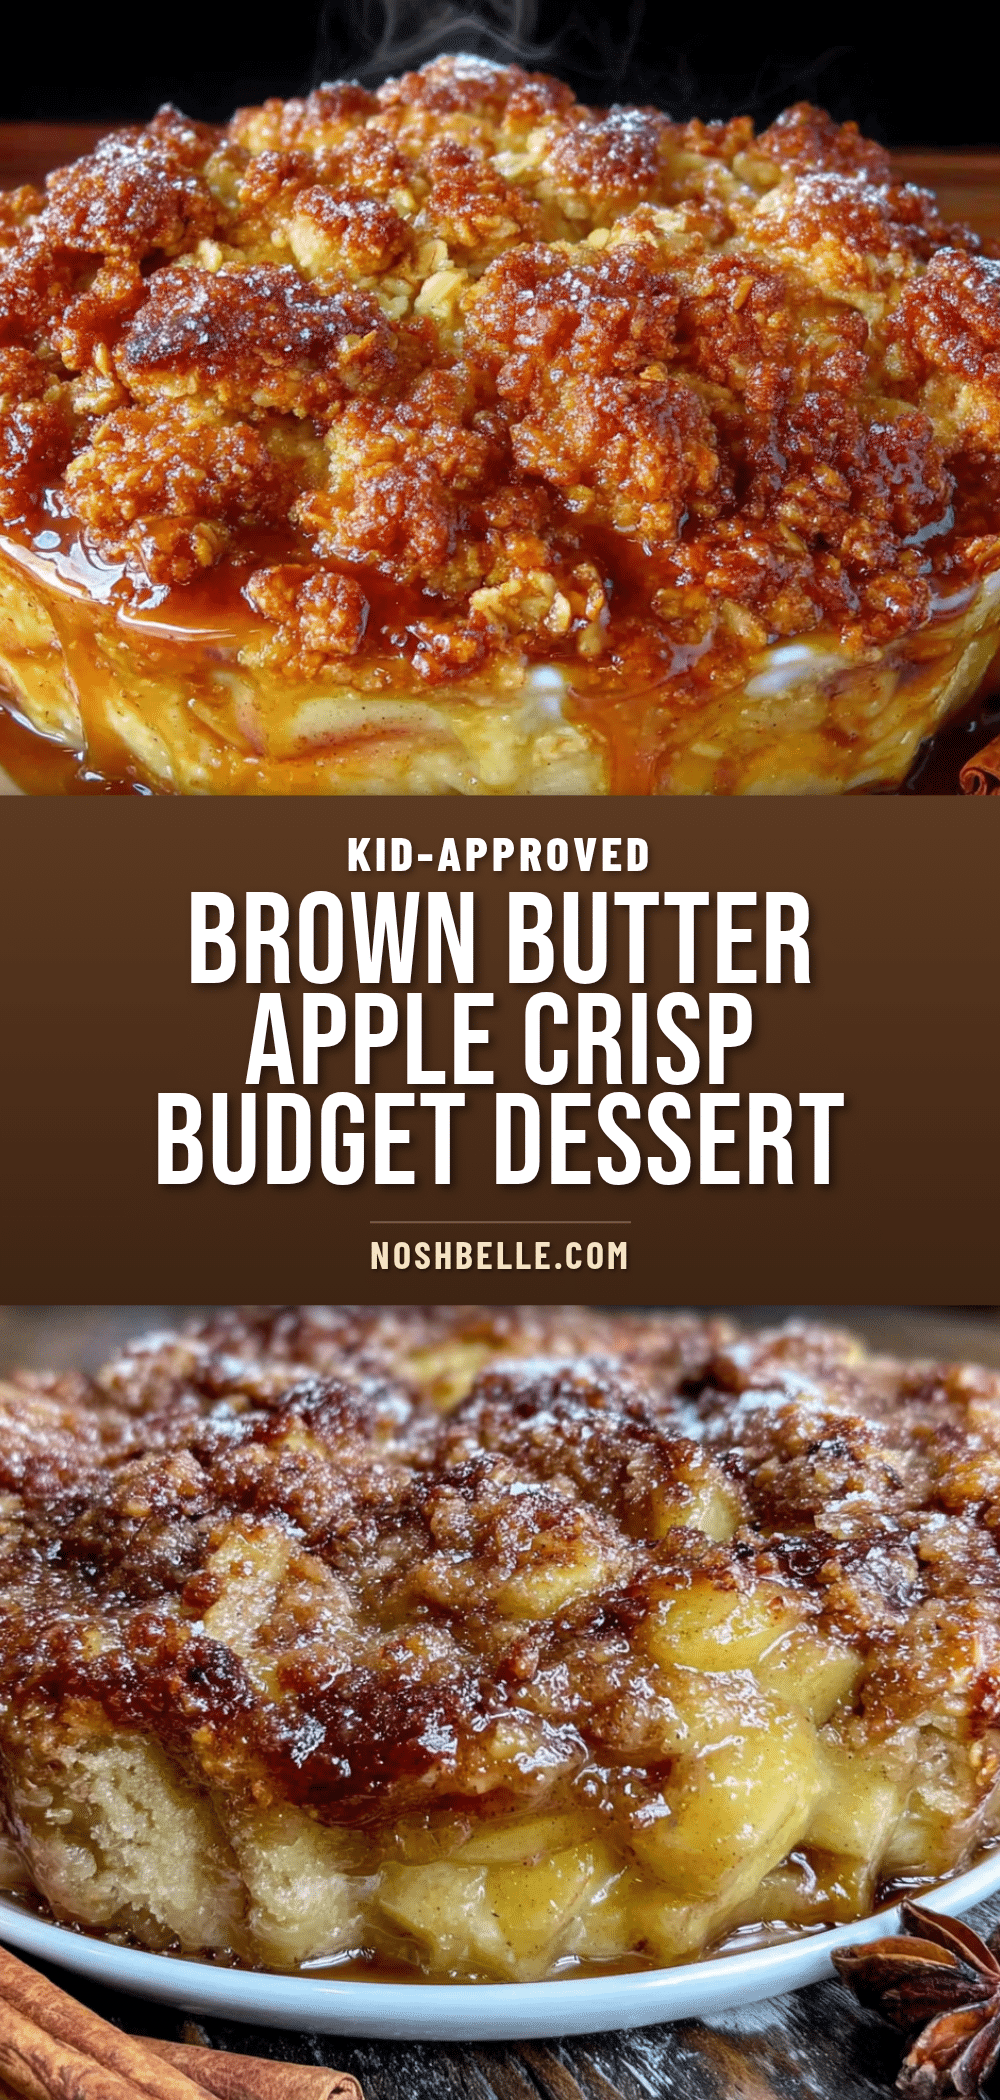
Kid-Approved Brown Butter Apple Crisp: Easy Budget Dessert

A warm, comforting apple crisp with a nutty brown butter oat topping that turns a simple dessert into something special. Made with budget-friendly ingredients, this forgiving recipe is perfect for family meals and weeknight treats.
- Prep Time: 15 minutes
- Cook Time: 35-40 minutes
- Total Time: 50-55 minutes
- Yield: 8 servings 1x
- Category: Dessert
- Cuisine: American
Ingredients
- 6 medium apples (about 2 pounds), peeled, cored, and sliced into ¼-inch thick pieces
- ¼ cup (50g) granulated sugar
- 2 tablespoons (16g) all-purpose flour
- 1 teaspoon ground cinnamon
- 1 tablespoon lemon juice
- ½ cup (1 stick / 113g) unsalted butter
- 1 cup (90g) rolled oats
- ¾ cup (95g) all-purpose flour
- ½ cup (100g, packed) brown sugar
- ¼ teaspoon salt
- 1 teaspoon vanilla extract
Instructions
- Preheat your oven to 375°F (190°C). Place a rack in the center of the oven.
- Prepare the apples: Peel, core, and slice 6 medium apples into ¼-inch thick slices. Place in a large mixing bowl. Add ¼ cup granulated sugar, 2 tablespoons all-purpose flour, 1 teaspoon ground cinnamon, and 1 tablespoon lemon juice. Toss until evenly coated. Set aside.
- Brown the butter: Place ½ cup (1 stick) unsalted butter in a medium skillet or saucepan over medium heat. Melt completely, then continue cooking, swirling occasionally, until the butter foams and brown specks form (about 3-5 minutes). Remove from heat immediately and pour into a heatproof bowl.
- Make the topping: In a medium bowl, combine 1 cup rolled oats, ¾ cup all-purpose flour, ½ cup packed brown sugar, and ¼ teaspoon salt. Stir with a fork. Pour the browned butter over the dry ingredients, add 1 teaspoon vanilla extract, and stir until moistened and clumpy.
- Assemble the crisp: Pour the apple mixture into an 8×8-inch baking dish and spread evenly. Sprinkle the oat topping evenly over the apples. Do not press down.
- Bake: Place the dish on a baking sheet. Bake for 35-40 minutes, or until the topping is golden brown and the apple juices are bubbling around the edges. If browning too quickly, tent loosely with foil for the last 10 minutes.
- Cool slightly before serving: Let the crisp rest on a cooling rack for at least 10-15 minutes. Serve warm, preferably with vanilla ice cream or a drizzle of heavy cream.
Notes
Watch the butter carefully when browning; it can go from perfect to burnt in about 30 seconds. Let the crisp rest for at least 10 minutes before serving to allow juices to thicken. For best results, use a mix of sweet and tart apples like Honeycrisp and Granny Smith. The crisp tastes even better the next day.
Nutrition
- Serving Size: 1 serving (1/8 of re
- Calories: 320350
- Sugar: 3035
- Sodium: 150200
- Fat: 1315
- Saturated Fat: 810
- Carbohydrates: 5055
- Fiber: 45
- Protein: 34
Keywords: apple crisp, brown butter, easy dessert, budget dessert, kid-friendly, fall dessert, apple recipe, oat topping


