I was walking through the spice aisle at my local mercado last October when a bottle of orange blossom water slipped off the shelf and shattered at my feet. The smell that rose up—sweet and floral, almost like jasmine and honey had a baby—hit me so hard I had to lean against the canned beans. And suddenly I was seven years old in my Tía Rosa’s tiny kitchen in Pátzcuaro, the day before Día de Muertos, watching her paint a glaze onto golden bread while the whole room smelled like a garden in bloom. She passed away three years ago, and I hadn’t made this bread since. Until that moment in the aisle, I didn’t even realize I’d been avoiding it. I mean, honestly, who cries over spilled orange blossom water in a grocery store? Apparently, me. I bought a new bottle, swept up the glass myself (the poor stock boy looked terrified), and went home determined to finally get it right.
This Pan de Muerto recipe is the one I’ve been tweaking for two years now. It’s the version I finally felt confident enough to bring to our annual Día de Muertos potluck, where my neighbor Carmen—who’s been making this bread for forty years—took one bite and asked for the recipe. That moment meant more than any award. The bread itself is pillowy soft, slightly sweet, and perfumed with orange blossom and citrus zest. And the glaze? Let me tell you, it’s the kind of glossy, fragrant finish that makes people close their eyes when they take the first bite. It’s not complicated, but it feels special. Maybe you’ve had dry, dense versions at bakeries before—I sure have. This one is different.
The dough comes together like a dream, and the smell as it bakes will fill your whole house with warmth and nostalgia. It’s the bread you want on your table when guests walk in, the one that makes them ask, “What is that amazing smell?” And when you serve it with that glossy orange blossom glaze, they’ll know you put real love into it. I keep making this recipe because it connects me to Tía Rosa, to my heritage, and to everyone I share it with. It’s more than bread—it’s a memory you can taste.
Why You’ll Love This Recipe
This Pan de Muerto recipe is the result of dozens of test batches, countless late-night baking sessions, and one very patient husband who ate every single failed attempt. I’ve worked out all the kinks so you don’t have to. Here’s why it’s become my most-requested recipe for gatherings:
- Foolproof Dough: I’ve tested this with different flours, temperatures, and humidity levels. It works every time, even if you’re new to yeast breads.
- Simple Ingredients: No weird specialty items. You probably already have flour, sugar, eggs, and butter in your kitchen. The orange blossom water is the one special touch, and it’s easy to find online or at Latin markets.
- Perfect for Hosting: The dough can be made a day ahead, so you’re not scrambling the day of your gathering. Just shape, proof, and bake before guests arrive. Your kitchen will smell incredible.
- Crowd-Pleaser: I’ve served this at potlucks, dinner parties, and holiday brunches. It disappears fast. Kids love the sweet glaze, and adults appreciate the sophisticated floral notes.
- Unbelievably Soft: The texture is what sets this apart. It’s not dry or crumbly—it’s tender, almost brioche-like, with a beautiful crumb that stays fresh for days.
What makes this recipe different from all the others? It’s the technique I picked up from watching Tía Rosa’s hands—the way she gently worked the dough, the patience she had with the rise times. I’ve combined her traditional methods with a few modern shortcuts (hello, stand mixer) to create a version that’s authentic but achievable on a busy weekend. This isn’t just another Pan de Muerto recipe—it’s the one that made Carmen ask for seconds.
This bread has a way of making people feel special. When you set it on the table, glistening with that orange blossom glaze, it says, “I made this for you.” And honestly, isn’t that what hosting is all about?
What Ingredients You Will Need
The beauty of this Pan de Muerto recipe is that it uses straightforward ingredients to create something truly memorable. I’ve tested each component to make sure it pulls its weight. Here’s what you’ll need and why each one matters:
For the Dough
- 4 cups (500g) all-purpose flour – I prefer King Arthur for consistent protein content, but any good brand works. Don’t use bread flour here—it makes the bread too dense.
- 1/2 cup (100g) granulated sugar – This adds just enough sweetness without overwhelming the floral notes. I’ve tried reducing it, but the texture suffers.
- 2 1/4 teaspoons (7g) active dry yeast – One standard packet. Make sure it’s fresh—nothing kills a bread faster than expired yeast. I learned that the hard way.
- 1/2 cup (120ml) warm milk – Whole milk gives the best richness, but 2% works fine. Warm it to about 110°F—warm bath temperature, not hot.
- 1/4 cup (60ml) warm water – Same temperature as the milk. This helps the yeast activate properly.
- 3 large eggs, room temperature – Cold eggs will shock your dough. Leave them out for an hour before starting. (I’ve forgotten before and microwaved them for 10 seconds—it works in a pinch.)
- 1/4 cup (60g) unsalted butter, softened – Real butter is non-negotiable here. Margarine changes the texture completely. Let it sit out until it’s spreadable.
- 1 tablespoon orange blossom water – This is the star. Look for it in the international aisle or at a Middle Eastern grocery store. A little goes a long way.
- Zest of 1 orange – Use a microplane for the finest zest. Wash the orange well first. The oils in the zest add brightness that balances the sweetness.
- 1 teaspoon vanilla extract – Pure vanilla, not imitation. It rounds out the floral notes beautifully.
- 1/2 teaspoon salt – Don’t skip this! Salt controls the yeast and enhances all the flavors.
For the Glaze
- 1 cup (120g) powdered sugar – Sift it first to avoid lumps. I didn’t once and ended up with a lumpy mess.
- 2 tablespoons orange blossom water – More concentrated here for that signature floral kick.
- 1 tablespoon fresh orange juice – Fresh squeezed is best, but bottled works in a pinch. The acidity cuts the sweetness.
- Pinch of salt – Sounds weird in a glaze, but it balances everything.
For Topping
- 2 tablespoons granulated sugar – Mixed with a little orange zest for sprinkling. It adds a lovely crunch.
Substitution Tips: If you can’t find orange blossom water, you can substitute with orange extract mixed with a little water, but the flavor won’t be quite the same. For a dairy-free version, use plant-based butter and oat milk—I’ve tested it and the texture is still excellent. Need it egg-free? That’s trickier with this recipe, but I’ve had success using flax eggs (3 tablespoons ground flaxseed mixed with 9 tablespoons water). The texture is slightly denser but still delicious.
Equipment Needed
You don’t need a professional bakery setup to make this Pan de Muerto. Here’s what I actually use:
- Stand mixer with dough hook – This is my favorite tool for the job. It does the kneading work while I clean up. If you don’t have one, you can absolutely knead by hand—it just takes about 10-12 minutes of arm work.
- Large mixing bowl – Glass or ceramic is best. Metal can sometimes react with the yeast.
- Baking sheet – A standard half-sheet pan works perfectly. Line it with parchment paper for easy cleanup.
- Microplane or zester – For getting that fine orange zest without the bitter white pith.
- Pastry brush – For applying the glaze evenly. I’ve used a clean silicone spatula in a pinch, but a brush gives a nicer finish.
- Kitchen scale – I know, I know, but weighing your flour gives the most consistent results. I resisted for years and now I’m a convert.
- Plastic wrap or clean kitchen towel – For covering the dough while it rises. A shower cap actually works great in a pinch.
- Cooling rack – Essential for letting the bread cool properly before glazing. If you glaze while it’s hot, it’ll all soak in and disappear.
Budget Tip: If you’re just starting out, a hand mixer with dough hooks is a cheaper alternative to a stand mixer. Or just use your hands—honestly, there’s something therapeutic about kneading dough. I still do it by hand sometimes when I’m stressed.
Preparation Method
Let’s get to the good part. I’ve broken this down into clear steps with all the little tricks I’ve picked up along the way. Take your time—bread baking is supposed to be relaxing, not stressful.
Step 1: Activate the Yeast (5 minutes)
In a small bowl, combine the warm milk, warm water, and 1 tablespoon of the sugar. Sprinkle the yeast on top and let it sit for 5-10 minutes until it gets foamy. If it doesn’t foam, your yeast is dead—start over with fresh yeast. I learned this the hard way after waiting an hour for dough that never rose. The mixture should smell slightly bready and look like a frothy latte top.
Step 2: Mix the Dough (10 minutes)
In the bowl of your stand mixer, whisk together the flour, remaining sugar, and salt. In a separate bowl, beat the eggs lightly, then add the orange blossom water, vanilla, and orange zest. Pour the yeast mixture and the egg mixture into the flour. Mix on low speed with the dough hook until it comes together—about 2 minutes. It’ll look shaggy and messy at first. Don’t panic.
Step 3: Add the Butter (5 minutes)
With the mixer running on low, add the softened butter one tablespoon at a time. Yes, one at a time. I know it’s tedious, but it incorporates better this way. The dough will look like it’s falling apart—that’s normal. Keep mixing for another 5-7 minutes until it becomes smooth, elastic, and pulls away from the sides of the bowl. It should be soft but not sticky. If it’s too sticky, add flour one tablespoon at a time. If it’s too dry, add a teaspoon of warm water.
Step 4: First Rise (1-2 hours)
Shape the dough into a ball and place it in a lightly greased bowl, turning to coat all sides. Cover with plastic wrap or a damp towel and let it rise in a warm, draft-free spot. I use my oven with the light on—it stays around 80°F. Let it rise until doubled in size, about 1-2 hours depending on how warm your kitchen is. In winter, it might take closer to 2 hours. Be patient—good things take time.
Step 5: Shape the Bread (15 minutes)
Punch down the dough gently to release the air. Turn it out onto a lightly floured surface. Cut off about 1/4 of the dough and set it aside. Shape the larger piece into a round loaf and place it on your parchment-lined baking sheet. Now take the reserved dough and divide it into 4 equal pieces. Roll each into a rope about 6 inches long. These will become the “bones” on top of the bread. Place two ropes crossed over the center of the loaf, and the other two crossed the opposite way to form a sort of asterisk shape. It doesn’t have to be perfect—traditional Pan de Muerto is supposed to look a little rustic. For the top knob, roll a small ball of dough and place it in the center where the ropes cross. Press everything gently to help it stick.
Step 6: Second Rise (45-60 minutes)
Cover the shaped loaf loosely with plastic wrap and let it rise again until puffy and almost doubled. This second rise is crucial—don’t rush it. The bread should look soft and pillowy, and when you gently poke it, the indentation should slowly spring back. If it springs back immediately, let it rise longer. If the indentation stays, you’ve gone too far.
Step 7: Bake (25-30 minutes)
Preheat your oven to 350°F (175°C) about 20 minutes before the second rise is done. Bake the bread on the middle rack for 25-30 minutes, until the top is deep golden brown and the loaf sounds hollow when tapped on the bottom. If the top is browning too quickly, tent it loosely with foil after 15 minutes. The smell at this point is absolutely intoxicating—your whole kitchen will smell like orange blossoms and warm bread.
Step 8: Cool and Glaze (30 minutes)
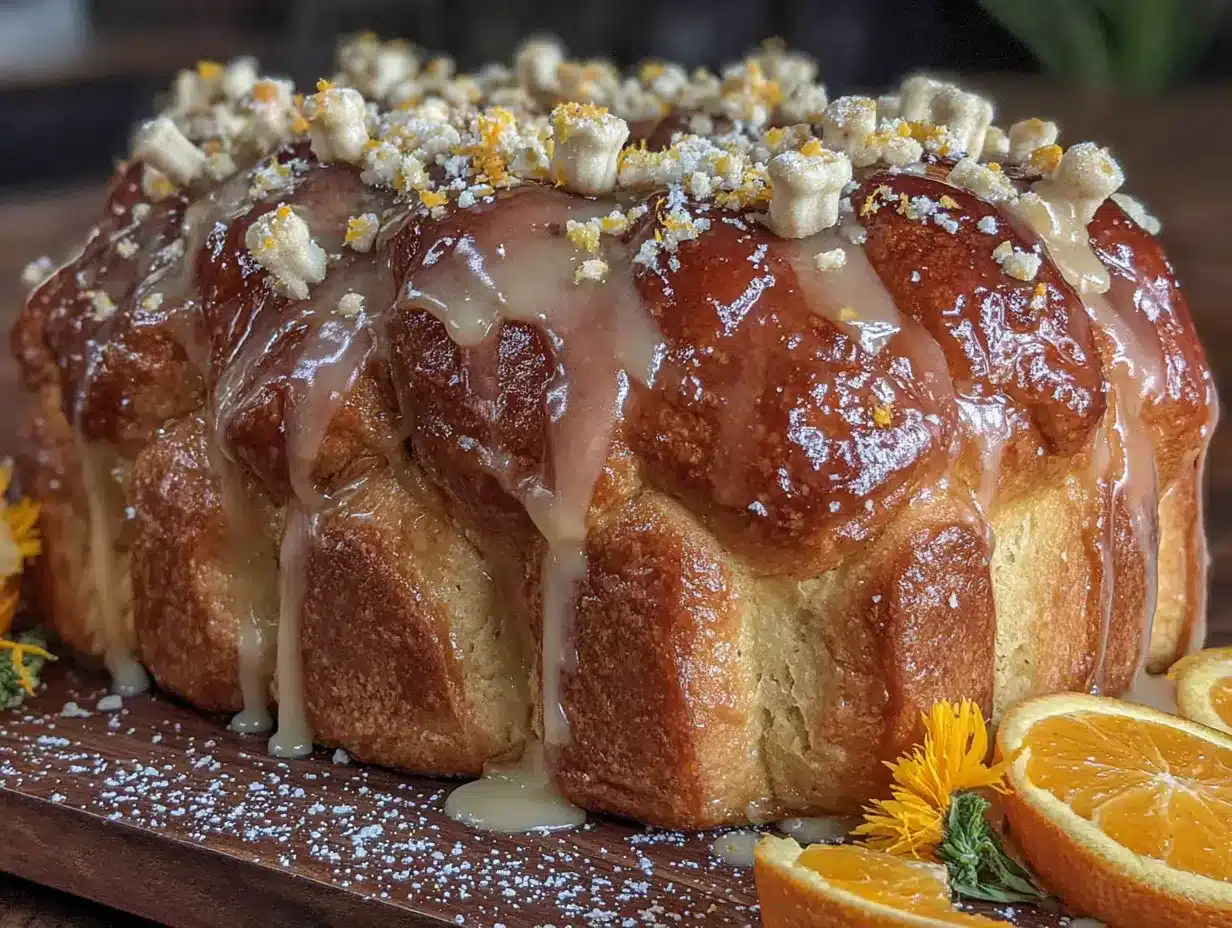
Let the bread cool on the baking sheet for 10 minutes, then transfer to a wire rack. Wait until it’s completely cool before glazing—about 20-30 minutes. While it cools, whisk together the glaze ingredients until smooth. It should be thick but pourable. Drizzle it over the cooled bread, letting it drip down the sides. Sprinkle with the orange-scented sugar while the glaze is still wet. Let the glaze set for about 15 minutes before serving.
Cooking Tips & Techniques
I’ve made this Pan de Muerto recipe at least twenty times, and I’ve made every mistake you can imagine. Here’s what I’ve learned so you don’t have to repeat my errors:
Temperature is everything. Yeast is a living thing, and it’s picky about temperature. Milk that’s too hot will kill it. Milk that’s too cold won’t activate it. I use a kitchen thermometer now, but before I had one, I tested the milk on my wrist—it should feel like a warm bath, not hot. Also, cold eggs can shock your dough and slow down the rise. Set them out an hour before you start, or place them in a bowl of warm water for 5 minutes.
Don’t over-flour your surface. When shaping, use just enough flour to prevent sticking. Too much flour makes the bread dense and dry. If the dough is sticking, try using a bench scraper to lift it instead of adding more flour. I keep a small bowl of flour nearby and dip my fingers in it instead of dusting the whole counter.
The poke test never lies. I used to set timers and obsess over whether the dough had risen enough. Now I just use the poke test. Gently press your finger into the dough. If the indentation slowly fills back in, it’s ready. If it springs back immediately, give it more time. If it stays dented, you’ve over-proofed it—bake it anyway, it’ll still taste good.
My biggest failure: The time I forgot the orange blossom water entirely. I was halfway through the second rise when I realized. I baked it anyway, and it was just… plain bread. Edible but completely unremarkable. Don’t skip the orange blossom water. It’s not optional—it’s the soul of this bread.
Timing strategy for hosting: Make the dough the day before your gathering. After the first rise, punch it down, wrap it tightly in plastic, and refrigerate overnight. The next day, shape it, let it come to room temperature (about 2 hours), then do the second rise and bake. This actually improves the flavor—the slow fermentation adds depth. I do this every time I’m hosting.
Variations & Adaptations
This Pan de Muerto recipe is wonderfully adaptable. Here are some variations I’ve tried and loved:
Traditional Un-glazed Version
Some purists prefer the classic version without glaze. Instead, brush the bread with melted butter right out of the oven and sprinkle with the orange-scented sugar. It’s less sweet but equally delicious. My Tía Rosa never used glaze—she said the bread should speak for itself.
Chocolate Orange Twist
Add 1/4 cup of cocoa powder to the flour mixture and increase the sugar by 2 tablespoons. The chocolate and orange blossom combination is absolutely divine. I made this for a friend’s birthday and she said it was the best bread she’d ever eaten. Fold in 1/2 cup of dark chocolate chips after the butter is incorporated for extra indulgence.
Vegan Version
Replace the butter with vegan butter, the milk with oat milk, and use flax eggs (3 tablespoons ground flaxseed mixed with 9 tablespoons water, let sit for 5 minutes). The texture is slightly less tender but still very good. I’ve served this to vegan friends who didn’t even notice the difference. Use maple syrup instead of sugar for the glaze to keep it plant-based.
Spiced Variation
Add 1 teaspoon of cinnamon, 1/2 teaspoon of nutmeg, and 1/4 teaspoon of cloves to the flour mixture. The warm spices complement the orange blossom beautifully. This version is especially lovely for fall gatherings. I like to add a pinch of anise seed too—it’s subtle but adds complexity.
Mini Pan de Muerto
Instead of one large loaf, shape the dough into 8-10 small rolls. Skip the bone decorations for individual rolls—just shape them into rounds and bake for 15-18 minutes. These are perfect for parties where guests can grab one and go. Glaze them individually for a beautiful presentation.
Serving & Storage Suggestions
This Pan de Muerto is at its absolute best the day it’s made, but it’s still wonderful for days afterward. Here’s how to serve and store it:
Serving: Serve at room temperature or slightly warm. If you’re reheating, pop slices in a 300°F oven for 5 minutes—it brings back that fresh-baked softness. Avoid the microwave, which makes it rubbery. For a stunning presentation, arrange the bread on a wooden board with fresh marigolds (the traditional Día de Muertos flower) and small bowls of Mexican hot chocolate or café de olla. The floral notes in the bread pair beautifully with cinnamon-spiced drinks.
What to serve alongside: This bread is wonderful on its own, but it’s even better with a cup of champurrado (thick Mexican chocolate drink) or a simple café con leche. For a brunch spread, serve it alongside fresh fruit, scrambled eggs, and maybe some refried beans. It also makes an incredible French toast—just soak slices in egg mixture and fry in butter. Trust me on this one.
Storage: Store the bread in an airtight container at room temperature for up to 3 days. Do not refrigerate—it will dry out faster. If you live in a humid climate, wrap it in paper towels before sealing to absorb excess moisture. The glaze may become slightly sticky over time, but that’s part of its charm.
Freezing: This bread freezes beautifully. Wrap the unglazed loaf tightly in plastic wrap, then foil, and freeze for up to 3 months. Thaw at room temperature, then warm in the oven before glazing. I always make two loaves—one for now, one for later. The frozen loaf is a lifesaver when unexpected guests show up.
Flavor development: The orange blossom flavor actually becomes more pronounced on the second day. If you can resist eating it all immediately, you’ll be rewarded with an even more aromatic bread. I’ve never managed to wait that long, but I’ve heard it’s true.
Nutritional Information & Benefits
Let’s be honest—this is a treat, not a health food. But it does have some redeeming qualities. Here’s the approximate nutritional breakdown per serving (1/8 of the loaf):
- Calories: 320
- Fat: 9g
- Carbohydrates: 54g
- Protein: 7g
- Fiber: 2g
- Sugar: 22g
Health highlights: The orange zest provides a small dose of vitamin C and antioxidants. Eggs add high-quality protein. And honestly? There’s something to be said for the mental health benefits of baking—the process is meditative, and sharing food with loved ones is good for the soul. I’m not a nutritionist, but I firmly believe that food made with love is better for you than anything processed.
Dietary considerations: This recipe contains gluten, dairy, and eggs. For gluten-free, I haven’t tested a version yet, but a good 1:1 gluten-free flour blend might work. For dairy-free, use the substitutions mentioned above. It’s not suitable for low-carb or keto diets due to the flour and sugar content—this is a celebration bread, after all.
Potential allergens: Wheat, dairy, eggs. If you’re serving guests with allergies, make sure to label the bread clearly at your gathering.
Conclusion
This Pan de Muerto recipe with orange blossom glaze is more than just a bread—it’s a way to connect with tradition, to honor those we’ve lost, and to create new memories with the people we love. Every time I make it, I think of Tía Rosa’s flour-dusted hands and the way she’d smile when I took my first bite. That’s the power of food, isn’t it? It carries our stories forward.
I hope you’ll try this recipe and make it your own. Maybe you’ll add a little more orange zest, or skip the glaze, or shape it into something completely different. That’s the beauty of cooking—there are no rules, only delicious possibilities. The first time you pull this golden loaf out of the oven and smell that orange blossom aroma, you’ll understand why this bread has been made for centuries.
I’d love to hear how it turns out for you. Did you try a variation? Did your guests love it? Drop a comment below and let me know. And if you share it on social media, tag me—I want to see your beautiful bread! Until next time, happy baking, and don’t forget to save a piece for the ancestors.
Frequently Asked Questions
Can I make Pan de Muerto ahead of time for a party?
Absolutely! Make the dough through the first rise, punch it down, and refrigerate it overnight. The next day, shape it, let it come to room temperature, do the second rise, and bake. This actually improves the flavor. You can also bake it a day ahead and reheat it gently before serving.
What can I use instead of orange blossom water?
If you can’t find orange blossom water, you can substitute with orange extract mixed with a little water (use half the amount). Rose water is a different flavor but works in a pinch. However, for authentic Pan de Muerto, orange blossom water really is the best choice.
Why didn’t my dough rise?
Most likely the yeast was too old or the liquid was too hot. Always check the expiration date on your yeast packet and test the milk temperature—it should be around 110°F, not hot. If your kitchen is cold, try letting the dough rise in the oven with just the light on.
Can I freeze Pan de Muerto?
Yes! Freeze the unglazed loaf wrapped tightly in plastic wrap and foil for up to 3 months. Thaw at room temperature, warm in a 300°F oven for 5-10 minutes, then glaze and serve. The texture stays remarkably good.
How do I know when the bread is fully baked?
The top should be deep golden brown, and the loaf should sound hollow when you tap the bottom. If you have an instant-read thermometer, the internal temperature should be 190-200°F. Don’t underbake—it’ll be doughy in the center.
Pin This Recipe!
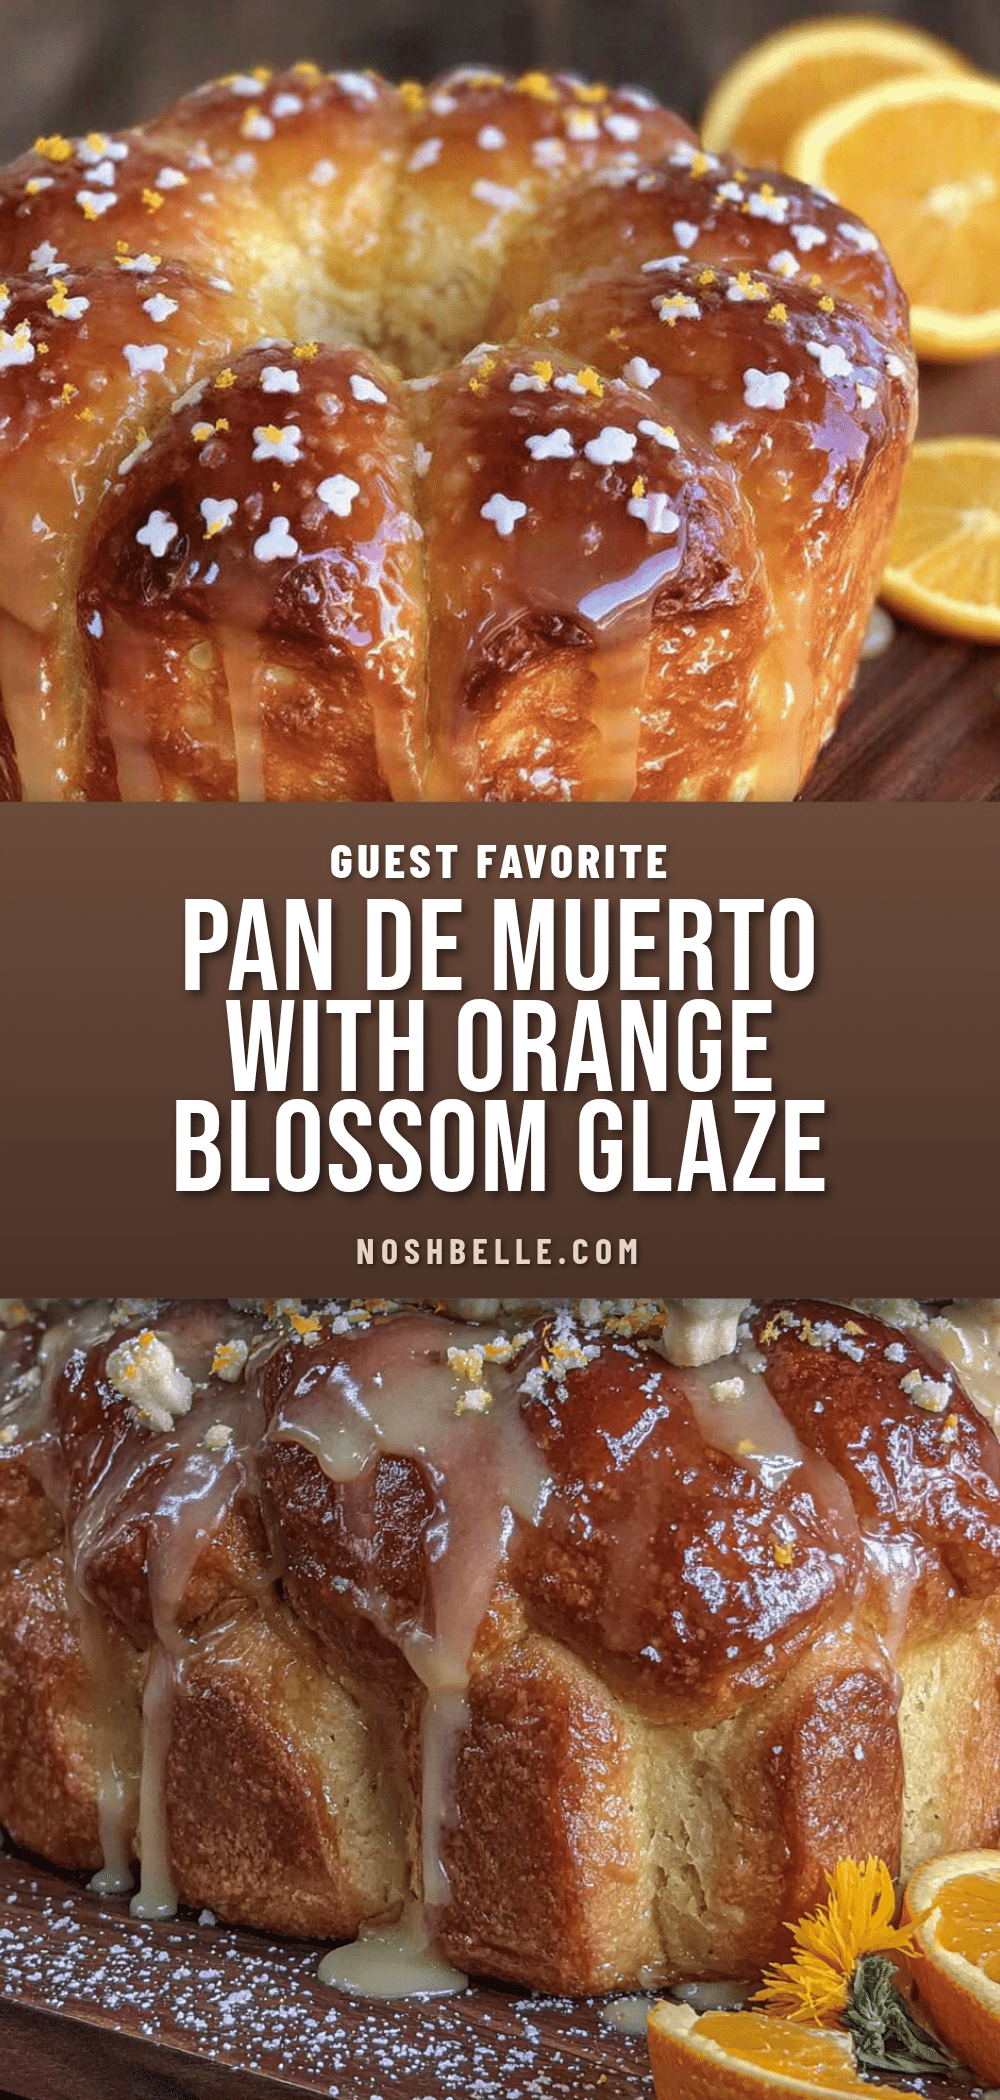
Best Easy Pan de Muerto Recipe With Orange Blossom Glaze
This Pan de Muerto recipe is pillowy soft, slightly sweet, and perfumed with orange blossom and citrus zest. The glossy orange blossom glaze makes it a memorable treat for Día de Muertos or any gathering.
- Prep Time: 30 minutes
- Cook Time: 30 minutes
- Total Time: 3 hours 30 minutes
- Yield: 8 servings 1x
- Category: Bread
- Cuisine: Mexican
Ingredients
- 4 cups (500g) all-purpose flour
- 1/2 cup (100g) granulated sugar
- 2 1/4 teaspoons (7g) active dry yeast
- 1/2 cup (120ml) warm milk
- 1/4 cup (60ml) warm water
- 3 large eggs, room temperature
- 1/4 cup (60g) unsalted butter, softened
- 1 tablespoon orange blossom water
- Zest of 1 orange
- 1 teaspoon vanilla extract
- 1/2 teaspoon salt
- 1 cup (120g) powdered sugar
- 2 tablespoons orange blossom water
- 1 tablespoon fresh orange juice
- Pinch of salt
- 2 tablespoons granulated sugar (for topping)
Instructions
- Activate the yeast: In a small bowl, combine warm milk, warm water, and 1 tablespoon of sugar. Sprinkle yeast on top and let sit for 5-10 minutes until foamy.
- Mix the dough: In a stand mixer bowl, whisk together flour, remaining sugar, and salt. In a separate bowl, beat eggs lightly, then add orange blossom water, vanilla, and orange zest. Pour yeast mixture and egg mixture into flour. Mix on low speed with dough hook until combined, about 2 minutes.
- Add the butter: With mixer on low, add softened butter one tablespoon at a time. Continue mixing for 5-7 minutes until dough is smooth, elastic, and pulls away from the bowl.
- First rise: Shape dough into a ball and place in a lightly greased bowl, turning to coat. Cover and let rise in a warm place until doubled, about 1-2 hours.
- Shape the bread: Punch down dough. Cut off about 1/4 of the dough and set aside. Shape larger piece into a round loaf on a parchment-lined baking sheet. Divide reserved dough into 4 pieces, roll each into a 6-inch rope, and arrange in a cross pattern on top. Place a small ball of dough in the center.
- Second rise: Cover shaped loaf loosely and let rise until puffy and almost doubled, about 45-60 minutes.
- Bake: Preheat oven to 350°F (175°C). Bake on middle rack for 25-30 minutes until deep golden brown and hollow when tapped. Tent with foil if browning too quickly.
- Cool and glaze: Let bread cool on baking sheet for 10 minutes, then transfer to a wire rack. Cool completely (20-30 minutes). Whisk together glaze ingredients until smooth. Drizzle over cooled bread and sprinkle with orange-scented sugar. Let glaze set for 15 minutes before serving.
Notes
Temperature is crucial for yeast. Use a kitchen thermometer to ensure milk is around 110°F. The dough can be made a day ahead: after first rise, refrigerate overnight. For best results, do not skip the orange blossom water—it’s the soul of this bread. The poke test is reliable: if indentation slowly fills back in, dough is ready.
Nutrition
- Serving Size: 1 slice (1/8 of loaf
- Calories: 320
- Sugar: 22
- Sodium: 180
- Fat: 9
- Saturated Fat: 5
- Carbohydrates: 54
- Fiber: 2
- Protein: 7
Keywords: Pan de Muerto, Day of the Dead bread, orange blossom bread, Mexican sweet bread, holiday bread