My neighbor Kate wasn’t trying to impress anyone. I’d stopped by to borrow a can of pumpkin for a pie I was overthinking, and this warm, sweet smell hit me before I even got to her front door. It was a Tuesday afternoon in late October, and she was standing in her kitchen with flour on her jeans, mashing bananas with a fork like it was the most ordinary thing in the world. She had three kids running around, a dog barking at the mailman, and she was somehow making the coziest thing I’d ever smelled without breaking a sweat. Honestly, I just stood there in her doorway for a second, soaking it in.
She looked up, grinned, and said, “Oh, this? It’s just banana bread. I make it when I need to clear the counter.” Clear the counter! She wasn’t following some complicated recipe or pulling out a stand mixer. She was just mixing everything in one bowl, by hand, while her youngest tugged at her sleeve. I watched her fold in the walnuts without even measuring, just a handful here and a handful there. It was the most relaxed cooking I’d ever witnessed, and I felt a little embarrassed about the three-page recipe I had bookmarked on my phone.
I left with my can of pumpkin and a warm slice of that banana bread wrapped in a paper towel. I mean, I ate it walking home, still warm, and let me tell you — it was perfect. Not too sweet, super moist, with those little pockets of melty banana that make you close your eyes for a second. That’s the thing about recipes like this. They don’t need a big production. They just need ripe bananas, a bowl, and a fork. Maybe you’ve been there, standing in your own kitchen with bananas turning brown on the counter, wondering what to do. This is that answer. This is the one-bowl, no-mixer banana bread that will make your house smell like a hug.
Why You’ll Love This Recipe
Let’s be real for a second. There are a million banana bread recipes out there. Some are fussy, some require a stand mixer, and some leave you with a sink full of dishes. This cozy one-bowl banana bread is none of those things. It’s the kind of recipe you’ll come back to again and again, not because it’s fancy, but because it just works. Here is why I think you will absolutely love it:
- No Mixer Needed: You don’t need a hand mixer or a stand mixer. Just a bowl and a fork. That’s it. Less cleanup, more time for yourself.
- One Bowl Wonder: Everything goes into one single bowl. No transferring, no extra dishes. Your future self will thank you.
- Simple Ingredients: You probably have everything in your pantry right now. Flour, sugar, eggs, butter, and those sad-looking bananas on your counter.
- Perfect for Fall Baking: This is the ultimate cozy fall recipe. It fills your kitchen with the warmest, most comforting smell on a crisp afternoon.
- Incredibly Moist: The secret is using very ripe bananas and a little melted butter. The texture is soft, tender, and stays moist for days.
- Kid-Friendly: My niece can make this recipe by herself. It’s that simple. Great for baking with little helpers.
What makes this recipe different from all the others? It’s the method. By mashing the bananas first and then mixing the wet and dry ingredients together by hand, you avoid over-mixing. Over-mixing is the number one reason banana bread turns out tough and dry. This gentle, no-mixer approach guarantees a tender crumb every single time. Plus, using melted butter instead of cold butter means you don’t need a mixer to cream anything. It’s all about working smarter, not harder.
This isn’t just another banana bread recipe. It is the one that makes you feel like a pro baker even on a busy Tuesday. It’s comfort food at its finest — warm, simple, and made with love. Perfect for a cozy weekend morning, a weekday snack, or a last-minute treat when friends pop over.
What Ingredients You Will Need
This recipe uses simple, wholesome ingredients that work together to create the most tender and flavorful banana bread. No weird specialty items here. Just real, pantry-friendly staples. Here is everything you need:
- 3 large ripe bananas, mashed (about 1 ½ cups, the riper the better — brown spots are your friend for sweetness and moisture)
- ⅓ cup melted unsalted butter (you can also use salted butter, just reduce the added salt by a pinch)
- ¾ cup granulated sugar (you can use coconut sugar for a deeper flavor, or reduce to ½ cup for less sweetness)
- 1 large egg, room temperature (room temperature egg blends more smoothly into the batter)
- 1 teaspoon vanilla extract (pure vanilla extract adds the best flavor, but imitation works in a pinch)
- 1 teaspoon baking soda (this is our leavening agent — make sure it’s not expired for best rise)
- ¼ teaspoon salt (balances the sweetness and enhances the banana flavor)
- 1 ½ cups all-purpose flour (spoon and level your flour — don’t scoop directly from the bag or it will be too dense)
- ½ cup chopped walnuts or pecans (optional, but adds a lovely crunch — toast them first for extra flavor)
- ½ cup chocolate chips (optional, because chocolate makes everything better. I love semi-sweet or dark chocolate)
Let me talk a little about the bananas. This is the most important ingredient. You want bananas that are heavily spotted, almost black in places. They should be soft to the touch and smell sweet. If your bananas aren’t ripe enough, you can speed things up by baking them in a 300°F oven for 15-20 minutes until the skins turn black. Let them cool, then mash. It’s a great trick when you’re craving banana bread right now.
For the butter, I use unsalted butter from a brand like Kerrygold when I want a richer flavor, but any good unsalted butter works. Melt it gently in the microwave or on the stovetop and let it cool slightly before mixing. Hot butter can cook the egg, and we don’t want scrambled eggs in our banana bread.
If you are looking to make this a little healthier, you can swap half the all-purpose flour for whole wheat pastry flour. It adds a nice nuttiness and a bit more fiber. You can also reduce the sugar to ½ cup if your bananas are very ripe and sweet. I’ve done it many times, and it works beautifully.
Equipment Needed
One of the best things about this recipe is how little equipment you need. You don’t need a fancy kitchen to make amazing banana bread. Here is what you will need:
- One large mixing bowl (a standard 2-3 quart bowl works perfectly)
- A fork or potato masher (for mashing the bananas — a fork is less to clean, a masher is faster)
- A wooden spoon or silicone spatula (for mixing the batter — a whisk can be used but be careful not to over-mix)
- A 9×5-inch loaf pan (this is the standard size. If you use an 8×4-inch pan, you’ll need to bake a little longer)
- Measuring cups and spoons (for accurate measurements — dry measuring cups for flour and sugar, liquid measuring cup for melted butter)
- Parchment paper or non-stick spray (for lining the pan so the bread comes out easily)
- Cooling rack (optional but helpful for even cooling — a wire rack prevents a soggy bottom)
I have made this recipe using a glass loaf pan and a metal one. I personally prefer a metal loaf pan because it conducts heat better and gives you a nicer golden crust. If you are using a glass or ceramic pan, reduce the oven temperature by 25°F to prevent the edges from over-browning before the center is done. Also, a good tip: if you don’t have parchment paper, you can grease the pan generously with butter and dust it with a little flour. That works like a charm too.
One more thing — a kitchen scale is not required, but if you have one, using it for the flour will give you the most consistent results. One and a half cups of all-purpose flour is about 180 grams. But honestly, the spoon-and-level method works great for this forgiving recipe.
Preparation Method
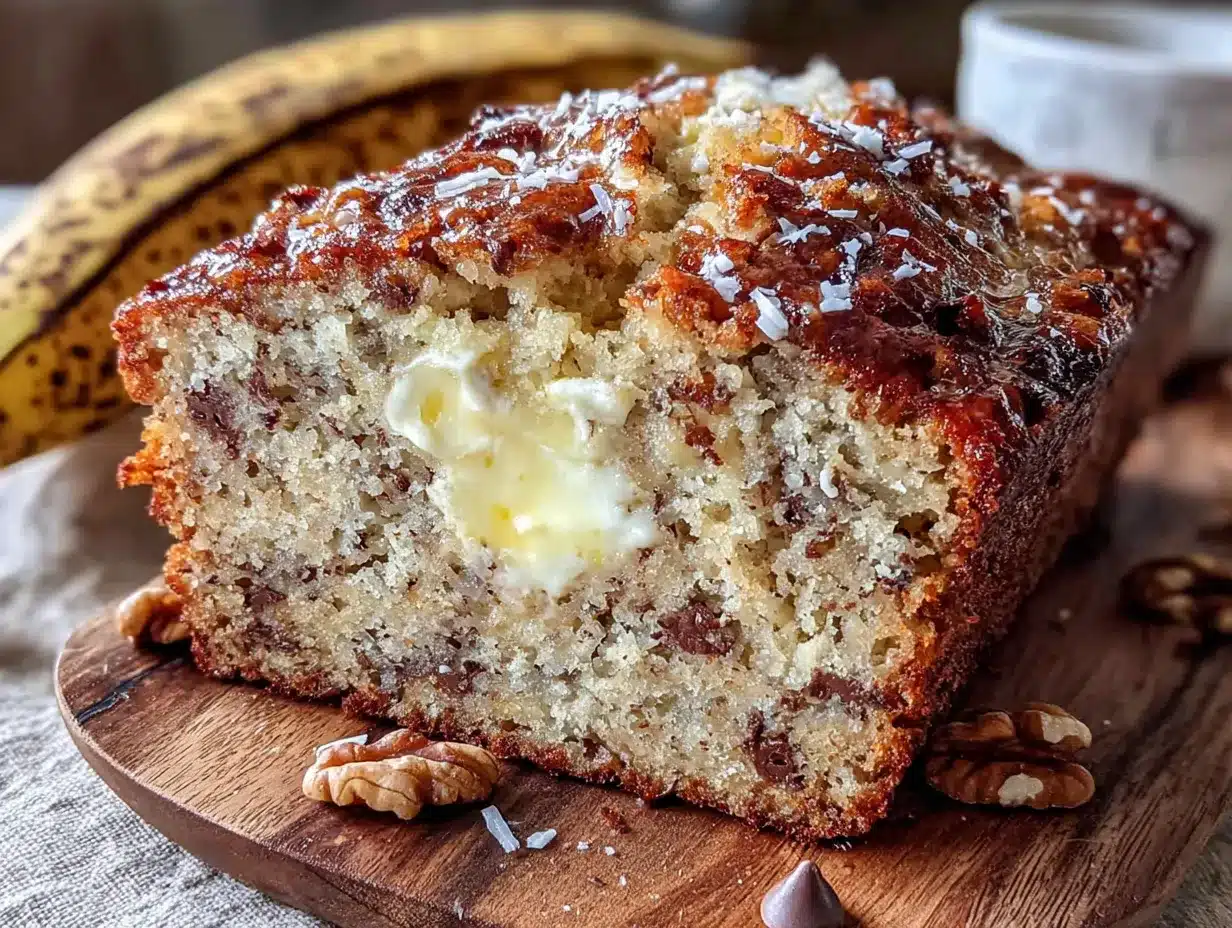
Alright, let’s get to the fun part. This is so simple, you will memorize it after one try. Follow these steps, and you will have the most cozy, delicious banana bread in about an hour.
- Preheat your oven to 350°F (175°C). Position a rack in the center of the oven. While the oven heats, prepare your loaf pan by lining it with a strip of parchment paper, leaving some overhang on the long sides. This makes it super easy to lift the bread out later. Spray the parchment and any exposed pan with non-stick spray.
- Mash the bananas. In your large mixing bowl, add the three ripe bananas. Use a fork or potato masher to mash them until they are mostly smooth with a few small lumps remaining. You want some texture, not a completely smooth puree. It should look like a chunky applesauce. This should take about 1-2 minutes.
- Add the melted butter. Pour the cooled melted butter over the mashed bananas and stir with your wooden spoon until combined. The mixture will look a little separated at first, but keep stirring gently until it comes together.
- Mix in the sugar, egg, and vanilla. Add the granulated sugar to the bowl and stir until well incorporated. Then crack in the room temperature egg and add the vanilla extract. Stir again until everything is smooth and glossy. Take your time here — about 30 seconds of gentle stirring.
- Add the dry ingredients. Sprinkle the baking soda and salt over the wet mixture. Then add the flour on top. Do not dump the flour directly onto the wet mixture without the baking soda and salt — mix them in with a fork first if you want to be extra careful. Now, using a gentle hand, fold the flour into the wet ingredients. Stir just until you see the last streak of flour disappear. Over-mixing at this stage will make your bread tough. A few small lumps are perfectly fine.
- Fold in the add-ins. If you are using walnuts, pecans, or chocolate chips (or all three!), gently fold them in with a few more stirs. Reserve a small handful to sprinkle on top of the batter for a pretty finish.
- Pour the batter into the prepared pan. Use your spatula to scrape every last bit of batter into the loaf pan. Spread it evenly. Sprinkle the reserved nuts or chocolate chips on top, pressing them in slightly.
- Bake for 55-65 minutes. Place the pan in the preheated oven. Bake until the top is deep golden brown and a toothpick inserted into the center comes out clean or with just a few moist crumbs. If the top is browning too quickly after about 40 minutes, loosely tent the pan with aluminum foil. Every oven is different, so start checking at 55 minutes. My oven usually takes 60 minutes exactly.
- Cool in the pan for 10 minutes. Remove the loaf from the oven and place it on a cooling rack. Let it rest in the pan for 10 minutes. This allows the bread to set and makes it easier to remove.
- Transfer to a wire rack to cool completely. Using the parchment overhang, lift the bread out of the pan and place it on the cooling rack. Let it cool for at least 20 minutes before slicing. I know, the smell is intoxicating, but slicing too soon will make it crumble. Trust me on this one.
A quick note: If you want a crackly, bakery-style top, let the batter rest in the pan for about 10 minutes before baking. This allows the starches to hydrate and creates a beautiful dome. It’s a small step that makes a big visual difference.
Cooking Tips & Techniques
After making this cozy one-bowl banana bread more times than I can count, I have picked up a few tricks that make a real difference. Let me share them with you so your first batch (or your fiftieth) turns out perfect.
Use very ripe bananas. This is the most important tip. Green or yellow bananas lack the sweetness and moisture that makes banana bread so good. Wait until they are heavily spotted and soft. If you are impatient (like me sometimes), you can microwave unpeeled bananas for 30-second intervals until they are soft. It’s not quite the same, but it works in a pinch.
Don’t over-mix the batter. I say this in every recipe, and I mean it. When you add the flour, stir gently and stop as soon as it comes together. Over-mixing develops the gluten, which leads to a dense, tough, rubbery loaf. A few lumps are your friend. They will disappear during baking.
Measure your flour correctly. The biggest mistake home bakers make is scooping flour directly from the bag with the measuring cup. This packs the flour and you end up with too much. Instead, fluff the flour with a spoon, then spoon it into your measuring cup and level it off with a knife. This simple technique will change your baking forever.
Check for doneness properly. A toothpick test is reliable, but also look for the edges pulling away from the pan slightly. The top should be a deep golden brown and spring back when you gently press it. If the toothpick comes out with wet batter, bake for another 5 minutes and test again.
I once forgot the sugar entirely. I was in a hurry, talking on the phone, and just dumped everything in without thinking. The bread came out dense and not sweet at all. It was a sad, sad loaf. So, double-check your ingredients before you pop it in the oven. Learn from my mistakes!
Let it cool completely. I know it’s hard. The smell is incredible, and you just want a warm slice with butter. But cutting into hot banana bread will make it crumble and fall apart. It also continues to cook slightly as it cools, setting the crumb structure. Patience is a virtue, especially in baking.
Variations & Adaptations
One of the best things about this cozy one-bowl banana bread is how easy it is to adapt. You can change it up based on what you have in your pantry or what you are craving. Here are some of my favorite variations:
- Gluten-Free Banana Bread: Swap the all-purpose flour for a good 1:1 gluten-free baking flour blend. I like Bob’s Red Mill or King Arthur Measure for Measure. Add 1 teaspoon of xanthan gum if your blend doesn’t already include it. The texture will be slightly more tender, but still delicious.
- Vegan Banana Bread: Replace the egg with a flax egg (1 tablespoon ground flaxseed mixed with 3 tablespoons water, let sit for 5 minutes). Use melted coconut oil or a neutral vegetable oil instead of butter. The bread will be a bit denser but still moist and flavorful.
- Chocolate Swirl Banana Bread: After pouring the batter into the pan, drop spoonfuls of Nutella or melted chocolate on top. Use a knife to gently swirl it through the batter. It creates beautiful ribbons of chocolate throughout the bread.
- Blueberry Banana Bread: Gently fold in 1 cup of fresh or frozen blueberries (if using frozen, toss them in a tablespoon of flour first to prevent them from sinking). The burst of tart berries is amazing against the sweet banana.
- Spiced Banana Bread: Add 1 teaspoon of cinnamon, ½ teaspoon of nutmeg, and ¼ teaspoon of ground ginger to the flour mixture. This turns it into a cozy fall dream. Top with a sprinkle of turbinado sugar before baking for a crunchy crust.
- Peanut Butter Banana Bread: Swirl in ¼ cup of creamy peanut butter into the batter before baking. Or, add ⅓ cup of peanut butter chips along with the chocolate chips. It’s a match made in heaven.
I once made a version with shredded zucchini (about 1 cup, squeezed dry) and it was incredibly moist. It’s a great way to sneak in some veggies. Just reduce the butter by 2 tablespoons to account for the extra moisture from the zucchini.
Serving & Storage Suggestions
This cozy one-bowl banana bread is wonderful served warm or at room temperature. Here is how I love to enjoy it and how to keep it fresh for days.
Serving Suggestions: For the ultimate treat, slice a piece and toast it lightly in a toaster or in a skillet with a little butter. The edges get slightly crispy while the inside stays soft and tender. Spread a generous pat of salted butter on top while it’s still warm. It melts into the bread and is absolutely heavenly. You can also serve it with a dollop of Greek yogurt and a drizzle of honey for a slightly healthier breakfast. For a dessert twist, warm a slice and top it with a scoop of vanilla ice cream and a drizzle of caramel sauce. Yes, please.
Storage Instructions: Store leftover banana bread wrapped tightly in plastic wrap or in an airtight container at room temperature. It will stay moist and delicious for up to 4 days. Do not refrigerate it — the cold air will dry it out and make it stale faster. If you live in a very humid climate, you can store it in the refrigerator to prevent mold, but let it come to room temperature before serving for the best texture.
Freezer Instructions: This banana bread freezes beautifully. Let it cool completely, then wrap it tightly in a layer of plastic wrap, followed by a layer of aluminum foil. Freeze for up to 3 months. To thaw, let it sit on the counter for a few hours or overnight in the refrigerator. You can also freeze individual slices for quick breakfasts or snacks. Just pop a frozen slice in the toaster for a few minutes, and it’s like freshly baked.
The flavors actually get better after a day or two. The banana flavor deepens and becomes more pronounced. So, if you can resist eating it all on day one, you are in for a real treat on day two.
Nutritional Information & Benefits
While I wouldn’t call banana bread a health food, it does have some redeeming qualities, especially when made with simple, real ingredients. Here is an approximate nutritional breakdown per slice (based on 10 slices, without nuts or chocolate chips):
| Nutrient | Amount Per Slice |
|---|---|
| Calories | 220 |
| Total Fat | 8g |
| Saturated Fat | 4.5g |
| Carbohydrates | 35g |
| Fiber | 1.5g |
| Sugar | 18g |
| Protein | 3g |
Bananas are a great source of potassium, vitamin B6, and vitamin C. They also contain fiber, which helps with digestion and keeps you feeling full. Using whole wheat pastry flour would add more fiber and nutrients. The walnuts or pecans, if you add them, contribute healthy omega-3 fatty acids and a little protein. This recipe is also relatively low in sodium compared to many store-bought baked goods.
I like to think of this banana bread as a wholesome treat. It’s not something I eat every day, but when I do, I feel good about it. It’s made with real food, not preservatives or artificial flavors. And honestly, the joy it brings is worth every calorie.
Dietary Considerations: This recipe is vegetarian. For gluten-free or vegan options, see the variations section. It contains wheat, dairy, and eggs. If adding nuts, it also contains tree nuts.
Conclusion
This cozy one-bowl banana bread is more than just a recipe. It’s a feeling. It’s the smell of your kitchen on a lazy Sunday afternoon. It’s the warm slice you eat while standing at the counter with a cup of coffee. It’s the thing you make when you need a little comfort, and it never disappoints.
I love this recipe because it’s forgiving. It doesn’t demand perfection. You can use a fork to mash the bananas, a wooden spoon to mix everything, and it will still turn out amazing. It’s the kind of recipe that makes you feel like a good baker, even on days when you don’t feel like one. It’s simple, it’s reliable, and it’s absolutely delicious.
I hope you give this a try. Mash those ripe bananas, grab a bowl, and make your house smell like a hug. And when you do, I would love to hear about it. Leave a comment below and let me know how it turned out. Did you add chocolate chips? Walnuts? Did you make it for a special occasion or just because? Share your photos and tag me on social media — I can’t wait to see your cozy creations.
Happy baking, friends. You have got this.
Frequently Asked Questions
1. Can I use frozen bananas for this banana bread?
Absolutely! Thaw them completely at room temperature or in the microwave. You will notice they release a lot of liquid. Drain off most of that liquid before mashing, otherwise your batter will be too wet and the bread might not bake through properly.
2. Why did my banana bread sink in the middle?
This usually happens for two reasons: either the bread was underbaked, or you opened the oven door too early. The sudden rush of cool air can cause the center to collapse. Try not to open the oven for the first 45 minutes of baking.
3. Can I make this into muffins instead of a loaf?
Yes! This batter makes about 12 standard muffins. Line a muffin tin with paper liners and fill each cup about ¾ full. Bake at 350°F for 18-22 minutes, or until a toothpick inserted into the center comes out clean. Perfect for on-the-go breakfasts.
4. How do I know when my bananas are ripe enough?
Look for bananas that are heavily speckled with brown spots or even mostly brown. They should be soft to the touch and smell sweet. If they are still mostly yellow, they are not ready. Patience is key here — the riper the banana, the better the bread.
5. Can I reduce the sugar in this recipe?
Yes, you can reduce the sugar to ½ cup without drastically affecting the texture. If you reduce it further, the bread may be less tender and won’t brown as nicely. If your bananas are very ripe and sweet, you can get away with less sugar more easily.
Pin This Recipe!
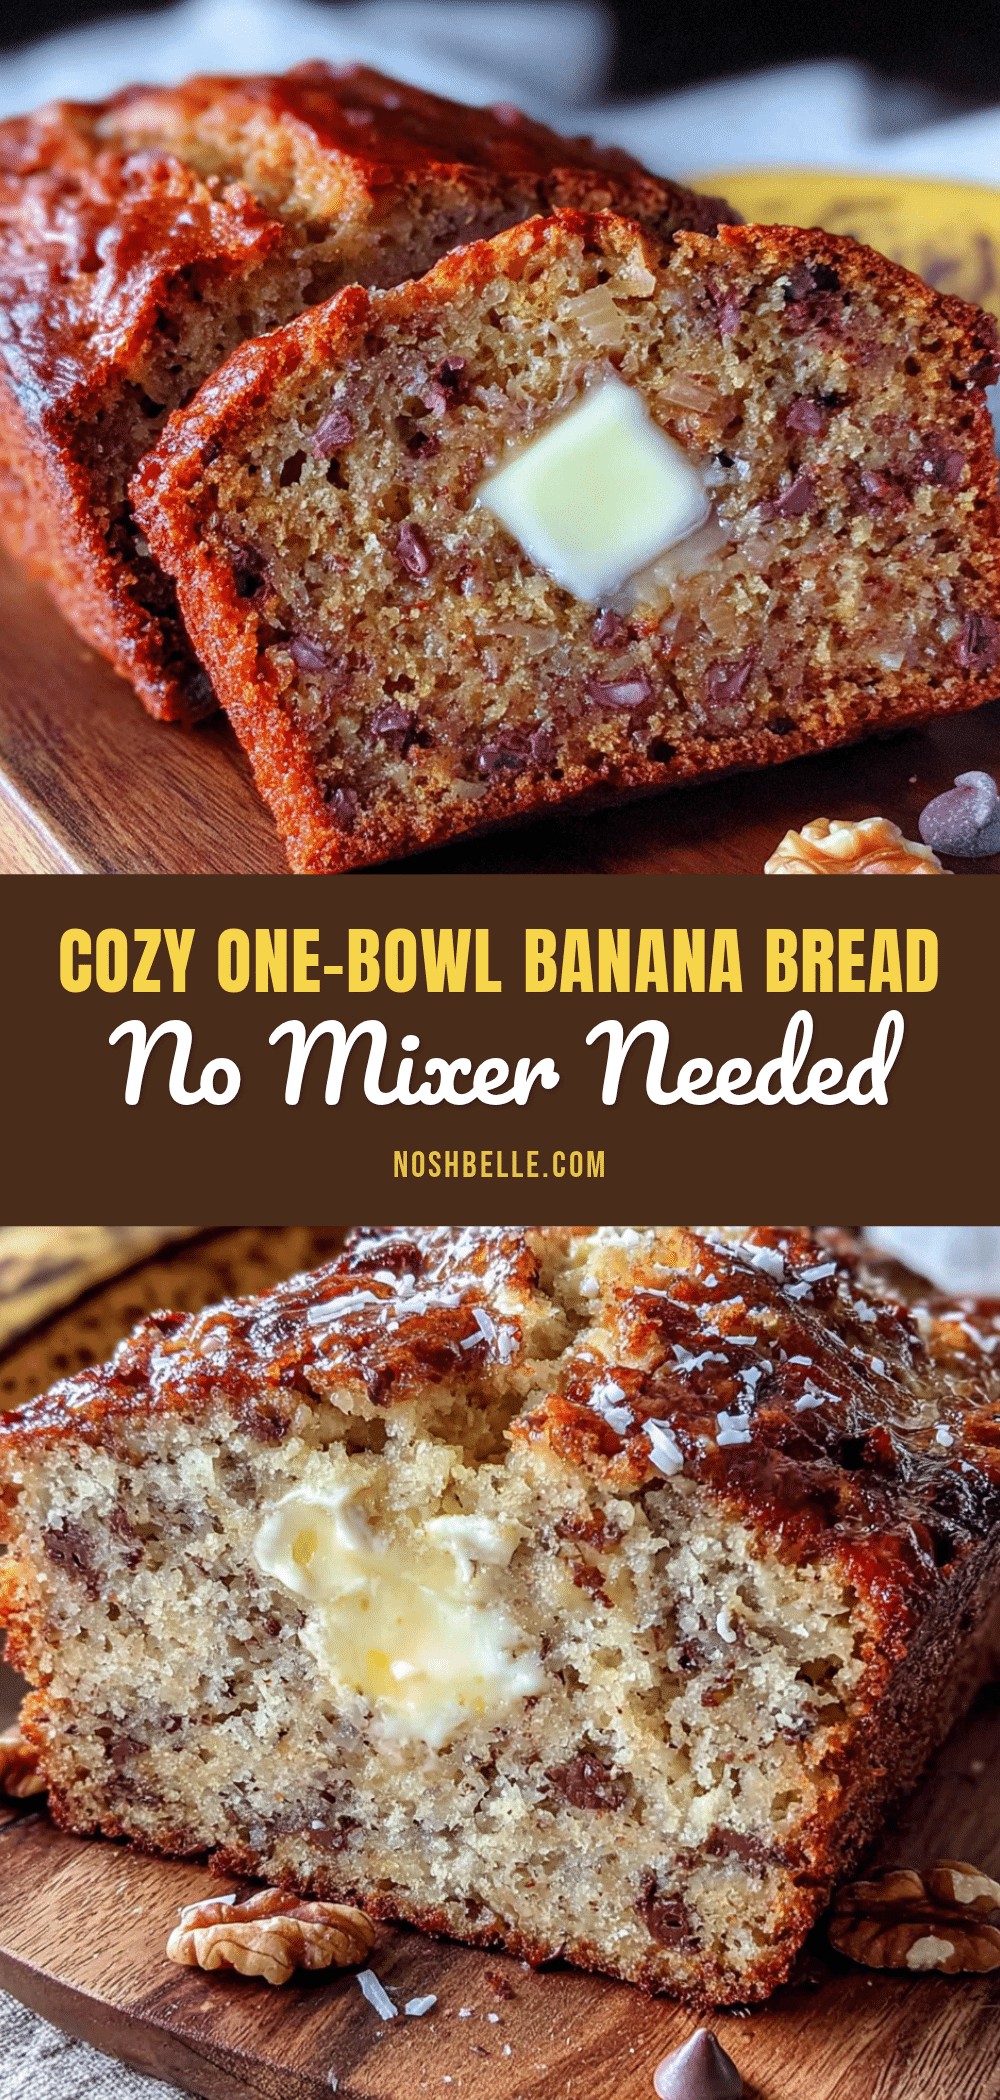
Cozy One-Bowl Banana Bread: No Mixer Needed
This cozy one-bowl banana bread is incredibly moist, simple to make, and requires no mixer. Just ripe bananas, a bowl, and a fork for a perfect, comforting treat.
- Prep Time: 15 minutes
- Cook Time: 60 minutes
- Total Time: 1 hour 15 minutes
- Yield: 10 servings 1x
- Category: Dessert
- Cuisine: American
Ingredients
- 3 large ripe bananas, mashed (about 1 ½ cups)
- ⅓ cup melted unsalted butter
- ¾ cup granulated sugar
- 1 large egg, room temperature
- 1 teaspoon vanilla extract
- 1 teaspoon baking soda
- ¼ teaspoon salt
- 1 ½ cups all-purpose flour
- ½ cup chopped walnuts or pecans (optional)
- ½ cup chocolate chips (optional)
Instructions
- Preheat your oven to 350°F (175°C). Position a rack in the center of the oven. Line a 9×5-inch loaf pan with parchment paper, leaving overhang on the long sides. Spray with non-stick spray.
- In a large mixing bowl, mash the bananas with a fork or potato masher until mostly smooth with a few small lumps.
- Pour the cooled melted butter over the mashed bananas and stir until combined.
- Add the granulated sugar, room temperature egg, and vanilla extract. Stir until smooth and glossy.
- Sprinkle the baking soda and salt over the wet mixture, then add the flour. Gently fold until just combined; do not over-mix. A few lumps are fine.
- If using, gently fold in the walnuts, pecans, or chocolate chips. Reserve a small handful for topping.
- Pour the batter into the prepared loaf pan and spread evenly. Sprinkle reserved nuts or chocolate chips on top, pressing in slightly.
- Bake for 55-65 minutes, until a toothpick inserted in the center comes out clean or with a few moist crumbs. If browning too quickly, tent with foil after 40 minutes.
- Cool in the pan for 10 minutes, then lift out using the parchment and transfer to a wire rack. Cool for at least 20 minutes before slicing.
Notes
Use very ripe bananas (heavily spotted) for best sweetness and moisture. Do not over-mix the batter to avoid a tough loaf. Measure flour by spooning and leveling. Let cool completely before slicing to prevent crumbling. For a crackly top, let batter rest in pan for 10 minutes before baking.
Nutrition
- Serving Size: 1 slice
- Calories: 220
- Sugar: 18
- Sodium: 160
- Fat: 8
- Saturated Fat: 4.5
- Carbohydrates: 35
- Fiber: 1.5
- Protein: 3
Keywords: banana bread, one-bowl, no mixer, easy, moist, fall baking, comfort food