There used to be this little corner pub in my old neighborhood called The Rusty Tap that made the most unbelievable garlic chicken wings. When they closed up shop three years ago—turned into a chain smoothie place, can you believe it?—I literally stood outside staring at the new sign like I’d lost a friend. After twelve tries—some of them truly tragic, let me tell you—I finally got it. These crispy baked Parmesan garlic chicken wings are the exact recreation of those sticky, savory, utterly addictive wings I thought I’d never taste again.
The first few attempts were rough. I mean, I burned the garlic so badly my apartment smelled like a sad pizza parlor for two days. Another time, the wings came out so soggy I could have called them boiled chicken with cheese. Honestly, it was embarrassing. But somewhere around attempt number seven, I started understanding what made those original wings so special—it was the balance of the salty Parmesan against the mellow, roasted garlic, all clinging to a skin so crispy it shattered when you bit into it. Maybe you’ve been there, chasing a restaurant dish that just hits different and refusing to let it go.
What finally cracked the code was a simple trick I stumbled upon while making something completely unrelated. A little cornstarch. A hot oven. And the patience to let the garlic do its thing without rushing it. Now I make these crispy baked Parmesan garlic chicken wings at least twice a month, and honestly, I think they’re even better than the original. The best part? I don’t have to put on real pants to get them.
Why You’ll Love This Recipe
These aren’t just any chicken wings. These are the wings that disappear at parties before you even sit down. The ones people hover around the tray pretending they’re just “grazing.” And the best part? They’re baked, not fried—so you get all that crunch without the mess of hot oil splattering everywhere.
- Oven-Baked, Not Fried: You get that deep, golden crispiness without standing over a pot of bubbling oil. Your kitchen stays clean, and your fingers stay unburned.
- Simple Pantry Ingredients: Butter, garlic, Parmesan, chicken wings, and a few spices. That’s it. No weird specialty items you’ll use once and forget about.
- Perfect for Game Day or Dinner: These wings work for Super Bowl parties, casual weeknight dinners, or that moment you just need something deeply satisfying after a long day.
- Crazy Addictive Flavor: The combination of nutty Parmesan, mellow roasted garlic, and perfectly seasoned crispy skin is honestly dangerous. I’ve seen grown adults fight over the last one.
- Foolproof Method: I’ve tested this recipe so many times that I’ve worked out every possible hiccup. Even if you’ve never made wings before, you’ll nail these on the first try.
What makes this recipe different from the dozens of other wing recipes out there? It’s the double-baking technique. You bake the wings first to render the fat and get the skin crispy, then you toss them in the garlic butter and Parmesan and bake them again. That second bake is what creates that almost caramelized coating that sticks to every ridge and crevice. It’s not just another wing recipe—it’s the one I’d serve to someone who said they didn’t like baked wings.
What Ingredients You Will Need
This recipe uses straightforward ingredients that come together to create something truly special. The magic is in how they work together, not in fancy or hard-to-find items.
- Chicken Wings (2 pounds, about 10-12 whole wings, separated into drumettes and flats): Look for fresh wings if you can find them, but frozen work fine too—just thaw them completely in the refrigerator overnight. I prefer buying whole wings and cutting them myself because I save the tips for stock, but pre-separated wings save time.
- Baking Powder (1 ½ teaspoons): This is the secret to crispy skin. Not baking soda—baking powder. It helps dry out the skin so it crisps up beautifully in the oven. I use Rumford brand because it’s aluminum-free and doesn’t leave any weird aftertaste.
- Cornstarch (1 tablespoon): A little extra insurance for crunch. Combined with the baking powder, it creates that shatteringly crisp exterior you usually only get from frying.
- Salt (1 teaspoon kosher salt): Use kosher salt for better control and cleaner flavor. Table salt is saltier by volume, so adjust if that’s all you have.
- Black Pepper (½ teaspoon, freshly ground): Freshly ground pepper makes a noticeable difference here. Pre-ground pepper is fine in a pinch, but the fresh stuff has more aromatic punch.
- Garlic Powder (1 teaspoon): This goes into the dry rub for the wings, giving them a subtle garlic backbone before the main garlic event.
- Unsalted Butter (4 tablespoons, melted): Butter is the carrier for all that garlic goodness. Unsalted lets you control the salt level. If you only have salted butter, reduce the added salt by about ¼ teaspoon.
- Fresh Garlic (6-8 cloves, minced): Don’t skimp here. Fresh garlic is non-negotiable for that deep, aromatic flavor. Pre-minced garlic from a jar won’t give you the same result—it’s often treated with preservatives that change the taste.
- Parmesan Cheese (½ cup, finely grated): Use the real stuff, not the green can. A block of Parmigiano-Reggiano grated fresh has a nutty, salty complexity that pre-shredded cheese just can’t match. Grate it fine so it clings to the wings.
- Dried Parsley (1 tablespoon, for garnish): Optional but nice for color. Fresh parsley works too, just chop it fine and sprinkle right before serving.
- Optional Red Pepper Flakes (½ teaspoon): If you like heat, add these to the garlic butter. They add a gentle warmth that plays beautifully with the Parmesan.
Equipment Needed
You don’t need much fancy gear for these wings, which is part of the beauty. Here’s what I use every time:
- Baking Sheet (half-sheet pan, 18×13 inches): A rimmed baking sheet is essential to catch any drips. I’ve used the same Nordic Ware sheet for years—it doesn’t warp in high heat.
- Wire Rack (fits inside the baking sheet): This is the real game-changer. Elevating the wings allows hot air to circulate all around them, making every side crispy. No rack? You can flip the wings halfway through, but the texture won’t be quite as even.
- Large Mixing Bowls (2-3): One for drying and seasoning the wings, one for the garlic butter mixture.
- Chef’s Knife: For separating wings if you bought whole ones. A sharp knife makes clean cuts through the joints.
- Garlic Press or Microplane: I prefer a microplane for garlic because it creates a paste that melts into the butter beautifully. A garlic press works fine too.
- Paper Towels: Lots of them. Patting the wings completely dry is the most important step for crispy skin.
- Tongs: For flipping and tossing the wings without burning your fingers.
If you don’t have a wire rack, you can crumple aluminum foil into snake-like shapes and place the wings on top—it’s a hack I learned from a cookbook years ago, and it works surprisingly well. Not quite as good, but close enough for a Tuesday night craving.
Preparation Method
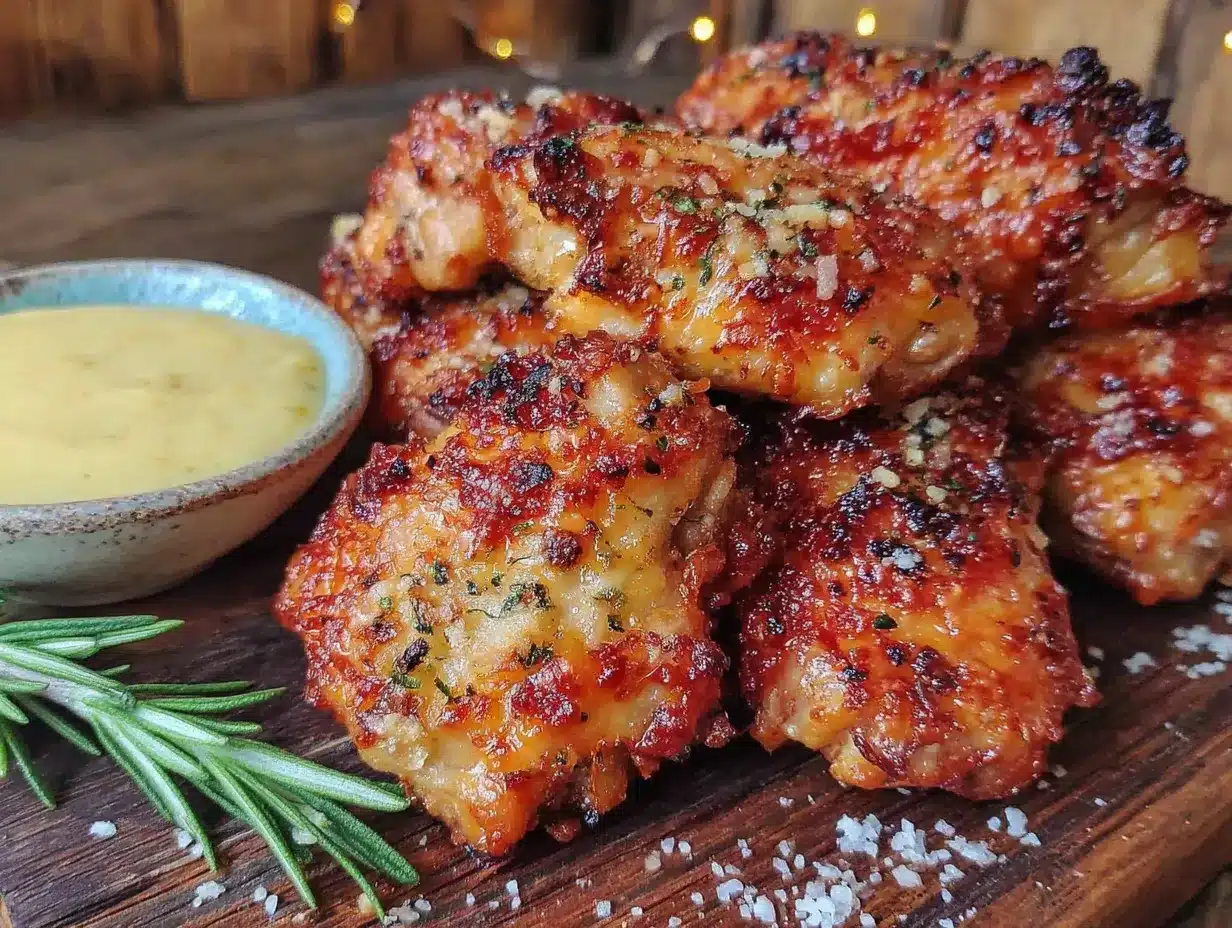
Let me walk you through this step by step. Trust me on the details—I’ve learned every one of these the hard way.
- Preheat your oven to 400°F (200°C). Get it nice and hot. While it’s heating, line your baking sheet with foil for easy cleanup and place the wire rack on top. Spray the rack lightly with cooking spray so the wings don’t stick.
- Pat the wings completely dry. This is not optional. Take each wing and press it firmly between layers of paper towels until no moisture remains. Wet skin equals soggy wings. I usually go through about six paper towels for two pounds of wings. Let them sit uncovered on the counter for 10 minutes after drying to air-dry even more.
- Mix the dry rub. In a large bowl, combine the baking powder, cornstarch, salt, pepper, and garlic powder. Whisk them together so everything is evenly distributed. You don’t want a pocket of baking powder on one wing—trust me, I’ve been there, and it’s not tasty.
- Toss the wings in the dry rub. Add the dried wings to the bowl and toss with your hands until every piece is evenly coated. The mixture should look like a light dusting, not a thick paste. If it looks clumpy, you’ve added too much moisture somewhere—pat the wings drier next time.
- Arrange the wings on the wire rack. Place them in a single layer with space between each piece. Crowding the pan creates steam, and steam is the enemy of crispy skin. If they’re touching, they won’t crisp where they touch. I know it’s tempting to cram them all in, but use two batches if you need to.
- Bake for 30 minutes. Place the pan on the middle rack. Don’t open the oven door during this time—you’ll let out all the heat and steam up the oven. The wings will start to look golden and the fat will render out.
- Flip the wings and bake another 20 minutes. Using tongs, carefully flip each wing over. They should be starting to brown nicely. Bake for another 20 minutes, or until the skin is deep golden brown and looks crispy. If you want them extra crispy, go another 5 minutes—just watch them so the garlic powder doesn’t burn.
- Make the garlic butter while the wings bake. In a small saucepan, melt the butter over low heat. Add the minced garlic and cook for 1-2 minutes until fragrant but not browned. Garlic burns fast, so keep stirring. If you see it turning brown, pull it off the heat immediately. Stir in the red pepper flakes if using.
- Toss the baked wings in garlic butter. Transfer the hot wings to a large bowl. Pour the garlic butter over them and toss gently with tongs until every wing is coated. The wings should look glossy and smell incredible at this point.
- Sprinkle with Parmesan and bake again. Spread the Parmesan cheese on a plate. Roll each butter-coated wing in the Parmesan, pressing gently so it sticks. Return the wings to the wire rack (the rack should still be warm). Bake for another 5-7 minutes until the Parmesan is melted and slightly golden. Watch carefully—Parmesan can go from perfect to burnt in seconds.
- Garnish and serve. Remove from the oven, sprinkle with dried parsley, and let rest for 2 minutes. The wings will be extremely hot, so give them a minute to cool slightly. Serve immediately while the skin is still crispy.
Cooking Tips & Techniques
After making these wings more times than I care to count, I’ve picked up a few things that make the difference between good wings and unforgettable ones.
Patience is everything. The biggest mistake people make is rushing the drying step. I once made these for a party and skipped the air-drying because I was running late. The wings came out edible but not crispy—they had that steamed texture that makes baked wings feel like a compromise. Now I always give them that extra 10 minutes on the counter. It’s a small thing that changes everything.
Watch your oven temperature. Every oven runs differently. My old apartment oven ran 25 degrees hot, and I burned the first batch of Parmesan so badly I had to open all the windows. If your oven tends to run hot, check the wings a few minutes early during the final bake. An oven thermometer is a cheap investment that saves a lot of heartache.
Don’t skip the wire rack. I know it’s one more thing to wash, but it’s non-negotiable for even crispiness. The first time I made these without a rack, the bottoms of the wings sat in rendered fat and came out soft and greasy. The rack lets air circulate underneath, and that circulation is what gives you that all-over crunch.
Grate your own Parmesan. I can’t stress this enough. Pre-grated Parmesan is coated with anti-caking agents that prevent it from melting smoothly. Freshly grated Parmigiano-Reggiano melts into a lacy, golden crust that sticks to the wings like a dream. The pre-shredded stuff just falls off and burns on the pan.
Multitask strategically. While the wings are in their first bake, prep your garlic and grate your cheese. While they’re in the second bake, set the table and grab your drinks. The actual hands-on time for this recipe is maybe 15 minutes—the rest is just waiting for the oven to work its magic.
Variations & Adaptations
One of the best things about this recipe is how easy it is to tweak. Here are some variations I’ve tried and loved:
- Spicy Buffalo Parmesan: Add 2 tablespoons of your favorite hot sauce to the garlic butter. The heat cuts through the richness of the Parmesan beautifully. I use Frank’s RedHot for a classic Buffalo flavor, but any vinegar-based hot sauce works.
- Lemon Herb Wings: Add the zest of one lemon and 1 tablespoon of fresh thyme leaves to the garlic butter. Skip the red pepper flakes. The brightness of the lemon is gorgeous with the nutty Parmesan—perfect for spring or summer gatherings.
- Smoked Paprika Version: Add 1 teaspoon of smoked paprika to the dry rub. It gives the wings a subtle smoky depth that makes them taste like they came off a grill. My friend Dave, who’s a barbecue purist, actually admitted these were “pretty decent” after trying them.
- Gluten-Free Adaptation: This recipe is naturally gluten-free as written—just double-check that your baking powder is certified gluten-free (some brands contain wheat starch). The cornstarch is already gluten-free, and Parmesan is naturally gluten-free.
- Air Fryer Method: If you have an air fryer, you can use it for the first bake. Cook the seasoned wings at 375°F for 12 minutes, shake the basket, then cook another 10-12 minutes until crispy. Then toss in garlic butter and Parmesan and return to the air fryer for 2-3 minutes. The texture is incredible—maybe even better than oven-baked.
I once made a maple-bourbon variation by adding 2 tablespoons of maple syrup and 1 tablespoon of bourbon to the garlic butter. It was dangerously good—sweet, savory, and just a little boozy. My sister-in-law ate seven wings and then demanded the recipe. So if you’re feeling adventurous, give that one a try.
Serving & Storage Suggestions
These wings are best served hot, straight from the oven, when the skin is at its crispiest and the Parmesan is still slightly melted. I like to arrange them on a platter with extra grated Parmesan and fresh parsley scattered over the top. A side of ranch dressing or blue cheese dip is classic, and I always have both on hand because people have strong opinions about which is superior.
For a full meal, I pair these wings with celery and carrot sticks (the cool crunch is a perfect contrast), and maybe some sweet potato fries or a simple green salad. They’re also fantastic alongside a cold beer or a crisp white wine—something with enough acidity to cut through the richness.
Storage: If you have leftovers (unlikely, but possible), let the wings cool completely before storing them in an airtight container in the refrigerator. They’ll keep for up to 3 days. The texture will soften as they sit, but the flavor will actually deepen overnight as the garlic and Parmesan meld together.
Reheating: The key to restoring crispiness is to avoid the microwave at all costs. Instead, reheat the wings in a 375°F oven on a wire rack for about 8-10 minutes. They’ll come back to life beautifully. An air fryer works even better—3-4 minutes at 375°F and they’re almost as good as fresh. The microwave will turn them into sad, rubbery things, so please don’t do that to these beautiful wings.
Freezing: You can freeze the baked wings (before the final Parmesan bake) for up to 2 months. Let them cool completely, then freeze them in a single layer on a baking sheet. Once frozen, transfer them to a freezer bag. To serve, thaw in the refrigerator overnight, then proceed with the garlic butter and Parmesan steps. They won’t be quite as crispy as fresh, but they’re still delicious.
Nutritional Information & Benefits
Here’s the approximate nutritional breakdown for a serving of 4-5 wings (about ⅓ of the recipe):
- Calories: 420-460
- Protein: 32g
- Fat: 30g (14g saturated)
- Carbohydrates: 6g
- Fiber: 0g
- Sugar: 1g
- Sodium: 780mg
- Calcium: 180mg (from the Parmesan)
These wings are a good source of protein, which keeps you full and satisfied. Chicken wings also provide B vitamins, particularly B6 and B12, which support energy metabolism. The Parmesan adds calcium and a little extra protein, while the garlic offers allicin, a compound known for its potential immune-supporting properties. Is this health food? No. But it’s a treat that’s significantly better for you than fried wings, with about 40% less fat and none of the trans fats from deep frying.
If you’re watching your sodium, you can reduce the added salt or use a low-sodium Parmesan. The wings are naturally gluten-free and can be made dairy-free by using vegan butter and a dairy-free Parmesan alternative (though the texture will change slightly).
FAQs
Can I use frozen chicken wings for this recipe?
Yes, but you must thaw them completely in the refrigerator first. Pat them extra dry before seasoning—frozen wings release more moisture as they thaw. I always thaw them overnight on a paper towel-lined plate to catch any liquid.
Why did my wings come out soggy instead of crispy?
This usually happens for one of three reasons: the wings weren’t dried thoroughly before seasoning, the baking sheet was overcrowded, or the oven wasn’t hot enough. Make sure each wing has space around it on the wire rack, and don’t skip the air-drying step. Also, check your oven temperature with an oven thermometer—it might be running cooler than you think.
Can I make these wings ahead of time for a party?
You can prepare the wings through step 7 (the first bake) up to a day ahead. Let them cool, then refrigerate them in an airtight container. When you’re ready to serve, reheat them in a 375°F oven for 10 minutes, then proceed with the garlic butter and Parmesan steps. The texture won’t be quite as perfect as freshly baked, but it’s close enough for entertaining.
Can I use chicken thighs or drumsticks instead of wings?
Absolutely. The same method works beautifully for drumsticks (increase the first bake to 40 minutes) or boneless chicken thighs (reduce the first bake to 20 minutes). The key is to adjust the cooking time based on the size of the pieces. Use an instant-read thermometer to check for doneness—165°F for chicken.
How do I prevent the Parmesan from burning during the final bake?
Watch the wings like a hawk during the last 5-7 minutes. Parmesan has a low burning point because of its low moisture content. If your oven runs hot, reduce the temperature to 375°F for the final bake, or check the wings at the 4-minute mark. A little browning is good—black spots are not.
Conclusion
These crispy baked Parmesan garlic chicken wings are the recipe I’m proudest of, and not just because they taste incredible. They’re proof that you don’t need a deep fryer or a restaurant kitchen to make wings that rival anything you’d get at a bar. With a little patience, a hot oven, and some good Parmesan, you can create something that makes people close their eyes and sigh with happiness.
I’ve made these wings for Super Bowl parties, birthday dinners, and random Tuesday nights when I needed something comforting. Every single time, they disappear. Every single time, someone asks for the recipe. And every single time, I tell them the same thing—the secret isn’t complicated. It’s just paying attention to the details and not rushing the process.
I’d love to hear how these turn out for you. Did you try a variation? Did your family fight over the last wing? Drop a comment below and let me know. And if you share a photo on Pinterest, tag me—I love seeing these wings in other people’s kitchens. Now go make some wings. You deserve them.
Pin This Recipe!
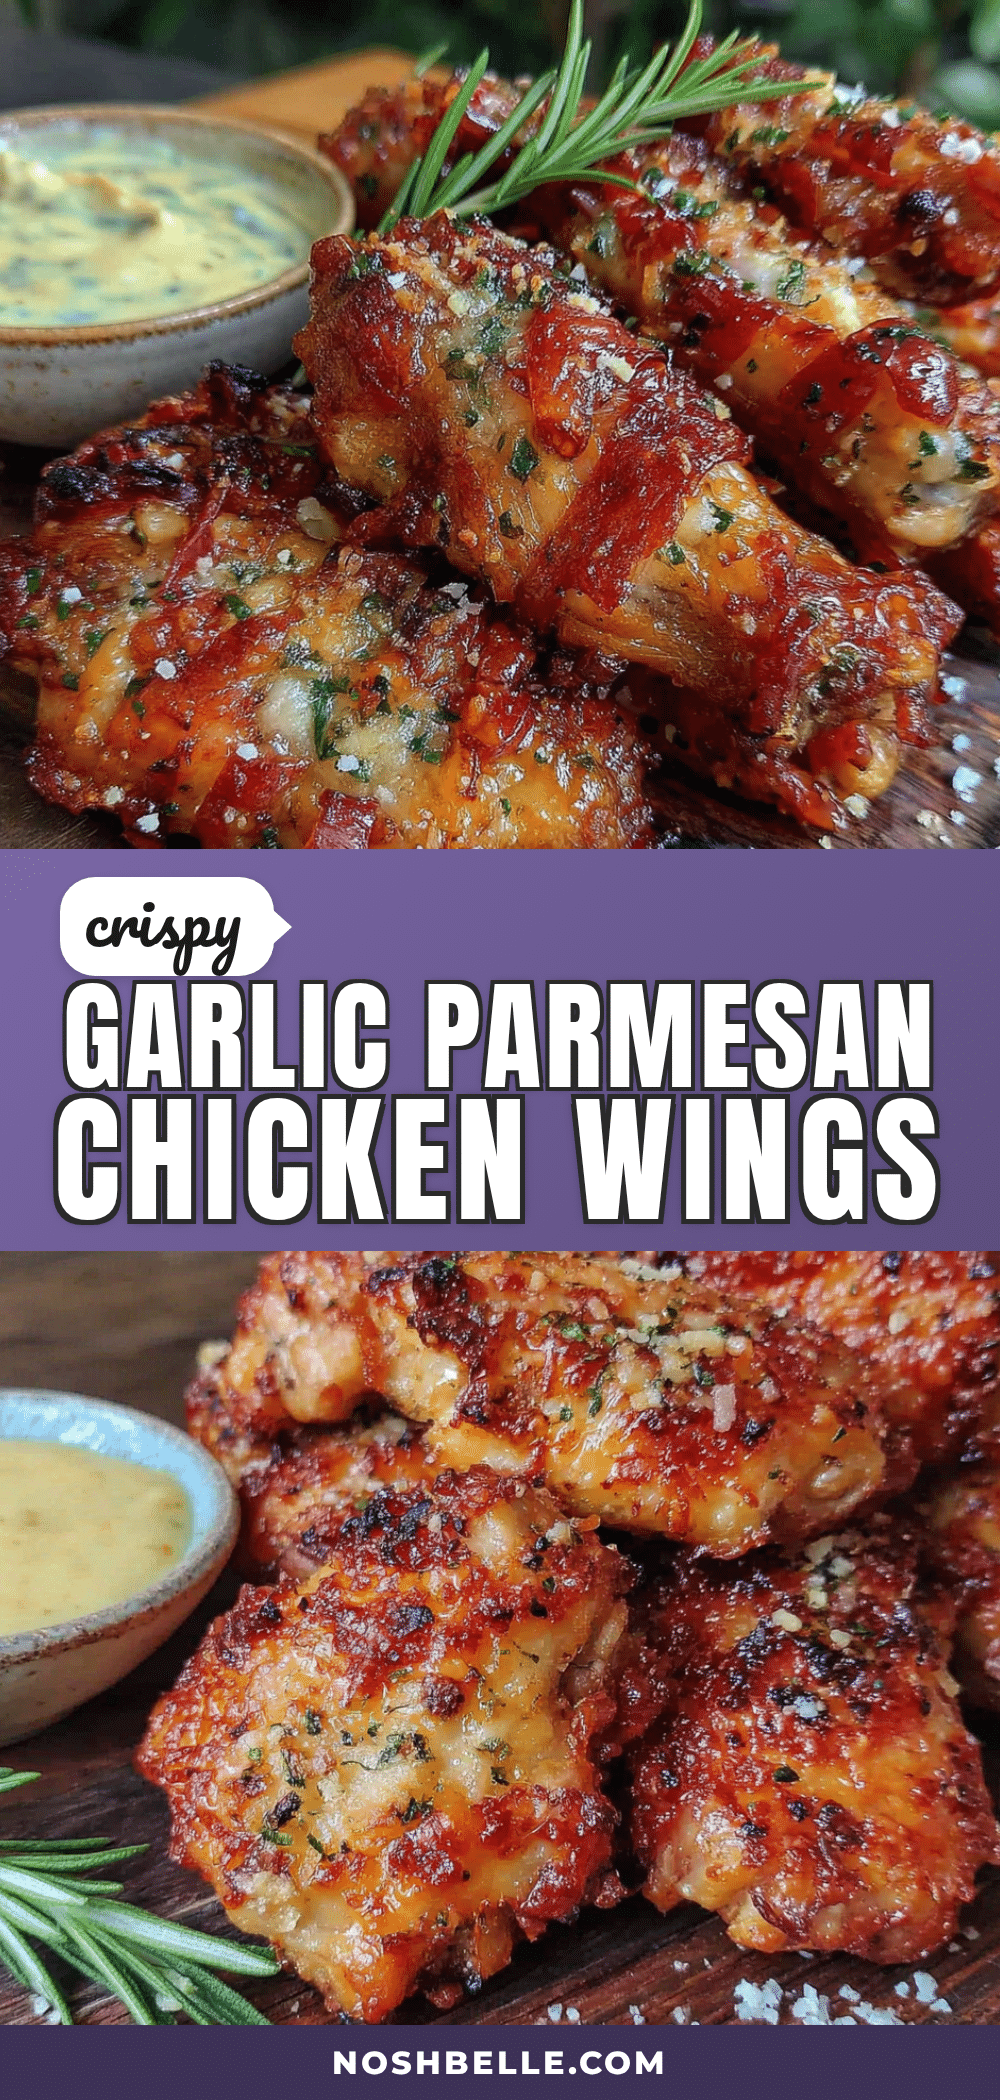
Crispy Baked Parmesan Garlic Chicken Wings (Easy Recipe)

These crispy baked Parmesan garlic chicken wings are the exact recreation of those sticky, savory, utterly addictive wings from a beloved neighborhood pub. With a double-baking technique and a simple cornstarch trick, you get shatteringly crispy skin coated in nutty Parmesan and mellow roasted garlic—all baked, not fried.
- Prep Time: 15 minutes
- Cook Time: 57-62 minutes
- Total Time: 1 hour 12-17 minutes
- Yield: 4 servings 1x
- Category: Appetizer
- Cuisine: American
Ingredients
- 2 pounds chicken wings (about 10–12 whole wings, separated into drumettes and flats)
- 1 ½ teaspoons baking powder
- 1 tablespoon cornstarch
- 1 teaspoon kosher salt
- ½ teaspoon freshly ground black pepper
- 1 teaspoon garlic powder
- 4 tablespoons unsalted butter, melted
- 6–8 cloves fresh garlic, minced
- ½ cup finely grated Parmesan cheese (preferably Parmigiano-Reggiano)
- 1 tablespoon dried parsley (for garnish)
- ½ teaspoon red pepper flakes (optional)
Instructions
- Preheat your oven to 400°F (200°C). Line a baking sheet with foil and place a wire rack on top. Spray the rack lightly with cooking spray.
- Pat the wings completely dry with paper towels. Let them sit uncovered on the counter for 10 minutes to air-dry further.
- In a large bowl, whisk together the baking powder, cornstarch, salt, pepper, and garlic powder.
- Add the dried wings to the bowl and toss with your hands until every piece is evenly coated.
- Arrange the wings in a single layer on the wire rack, leaving space between each piece.
- Bake for 30 minutes without opening the oven door.
- Flip the wings using tongs and bake for another 20 minutes, until deep golden brown and crispy.
- While the wings bake, melt the butter in a small saucepan over low heat. Add the minced garlic and cook for 1-2 minutes until fragrant but not browned. Stir in red pepper flakes if using.
- Transfer the hot wings to a large bowl. Pour the garlic butter over them and toss gently with tongs until coated.
- Spread the Parmesan cheese on a plate. Roll each butter-coated wing in the Parmesan, pressing gently to adhere.
- Return the wings to the wire rack and bake for another 5-7 minutes until the Parmesan is melted and slightly golden.
- Remove from the oven, sprinkle with dried parsley, and let rest for 2 minutes before serving.
Notes
Patience is everything—don’t skip the drying step. Use a wire rack for even crispiness. Grate your own Parmesan for best results. Watch the final bake carefully to prevent burning. For extra crispy wings, go another 5 minutes on the second bake. If your oven runs hot, reduce temperature to 375°F for the final bake.
Nutrition
- Serving Size: 4-5 wings
- Calories: 420460
- Sugar: 1
- Sodium: 780
- Fat: 30
- Saturated Fat: 14
- Carbohydrates: 6
- Protein: 32
Keywords: baked chicken wings, Parmesan garlic wings, crispy wings, oven baked wings, game day appetizer, easy chicken wings


