There used to be a tiny Italian place tucked behind the old hardware store on Main Street—the kind of spot with red-checkered tablecloths and a jukebox that only played Frank Sinatra. They made this garlic butter chicken that was pure magic. When they closed suddenly two summers ago, I actually stood outside the locked door for a full minute, holding my daughter’s hand, feeling genuinely sad. That chicken had gotten us through a dozen chaotic Tuesday nights. After six tries—including one where I accidentally used salted butter and the whole thing tasted like a salt lick—I finally cracked the code. And honestly? This version might be even better than the original.
Let me tell you, the first time I made these garlic butter chicken thighs at home, my youngest looked up mid-bite and said, “Mom, can you make this every day?” That’s the kind of approval that makes a tired parent’s heart swell. I mean, we’ve all been there—standing in front of the fridge at 5:30 PM with no plan and hungry kids circling like sharks. This recipe was born from that exact desperation, and it turned into our family’s most-requested dinner.
The beauty here is that you’re not sacrificing flavor for speed. These chicken thighs get that gorgeous golden crust, the garlic butter sauce is rich enough to spoon over rice or potatoes, and the whole thing comes together while you’re still unpacking the school bags. No fancy techniques, no obscure ingredients—just real food that tastes like you spent hours on it.
Why You’ll Love This Recipe
I’ve tested this recipe more times than I care to count—through burnt butter mishaps, a broken spatula incident, and one memorable evening when I forgot the garlic entirely (don’t ask). Every single time, the chicken turned out juicy and the sauce was pure gold. Here’s what makes this one special:
- Quick & Easy: From fridge to table in 15 minutes flat. No marinating, no complicated steps—just sear, sauce, and serve.
- Simple Ingredients: You probably have everything in your kitchen right now. Butter, garlic, chicken thighs, salt, pepper, and maybe some paprika if you’re feeling fancy.
- Perfect for Busy Weeknights: This is the dinner you make when soccer practice runs late, homework is piling up, and everyone is hangry.
- Kid-Approved: My kids call these “butter chicken” and ask for them by name. Even picky eaters clean their plates.
- Budget-Friendly: Chicken thighs are one of the most affordable cuts, and you don’t need any expensive add-ons.
What sets this apart from other quick chicken recipes is the technique. Most people rush the sear, but taking those extra 2 minutes to get a proper golden crust makes all the difference. The butter and garlic create this sauce that clings to every bite—it’s not greasy, just rich and satisfying. You know that feeling when something tastes like comfort food but didn’t take all afternoon? That’s this recipe.
What Ingredients You Will Need
This recipe keeps things beautifully simple. The ingredients are everyday staples that work together to create something genuinely memorable. No hunting down specialty items or spending a fortune.
- Boneless, skinless chicken thighs: About 600g (1.3 lbs) or 4-6 thighs. I prefer thighs over breasts here—they stay juicier and have more flavor. If you can, look for thighs that are similar in thickness so they cook evenly.
- Unsalted butter: 3 tablespoons (42g). I use unsalted so I can control the salt level. If you only have salted butter, just reduce the added salt by half.
- Fresh garlic cloves: 4-5 cloves, minced. Fresh is non-negotiable here—the pre-minced stuff in jars just doesn’t deliver the same punch. I like to smash the cloves with the flat of my knife before mincing; it releases more of that garlicky oil.
- Salt: 1 teaspoon (5g). I use fine sea salt. Adjust based on your preference and whether your chicken is brined.
- Black pepper: ½ teaspoon (2g), freshly ground if you can. It makes a difference.
- Paprika: 1 teaspoon (2g). Optional, but I love the subtle warmth and color it adds. Smoked paprika is lovely here too.
- Chicken broth: ¼ cup (60ml). Low-sodium is best. This deglazes the pan and helps create the sauce. You can substitute water in a pinch, but broth adds more depth.
- Fresh parsley: 2 tablespoons, chopped. For garnish. Totally optional but adds a nice fresh pop.
- Optional: Lemon juice: 1 teaspoon. A tiny squeeze at the end brightens everything up. My kids don’t notice it, but I love what it does.
For the best results, I recommend using Kerrygold or another high-quality butter—it really does taste creamier. And don’t skimp on the garlic. Trust me on this one.
Equipment Needed
You don’t need a fancy kitchen to pull this off. Here’s what you’ll need:
- Large skillet or frying pan: 10-12 inches (25-30 cm) wide. A cast iron skillet is ideal for that perfect sear, but any heavy-bottomed pan works. Stainless steel is great too. Avoid non-stick if you want a really good crust—the chicken needs something to stick to slightly.
- Tongs: For flipping the chicken without piercing it. Piercing releases those precious juices. I’ve used a spatula before, but tongs are really the way to go.
- Sharp knife and cutting board: For mincing garlic and chopping parsley. A microplane works beautifully for garlic too, if you have one.
- Measuring spoons: For accuracy. I’ve eyeballed the butter before and regretted it.
- Small bowl: To hold your minced garlic and seasonings before cooking. It keeps things organized.
If you don’t have a cast iron skillet, don’t worry. I’ve made this in a regular non-stick pan and it still turned out great—just expect a slightly lighter crust. The key is letting the chicken sit undisturbed while it sears, regardless of your pan choice. And if you’re on a tight budget, a basic stainless steel pan from a discount store works perfectly fine.
Preparation Method
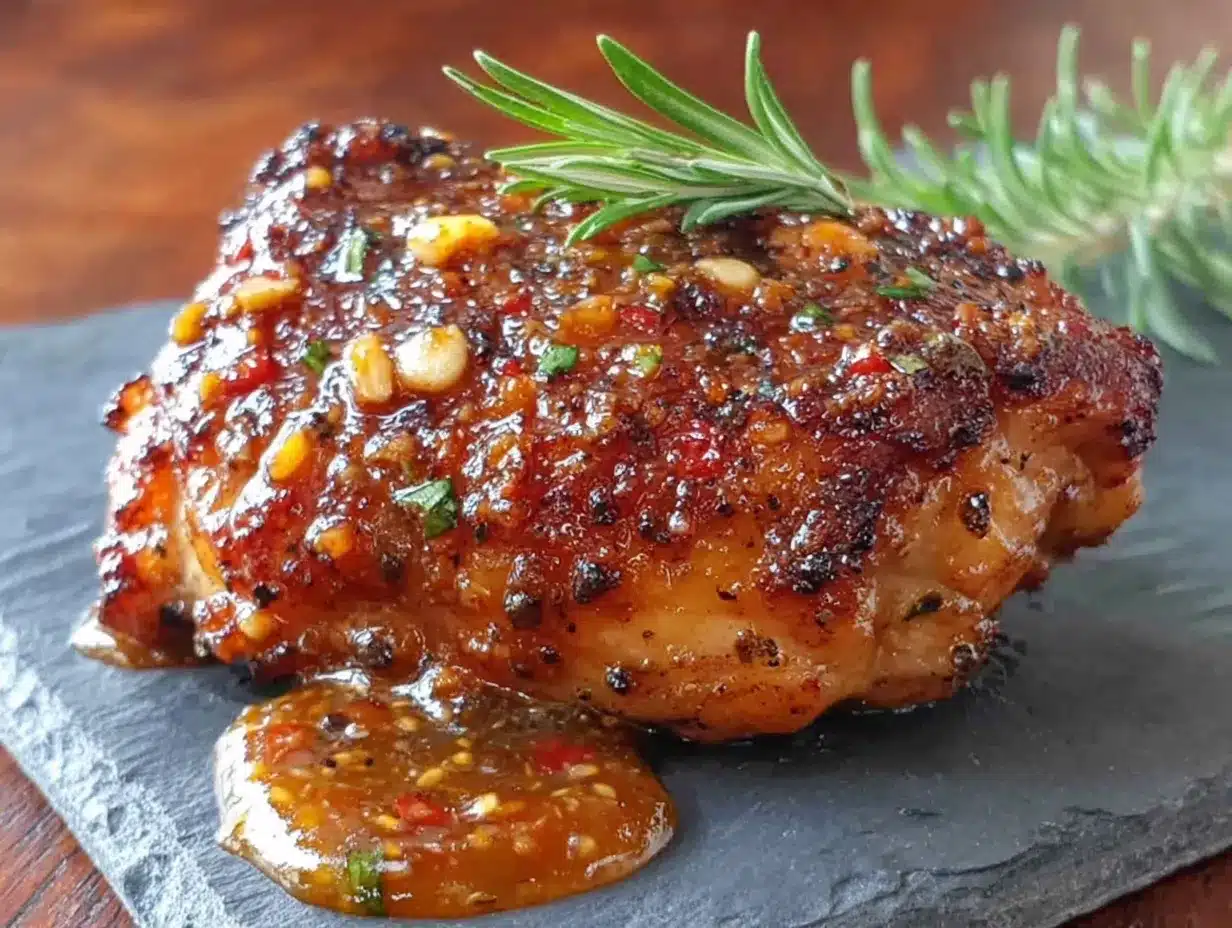
Let’s get cooking. This comes together fast, so have everything ready before you start. I promise it’s worth the 2 minutes of prep.
- Pat the chicken dry: Take your chicken thighs out of the package and pat them thoroughly dry with paper towels. This is crucial—wet chicken won’t sear properly. I learned this the hard way after making sad, gray chicken for years. Season both sides evenly with salt, pepper, and paprika.
- Heat the pan: Place your skillet over medium-high heat and add 1 tablespoon of the butter. Let it melt and foam—you want it hot but not smoking. If the butter burns, wipe the pan clean and start over. Burnt butter tastes bitter, and nobody wants that.
- Sear the chicken: Place the chicken thighs in the pan in a single layer. Don’t crowd them—if your pan is small, cook in batches. Let them cook undisturbed for 4-5 minutes. You’ll know they’re ready to flip when they release easily from the pan. If they stick, they need more time. Flip and cook another 4-5 minutes. The internal temperature should reach 165°F (74°C).
- Remove chicken and make the sauce: Transfer the cooked chicken to a plate and cover loosely with foil. Reduce the heat to medium. Add the remaining 2 tablespoons of butter to the pan. Once melted, add the minced garlic and stir constantly for about 30 seconds until fragrant. Don’t walk away—garlic burns fast. I’ve definitely had to start over because I got distracted by a kid asking for a snack.
- Deglaze the pan: Pour in the chicken broth and scrape up any browned bits from the bottom of the pan. Those bits are pure flavor. Let it simmer for 1-2 minutes until slightly reduced. The sauce should look glossy and smell incredible.
- Return chicken to the pan: Place the chicken back in the skillet, spooning the garlic butter sauce over the top. Let it warm through for about 1 minute. Squeeze a little lemon juice over everything if you’re using it.
- Garnish and serve: Sprinkle with fresh parsley and serve immediately. The chicken should be glistening with that beautiful sauce.
A quick note: if your sauce looks thin, let it simmer a minute longer. If it looks too thick, add a splash more broth. You’re aiming for a consistency that coats the back of a spoon.
Cooking Tips & Techniques
After making this more times than I can count, I’ve picked up a few tricks that make a real difference. Here’s what I wish someone had told me:
- Don’t move the chicken: I know it’s tempting to peek or shift things around, but let the chicken develop that crust undisturbed. The Maillard reaction—that browning that creates flavor—needs direct contact with the hot pan. Fidgeting with the chicken disrupts it.
- Watch the garlic carefully: Garlic goes from fragrant to burnt in about 15 seconds. If you see it turning brown too fast, pull the pan off the heat for a moment. Burnt garlic tastes acrid and ruins the whole dish.
- Use a meat thermometer: Chicken thighs are forgiving, but for perfect juiciness, cook to 165°F (74°C). I’ve overcooked them before and they were still okay, but that sweet spot is magic.
- Double the sauce: If you’re serving with rice or pasta, consider making a little extra sauce. I sometimes add an extra tablespoon of butter and a splash more broth. Nobody ever complained about too much garlic butter sauce.
- Timing is everything: Start your rice or vegetables before you begin the chicken. Since the chicken cooks in 15 minutes, you want your sides ready at the same time. I’ve definitely had cold chicken because I forgot to start the rice.
Variations & Adaptations
This recipe is wonderfully flexible. Here are some ways I’ve adapted it over the years:
- Dairy-free version: Substitute the butter with a high-quality vegan butter or ghee (if you tolerate it). Coconut oil works too, though it changes the flavor slightly. I’ve used Miyoko’s vegan butter and it was surprisingly good.
- Spicy kick: Add ½ teaspoon of red pepper flakes along with the garlic. My husband loves this version—the kids, not so much. I make it for date night sometimes.
- Herb garden twist: Toss in some fresh thyme or rosemary sprigs while the sauce simmers. Remove them before serving. It adds an earthy note that’s lovely in fall and winter.
- One-pan meal: Add 2 cups of green beans or asparagus to the pan after removing the chicken. Sauté in the garlic butter for 3-4 minutes, then return the chicken to the pan. Everything cooks together and cleanup is a breeze.
- Chicken breast option: You can use boneless, skinless chicken breasts, but reduce the cooking time to 3-4 minutes per side and check temperature early. Breasts dry out faster. Pound them to even thickness first for best results.
Personally, I love the green bean version—it’s become our go-to spring dinner. The beans soak up that garlic butter beautifully.
Serving & Storage Suggestions
These garlic butter chicken thighs are versatile enough to pair with just about anything. Here’s how I like to serve and store them:
- Serving temperature: Serve hot, straight from the pan. The butter sauce should be warm and glossy. Let the chicken rest for 2-3 minutes after cooking to lock in the juices.
- Perfect pairings: Mashed potatoes are my top choice—the sauce pools perfectly in the mash. Steamed rice, egg noodles, or crusty bread for soaking up every drop are also excellent. For vegetables, roasted broccoli, green beans, or a simple side salad work beautifully.
- Leftover storage: Store in an airtight container in the refrigerator for up to 3 days. The flavors actually meld together overnight, making leftovers almost better than the first serving.
- Reheating: Reheat gently in a skillet over medium-low heat with a splash of broth or water to loosen the sauce. Microwave works in a pinch, but the texture is better on the stove. Don’t overheat or the chicken can dry out.
- Freezing: These freeze well for up to 2 months. Cool completely, then transfer to a freezer-safe container with the sauce. Thaw overnight in the refrigerator before reheating.
One thing I love about this recipe is how the sauce thickens slightly as it sits. By day two, it’s almost like a glaze. Perfect for spooning over leftover rice for a quick lunch.
Nutritional Information & Benefits
Here’s a rough estimate per serving (based on 4 servings, using 600g chicken thighs):
- Calories: Approximately 350-400
- Protein: 30-35g
- Fat: 25-30g (mostly from butter and chicken skin)
- Carbohydrates: 2-3g
- Sodium: 500-600mg (varies with broth and added salt)
Chicken thighs are a great source of protein, iron, and B vitamins. Butter provides vitamin A and healthy saturated fats in moderation. Garlic is packed with antioxidants and has anti-inflammatory properties. This recipe is naturally low-carb, gluten-free, and keto-friendly if you skip any starchy sides. It’s also relatively low in sugar (practically zero). If you’re watching sodium, use low-sodium broth and go easy on the added salt. For a lighter version, you can reduce the butter to 2 tablespoons, though the sauce won’t be quite as rich.
Conclusion
These garlic butter chicken thighs have become a staple in our home for good reason. They’re fast enough for the busiest weeknights, affordable enough to make any night of the week, and delicious enough that everyone—from picky toddlers to discerning adults—asks for seconds. That original restaurant may be gone, but honestly, I don’t miss it anymore. We’ve got something better right in our own kitchen.
I’d love to hear how this recipe works for your family. Did your kids love it? Did you add your own twist? Drop a comment below and let me know—I read every single one. And if you’re looking for another quick weeknight win, try these crispy garlic chicken that uses a similar technique. Happy cooking, friends. You’ve got this.
Frequently Asked Questions
Can I use chicken breasts instead of thighs?
Absolutely. Just pound them to even thickness and reduce cooking time to 3-4 minutes per side. Check the internal temperature early—breasts dry out faster than thighs.
What if I don’t have fresh garlic?
Fresh is best, but in a pinch, use 1 teaspoon of garlic powder. Add it with the other seasonings. The flavor won’t be as bright, but it’ll still be tasty.
Can I make this ahead of time?
It’s best fresh, but you can prep by seasoning the chicken and mincing the garlic up to a day ahead. Store separately in the fridge. Cook just before serving.
How do I prevent the butter from burning?
Start with medium-high heat, not high. Add the butter just before the chicken, and don’t let it sit in the pan without food for more than a few seconds. If it starts smoking, reduce the heat immediately.
What sides go best with this dish?
Mashed potatoes are my favorite—they soak up the sauce beautifully. Rice, egg noodles, or crusty bread are also excellent. For vegetables, try roasted broccoli or a simple green salad.
Pin This Recipe!
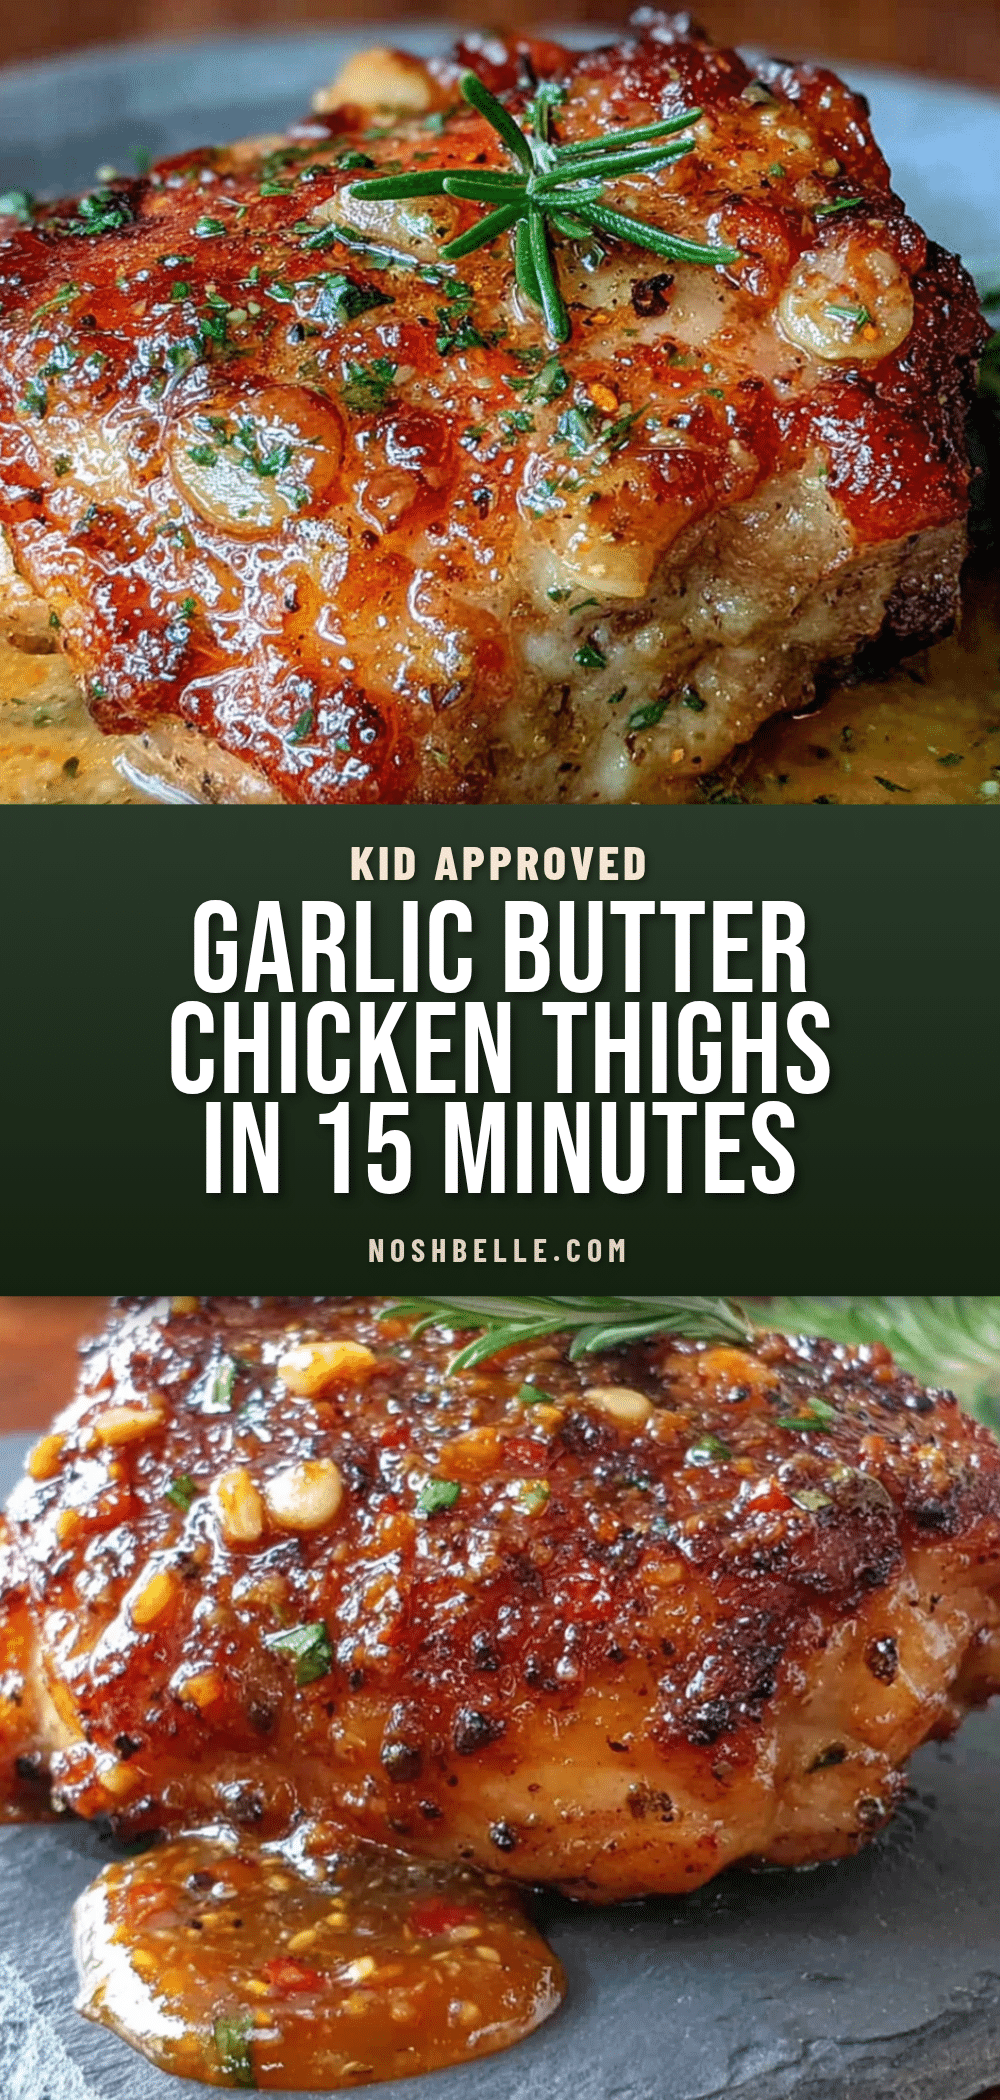
Easy 15-Minute Garlic Butter Chicken Thighs (Kid-Approved)
Juicy, golden-brown chicken thighs in a rich garlic butter sauce, ready in just 15 minutes. A quick, kid-approved weeknight dinner that tastes like comfort food without the fuss.
- Prep Time: 5 minutes
- Cook Time: 10 minutes
- Total Time: 15 minutes
- Yield: 4 servings 1x
- Category: Main Course
- Cuisine: American
Ingredients
- 600g (1.3 lbs) boneless, skinless chicken thighs (4–6 thighs)
- 3 tablespoons (42g) unsalted butter
- 4–5 fresh garlic cloves, minced
- 1 teaspoon (5g) fine sea salt
- ½ teaspoon (2g) freshly ground black pepper
- 1 teaspoon (2g) paprika (optional, smoked paprika works well)
- ¼ cup (60ml) low-sodium chicken broth
- 2 tablespoons fresh parsley, chopped (for garnish)
- 1 teaspoon lemon juice (optional)
Instructions
- Pat the chicken thighs dry with paper towels. Season both sides evenly with salt, pepper, and paprika.
- Heat a large skillet (10-12 inches) over medium-high heat. Add 1 tablespoon of the butter and let it melt and foam until hot but not smoking.
- Place the chicken thighs in the pan in a single layer (cook in batches if needed). Cook undisturbed for 4-5 minutes until golden brown and they release easily from the pan. Flip and cook another 4-5 minutes until the internal temperature reaches 165°F (74°C). Transfer to a plate and cover loosely with foil.
- Reduce heat to medium. Add the remaining 2 tablespoons of butter to the pan. Once melted, add the minced garlic and stir constantly for about 30 seconds until fragrant.
- Pour in the chicken broth and scrape up any browned bits from the bottom of the pan. Let simmer for 1-2 minutes until slightly reduced and glossy.
- Return the chicken to the pan, spooning the garlic butter sauce over the top. Warm through for about 1 minute. Squeeze lemon juice over if using.
- Garnish with fresh parsley and serve immediately.
Notes
For best results, don’t move the chicken while searing to develop a good crust. Watch the garlic carefully as it burns quickly. If using salted butter, reduce added salt by half. Double the sauce if serving with rice or pasta. Leftovers keep in the fridge for up to 3 days and freeze for up to 2 months.
Nutrition
- Serving Size: 1 serving (about 1 c
- Calories: 375
- Sugar: 1
- Sodium: 550
- Fat: 28
- Saturated Fat: 12
- Carbohydrates: 3
- Protein: 32
Keywords: garlic butter chicken thighs, quick chicken dinner, 15-minute meal, kid-friendly chicken, weeknight dinner, easy chicken recipe