This was supposed to be banana bread. I mean, really — it was a Tuesday afternoon in late October, I had three overripe bananas on the counter, and my plan was rock solid. I’d made that banana bread a hundred times. But somewhere between grabbing the pumpkin puree instead of the applesauce (they’re right next to each other in my pantry, okay?) and realizing my baking powder was from 2019, the whole thing went sideways. The batter looked wrong. Too orange. Too thick. I was already running late to pick up my kid from school, and I almost dumped the whole bowl in the trash.
Honestly, I was annoyed. I’d been craving something warm and cozy, and now I had this weird pumpkin-orange mess staring back at me. I threw it in a donut pan because that’s all that was clean, baked it off out of pure spite, and ran out the door. When I got home hours later, those donuts were sitting on the counter looking back at me like they knew something I didn’t. I took a bite cold, straight from the pan. And I just stood there in my kitchen, holding a weirdly perfect pumpkin donut, feeling like the universe had played a tiny trick on me. You know that feeling when something goes so wrong it ends up right?
That’s this recipe. It’s not banana bread at all — it’s better. These Easy Baked Pumpkin Spice Donuts with Maple Glaze are what happens when you stop fighting the kitchen and let it surprise you. They’re soft, they’re spiced just right, and that maple glaze? It’s the kind of sweet finish that makes you close your eyes. I’ve made these every fall since that Tuesday, and honestly, I’ve never once gone back to the banana bread. Maybe you’ve been there — standing over a mixing bowl, wondering if you should just scrap the whole thing. Don’t. You might end up with something you didn’t know you needed.
Why You’ll Love This Recipe
I’ve tested this recipe about seven times since that accidental first batch, and I can tell you with full confidence — these are the baked donuts you’ve been looking for. Not the dry, cakey kind that crumble in your hand. Not the overly sweet ones that leave you reaching for water. These are perfectly tender, warmly spiced, and come together in under 30 minutes from start to finish.
- Quick & Easy: From mixing bowl to glazed donut in about 25 minutes. No yeast, no rising time, no deep frying. Just stir, bake, glaze, and devour.
- Simple Ingredients: You probably already have most of this in your pantry — flour, sugar, eggs, pumpkin puree. No special trips to three different stores.
- Perfect for Fall Mornings: These are made for crisp October Saturdays with a hot cup of coffee. They also work beautifully for Thanksgiving brunch or a cozy after-school snack.
- Crowd-Pleaser: I brought these to a neighborhood potluck last year, and three people asked for the recipe before I even sat down. Kids love them. Adults love them. They disappear fast.
- Unbelievably Delicious: The texture is what gets me every time — soft, almost muffin-like, with that slight crust from the maple glaze. The pumpkin spice is present but not overwhelming. It’s comfort in a ring shape.
What makes this version different from the other pumpkin donut recipes out there? It’s the balance. A lot of baked donuts turn out dense or rubbery because the batter is too wet. I’ve adjusted the flour-to-pumpkin ratio so these stay light and fluffy. And the maple glaze isn’t just a drizzle — it’s a proper thick coating that soaks into the warm donut just enough. This isn’t just another pumpkin recipe. This is the one you’ll make every single fall.
What Ingredients You Will Need
This recipe uses simple, wholesome ingredients to deliver that cozy bakery-style flavor without any fuss. Most of these are pantry staples, especially once pumpkin season hits.
For the Donuts
- All-purpose flour, 1 ¾ cups (210g) — spooned and leveled, not scooped straight from the bag. Scooping packs the flour and makes donuts dense.
- Granulated sugar, ¾ cup (150g) — adds sweetness and helps with that tender crumb. You can reduce to ½ cup if you prefer less sweet donuts.
- Baking powder, 1 ½ teaspoons — make sure it’s fresh. Test it by dropping a little in hot water; if it fizzes, you’re good.
- Baking soda, ½ teaspoon — helps the donuts rise and gives them a soft texture.
- Pumpkin pie spice, 2 teaspoons — I like the blend from McCormick, but homemade works great too. If you’re mixing your own, use 1 teaspoon cinnamon, ½ teaspoon nutmeg, ¼ teaspoon ginger, and ¼ teaspoon cloves.
- Ground cinnamon, 1 teaspoon — because you can never have too much cinnamon in a pumpkin recipe.
- Salt, ½ teaspoon — balances the sweetness and brings out the spice flavors.
- Pumpkin puree, ¾ cup (170g) — make sure it’s 100% pure pumpkin, not pumpkin pie filling. I’ve used Libby’s for years and it never fails. If you’re using homemade, drain off any excess liquid first.
- Large eggs, 2, room temperature — cold eggs seize up the batter. Let them sit on the counter for 15 minutes or place them in a bowl of warm water for 5 minutes.
- Melted butter, ¼ cup (60g) — unsalted gives you control over the salt level. You can also use melted coconut oil for a dairy-free version.
- Milk, ¼ cup (60ml) — whole milk gives the richest texture, but 2% or oat milk work fine too.
- Vanilla extract, 1 teaspoon — pure vanilla, not imitation. It makes a real difference here.
For the Maple Glaze
- Powdered sugar, 1 cup (120g) — sifted if it’s clumpy. Nobody wants lumpy glaze.
- Pure maple syrup, 2 tablespoons (30ml) — use the real stuff, not pancake syrup. Grade A dark amber gives the best maple flavor.
- Milk, 1 to 2 tablespoons (15-30ml) — start with 1 tablespoon and add more if the glaze is too thick. You want it thick enough to coat the back of a spoon but still drizzle.
- Vanilla extract, ½ teaspoon — a little extra warmth in the glaze.
Equipment Needed
You don’t need a professional bakery setup for these donuts, but a few specific tools make the process smoother. I learned that the hard way — my first batch was baked in a muffin tin because I didn’t own a donut pan, and while they tasted fine, they weren’t really donuts.
- Donut pan (standard 6-cavity or 12-cavity) — this is non-negotiable. You can find them for under $10 at most kitchen stores or on Amazon. I have two Wilton pans and they’ve held up for years. If you only have one pan, just bake in batches and let the batter rest at room temperature between rounds.
- Two mixing bowls — one medium for dry ingredients, one large for wet ingredients. I use glass bowls because they don’t hold onto smells.
- Whisk — for combining the dry ingredients evenly. A fork works in a pinch but a whisk is better.
- Rubber spatula — for folding the wet and dry ingredients together without overmixing. Overmixing makes tough donuts.
- Piping bag or zip-top bag — piping the batter into the donut cavities gives you clean, even rings. You can spoon it in, but it gets messy and uneven. A zip-top bag with the corner snipped off works perfectly.
- Cooling rack — wire racks let air circulate so the donuts don’t get soggy on the bottom. If you don’t have one, transfer the donuts to a plate after a few minutes and flip them occasionally.
- Small saucepan or microwave-safe bowl — for melting butter and warming the maple glaze slightly if it thickens.
One tip I wish someone had told me: grease your donut pan really well, even if it’s nonstick. I use a pastry brush with melted butter, but baking spray with flour works too. The first time I used just cooking spray, half my donuts stuck and tore apart. It was a sad morning.
Preparation Method
Let’s make these donuts. I’ll walk you through every step so you don’t end up where I did that first time — staring at a bowl of weird orange batter wondering what went wrong.
- Preheat your oven to 350°F (175°C). Position the rack in the center of the oven. While it’s heating, grease your donut pan generously with melted butter or baking spray. I use a pastry brush to get into all the grooves — it makes a real difference when it’s time to release the donuts.
- Mix the dry ingredients. In a medium bowl, whisk together the all-purpose flour, granulated sugar, baking powder, baking soda, pumpkin pie spice, ground cinnamon, and salt. Whisk for about 20 seconds to make sure everything is evenly distributed. If you skip this step, you might end up with one donut that tastes like straight baking powder — trust me, I’ve been there.
- Mix the wet ingredients. In a large bowl, whisk together the pumpkin puree, eggs, melted butter, milk, and vanilla extract. Whisk until smooth and fully combined. The mixture will be thick and glossy — that’s normal. Make sure your butter isn’t hot when you add it, or it might cook the eggs. Warm is fine, hot is not.
- Combine wet and dry ingredients. Pour the dry ingredients into the wet ingredients. Use a rubber spatula to fold everything together gently. Stir just until you don’t see any more streaks of flour — about 10 to 12 strokes. A few small lumps are totally fine. Overmixing at this stage develops gluten and makes the donuts tough and rubbery. Stop while it still looks a little shaggy.
- Fill the donut pan. Transfer the batter to a piping bag or a zip-top bag with one corner snipped off. Pipe the batter into each donut cavity, filling them about ¾ full. Don’t overfill — they’ll rise and lose that classic donut hole shape. If you don’t have a bag, use a small spoon and your finger to spread the batter evenly, but be prepared for a slightly messier result.
- Bake. Place the pan in the preheated oven and bake for 10 to 12 minutes. At the 10-minute mark, check them — a toothpick inserted into the thickest part of a donut should come out clean or with a few moist crumbs. The donuts should be springy to the touch and the edges will be lightly golden. My oven runs hot, so I start checking at 9 minutes. Get to know your oven’s personality.
- Cool in the pan. Let the donuts rest in the pan for 5 minutes. This is crucial — if you try to take them out immediately, they’ll fall apart. The steam needs a minute to settle. After 5 minutes, transfer them to a wire cooling rack. If you only have one pan, let it cool completely before greasing and filling it again for the next batch.
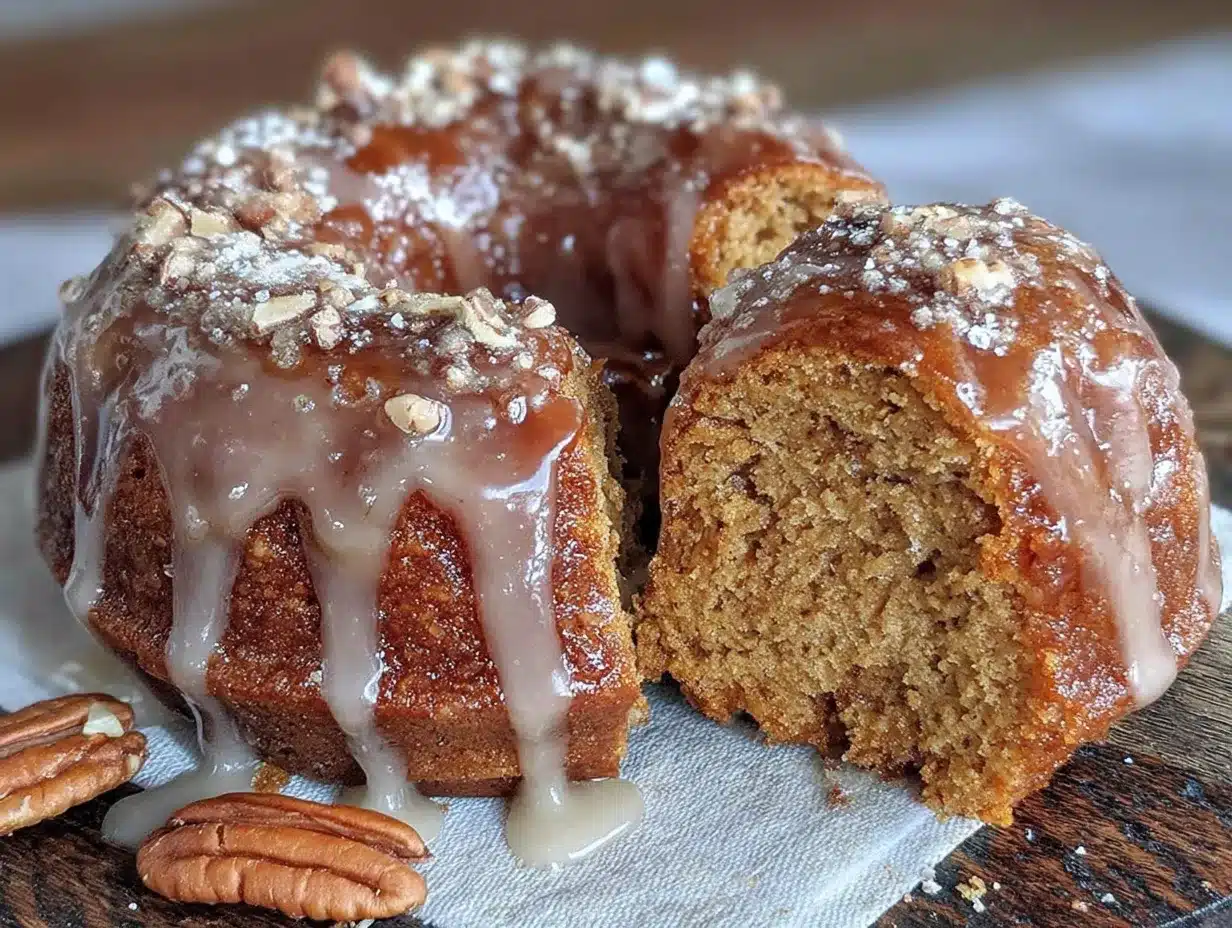
- Make the maple glaze. While the donuts are cooling, make the glaze. In a small bowl, whisk together the powdered sugar, maple syrup, vanilla extract, and 1 tablespoon of milk. Whisk until smooth. If the glaze is too thick to drizzle, add another tablespoon of milk. If it’s too thin, add a little more powdered sugar. You want it thick enough that it coats the back of a spoon but still flows slowly.
- Glaze the donuts. Once the donuts are completely cool (or just barely warm — warm is actually better because the glaze soaks in slightly), dip the top of each donut into the glaze. Let the excess drip off for a second, then place them back on the wire rack. Let the glaze set for about 10 minutes before serving. If you’re adding sprinkles or chopped pecans, add them right after glazing before the glaze sets.
Cooking Tips & Techniques
I’ve made these donuts enough times that I’ve collected a few hard-won lessons. Some came from success, some from batches I’d rather forget. Here’s what I’ve learned.
Don’t overmix the batter. This is the number one mistake with baked donuts. Mix until the flour just disappears. A few lumps are your friends. Overmixed batter develops too much gluten, and you end up with donuts that taste like sad hockey pucks. I know it’s tempting to keep stirring until it’s perfectly smooth — resist the urge.
Room temperature ingredients matter. Cold eggs and cold milk will make the melted butter clump up as soon as they hit the bowl. You’ll end up with little butter chunks in your batter, and that leads to uneven texture. Take the eggs and milk out of the fridge 20 minutes before you start. If you forgot, place the eggs in a bowl of warm water for 5 minutes and microwave the milk for 10 seconds.
Pipe, don’t spoon. I know it’s an extra step and one more thing to wash, but piping the batter into the pan gives you clean, evenly filled donuts. When you spoon it in, it’s hard to get the batter distributed evenly around the center post, and you end up with misshapen donuts. A zip-top bag works just as well as a piping bag, and you can throw it away when you’re done.
Let them cool before glazing. I learned this one the messy way. If you glaze hot donuts, the glaze melts into a thin, runny mess that pools on the rack instead of sitting beautifully on top. If you glaze completely cold donuts, the glaze just sits on top and doesn’t adhere well. The sweet spot is barely warm — about 5 minutes out of the pan. The glaze thickens slightly as it hits the warm surface and sets up perfectly.
Double the glaze if you like it thick. I’m a glaze person — I want a good, thick layer on top. The recipe above gives you a nice coating, but if you’re like me, make 1.5 times the glaze recipe. It keeps well in the fridge for a few days, and you can reheat it gently to use on pancakes or waffles.
Variations & Adaptations
One of the best things about this recipe is how flexible it is. I’ve tried several variations over the years, and most of them turned out great. Here are a few to play with.
Gluten-Free Version: Substitute the all-purpose flour with a 1:1 gluten-free baking flour blend. I’ve used Bob’s Red Mill and King Arthur Measure for Measure with good results. The texture will be slightly more delicate, so handle them gently when removing from the pan. Add an extra tablespoon of milk to the batter since gluten-free flours tend to absorb more liquid.
Dairy-Free Version: Use melted coconut oil or vegan butter instead of regular butter, and swap the milk for oat milk or almond milk. The flavor changes slightly — coconut oil adds a subtle tropical note that actually works well with pumpkin — but the texture stays the same. I made these for a friend with a dairy allergy last Thanksgiving and she couldn’t tell the difference.
Chocolate Pumpkin Donuts: Reduce the flour to 1 ½ cups and add ¼ cup of unsweetened cocoa powder. Reduce the pumpkin pie spice to 1 teaspoon. The chocolate and pumpkin combo is surprisingly good — it’s like a healthier twist on a chocolate cupcake. Top with the maple glaze or a simple chocolate glaze made with melted chocolate chips and a splash of milk.
Spiced Maple Glaze: Add ¼ teaspoon of pumpkin pie spice or a pinch of cinnamon to the maple glaze. It gives the glaze a little extra warmth and makes the whole donut taste even more like fall. I did this on a whim one morning and now I can’t go back.
Pumpkin Donut Holes: If you don’t have a donut pan, bake the batter in a mini muffin tin. Grease the pan well, fill each cavity about ¾ full, and bake for 8 to 10 minutes. Roll the warm donut holes in cinnamon sugar instead of glazing them. They’re perfect for snacking and somehow even more addictive than the full-sized version.
Serving & Storage Suggestions
These donuts are best the day they’re made — that first bite when the glaze is still slightly soft and the donut is tender is hard to beat. But they also store well, which means you can make them ahead for a weekend brunch or a holiday morning.
Serving: Serve the donuts at room temperature or slightly warm. If you want to reheat them, pop them in a 300°F oven for 3 to 4 minutes — the microwave makes them rubbery. They pair beautifully with a hot cup of coffee, a chai latte, or a glass of cold milk. For a brunch spread, arrange them on a platter with fresh apple slices, a bowl of mixed nuts, and maybe some cinnamon-spiced coffee.
Storage: Store unglazed donuts in an airtight container at room temperature for up to 2 days. If you’ve already glazed them, layer them between sheets of parchment paper so the glaze doesn’t stick to the lid. For longer storage, freeze the unglazed donuts in a single layer on a baking sheet, then transfer them to a freezer bag. They’ll keep for up to 3 months. When you’re ready to serve, thaw them at room temperature, then warm them briefly in the oven before glazing.
Flavor development: Here’s something interesting — the pumpkin spice flavor actually deepens overnight. If you can resist eating them all on day one, the leftovers on day two have a more rounded, mellow spice flavor. The texture softens slightly, but in a pleasant, almost muffin-like way. I actually prefer them on day two for that reason, though my family never lets them last that long.
Nutritional Information & Benefits
These donuts are a treat — let’s be honest about that. But they’re made with real ingredients, and they’re baked instead of fried, which keeps the fat content reasonable. Here’s a rough estimate per donut (based on 12 donuts with glaze):
- Calories: ~210
- Total Fat: 7g
- Saturated Fat: 4g
- Carbohydrates: 34g
- Sugar: 21g
- Protein: 3g
- Fiber: 1g
Health highlights: Pumpkin puree is packed with vitamin A (in the form of beta-carotene), which supports eye health and immune function. It’s also a good source of fiber, which helps with digestion and keeps you feeling full. The cinnamon and pumpkin pie spices have anti-inflammatory properties — not that a donut is a health food, but every little bit counts, right?
Dietary considerations: This recipe contains gluten, dairy, and eggs. For gluten-free and dairy-free options, check the variations section above. The donuts are nut-free as written, so they’re safe for school lunches and nut-free households.
Conclusion
These Easy Baked Pumpkin Spice Donuts with Maple Glaze started as a kitchen accident, but they’ve become one of those recipes I genuinely look forward to making every fall. They’re simple enough for a weekday morning, special enough for a holiday brunch, and forgiving enough that even a distracted cook can pull them off. The pumpkin spice is warm without being overwhelming, the maple glaze adds just the right amount of sweetness, and the texture — soft, tender, with that slight crust from the glaze — is exactly what a baked donut should be.
I hope you make these and love them as much as I do. Maybe you’ll tweak the spice blend, add a different glaze, or turn them into donut holes for the kids. That’s the beauty of a good base recipe — it leaves room for your own kitchen personality to shine through. If you try them, I’d love to hear how they turned out. Drop a comment below, share a photo, or tell me what variation you tried. Happy baking, friends. Fall is short — let’s make the most of it.
Frequently Asked Questions
Can I use pumpkin pie filling instead of pumpkin puree?
No, don’t do that. Pumpkin pie filling is pre-sweetened and spiced, so it will throw off the sugar and spice balance completely. Stick with 100% pure pumpkin puree. If you only have pumpkin pie filling, reduce the sugar to ¼ cup and skip the pumpkin pie spice, but honestly, the texture won’t be the same.
Why did my donuts stick to the pan?
This usually happens for two reasons: the pan wasn’t greased well enough, or the donuts weren’t cooled long enough before removing. Use melted butter or a baking spray with flour, and let them rest in the pan for a full 5 minutes. If they’re still sticking, run a thin spatula around the edges gently before lifting them out.
Can I make the batter ahead of time?
I don’t recommend it. The baking powder and baking soda start reacting as soon as they hit the wet ingredients, so the batter loses its lift if it sits too long. If you need to prep ahead, mix the dry ingredients and wet ingredients separately, then combine them right before baking. You can also freeze the baked, unglazed donuts for up to 3 months.
How do I get the glaze to set properly?
Make sure the donuts are barely warm — not hot, not cold. The glaze should be thick enough to coat the back of a spoon. If it’s too thin, add more powdered sugar. Let the glazed donuts sit on a wire rack for at least 10 minutes before stacking or storing. If your kitchen is humid, the glaze might stay slightly sticky — that’s normal.
Can I make these without a donut pan?
Yes, but they won’t be donuts. You can bake the batter in a greased mini muffin tin for donut holes (bake 8 to 10 minutes) or in a standard muffin tin for pumpkin spice muffins (bake 15 to 18 minutes). The texture will be slightly different, but the flavor will still be delicious. Just adjust the baking time and check with a toothpick.
Pin This Recipe!
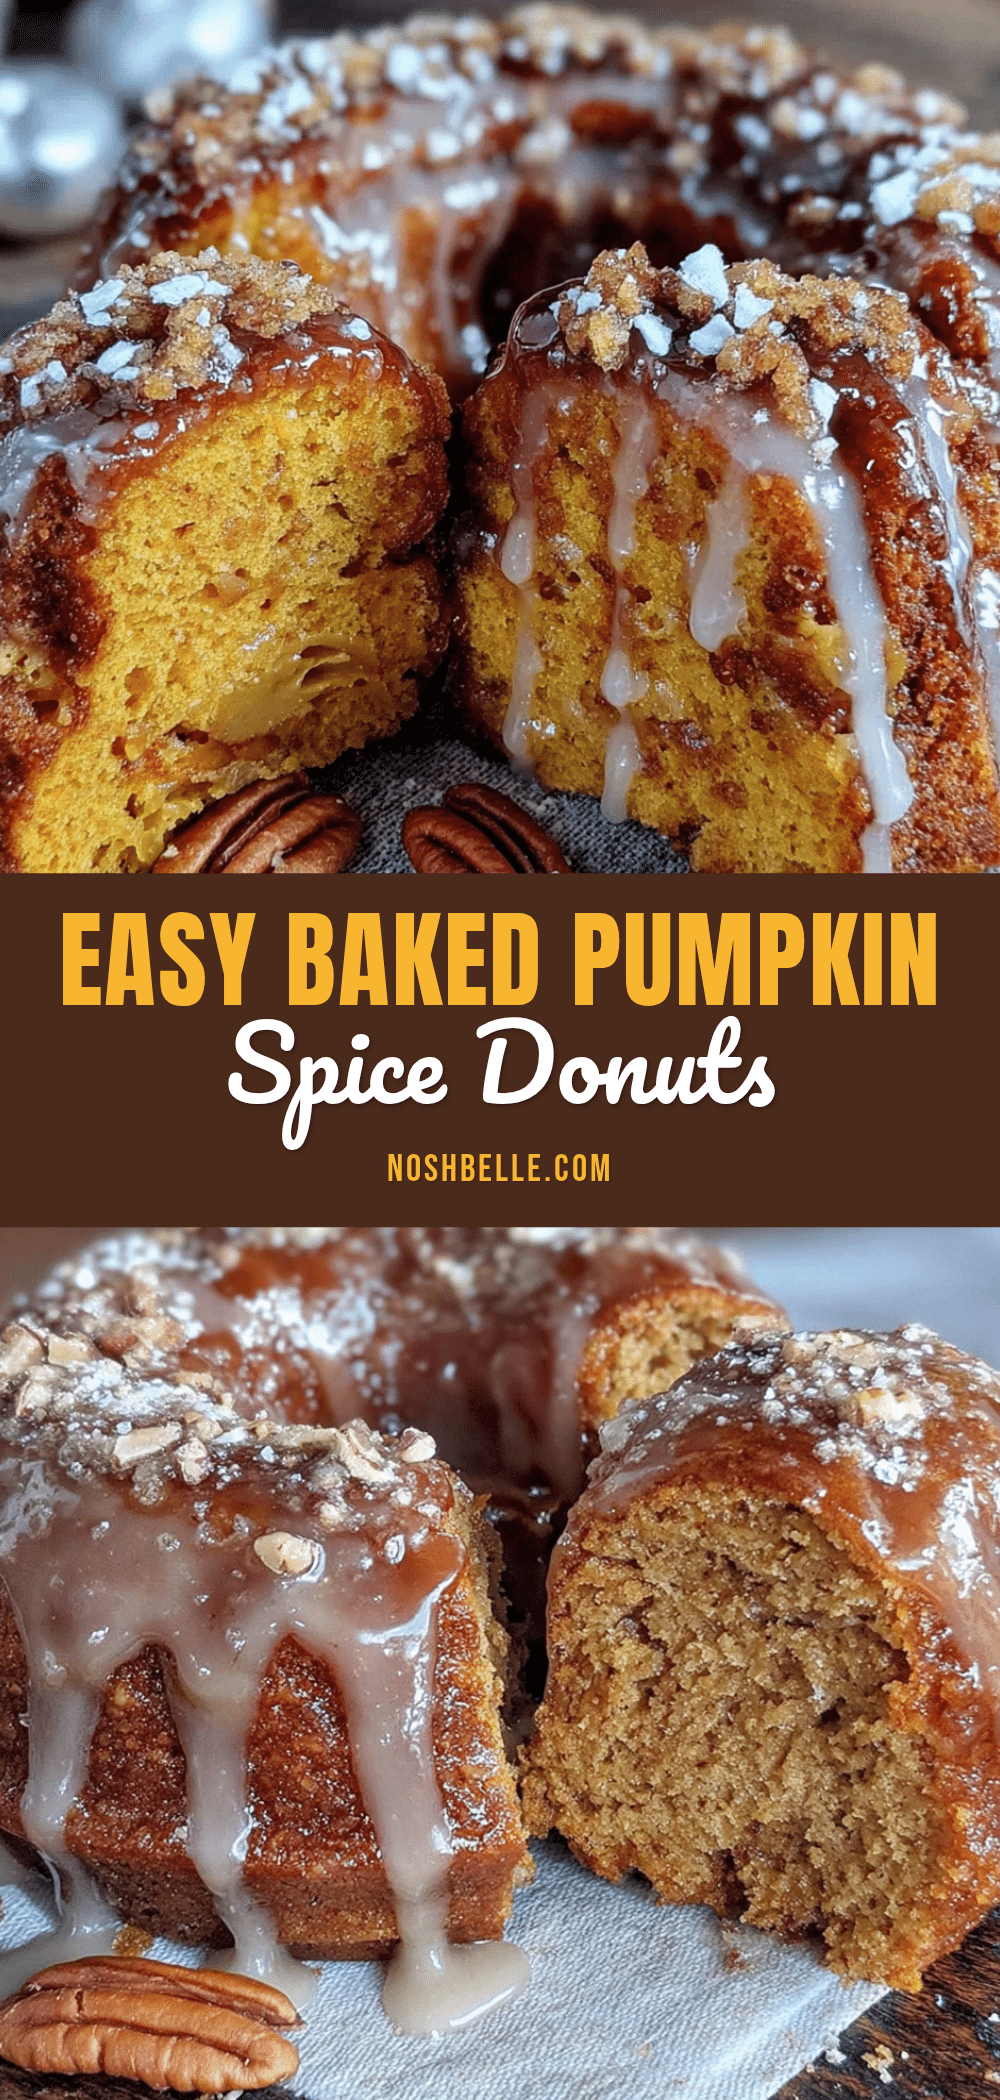
Easy Baked Pumpkin Spice Donuts with Maple Glaze
These soft, warmly spiced baked donuts are topped with a thick maple glaze. They come together in under 30 minutes and are perfect for fall mornings, brunch, or a cozy snack.
- Prep Time: 15 minutes
- Cook Time: 12 minutes
- Total Time: 27 minutes
- Yield: 12 servings 1x
- Category: Dessert
- Cuisine: American
Ingredients
- 1 ¾ cups (210g) all-purpose flour, spooned and leveled
- ¾ cup (150g) granulated sugar
- 1 ½ teaspoons baking powder
- ½ teaspoon baking soda
- 2 teaspoons pumpkin pie spice
- 1 teaspoon ground cinnamon
- ½ teaspoon salt
- ¾ cup (170g) pumpkin puree (100% pure pumpkin)
- 2 large eggs, room temperature
- ¼ cup (60g) unsalted butter, melted
- ¼ cup (60ml) milk (whole, 2%, or oat milk)
- 1 teaspoon vanilla extract
- 1 cup (120g) powdered sugar, sifted if clumpy
- 2 tablespoons (30ml) pure maple syrup (Grade A dark amber preferred)
- 1 to 2 tablespoons (15-30ml) milk
- ½ teaspoon vanilla extract
Instructions
- Preheat your oven to 350°F (175°C). Position the rack in the center of the oven. Grease a standard 6- or 12-cavity donut pan generously with melted butter or baking spray.
- In a medium bowl, whisk together the all-purpose flour, granulated sugar, baking powder, baking soda, pumpkin pie spice, ground cinnamon, and salt for about 20 seconds until evenly distributed.
- In a large bowl, whisk together the pumpkin puree, eggs, melted butter, milk, and vanilla extract until smooth and fully combined. The mixture will be thick and glossy.
- Pour the dry ingredients into the wet ingredients. Use a rubber spatula to fold gently until just combined—about 10 to 12 strokes. A few small lumps are fine; do not overmix.
- Transfer the batter to a piping bag or a zip-top bag with one corner snipped off. Pipe the batter into each donut cavity, filling them about ¾ full.
- Bake for 10 to 12 minutes, or until a toothpick inserted into the thickest part of a donut comes out clean or with a few moist crumbs. The donuts should be springy to the touch and lightly golden at the edges.
- Let the donuts rest in the pan for 5 minutes, then transfer them to a wire cooling rack to cool completely (or until barely warm).
- While the donuts cool, make the maple glaze: In a small bowl, whisk together the powdered sugar, maple syrup, vanilla extract, and 1 tablespoon of milk until smooth. Add more milk if too thick, or more powdered sugar if too thin. The glaze should coat the back of a spoon but still flow slowly.
- Once the donuts are barely warm, dip the top of each donut into the glaze. Let excess drip off, then place back on the wire rack. Let the glaze set for about 10 minutes before serving.
Notes
Don’t overmix the batter—a few lumps are fine. Use room temperature ingredients to prevent butter from clumping. Pipe the batter for clean, even donuts. Let donuts cool to barely warm before glazing for best adherence. Double the glaze if you like a thick coating. Store unglazed donuts in an airtight container at room temperature for up to 2 days, or freeze unglazed for up to 3 months.
Nutrition
- Serving Size: 1 donut
- Calories: 210
- Sugar: 21
- Sodium: 200
- Fat: 7
- Saturated Fat: 4
- Carbohydrates: 34
- Fiber: 1
- Protein: 3
Keywords: pumpkin donuts, baked donuts, maple glaze, fall recipe, pumpkin spice, easy donuts