Introduction
My colleague watched me wrestle with a jar of store-bought pickles that just wouldn’t open and didn’t say anything at first. Then, without a word, she brought me a small jar filled with verdant spears, bubbling gently, and said, “Try these—they’re my fridge pickles.” It wasn’t a formal lesson or a recipe swap, just a quiet moment shared over a mid-afternoon coffee break. That jar of fermented refrigerator dill pickles sparked my curiosity, especially because I’d always thought fermentation was a kitchen science reserved for those with endless counter space and patience. Honestly, it felt like a tiny revelation—how something so simple could be so alive with flavor.
That day, I took home the jar and started tinkering in my own kitchen, adapting the method to my own taste and rhythm. Maybe you’ve been there too—the moment you realize pickling doesn’t have to be intimidating, that you can coax those crisp, tangy bites right from your fridge with minimal fuss. This easy fermented refrigerator dill pickles recipe stayed with me not just because of the flavor but because it turned into a small ritual: a way to connect with a tradition that’s both old and new, shared quietly between neighbors and friends.
Why You’ll Love This Recipe
After testing this recipe countless times (and yes, sometimes with a jar tipped over or an over-salted batch), I can say this is the easiest way to get into fermenting pickles without sweating the details. Here’s why it’s worth trying:
- Quick & Easy: Comes together in under 15 minutes, perfect for busy weeknights or last-minute cravings.
- Simple Ingredients: Uses everyday pantry staples—no weird additives or special buys required.
- Perfect for Beginners: No canning skills or special equipment needed; just a jar and patience.
- Crowd-Pleaser: The tangy, crunchy pickles always get a thumbs-up from kids and adults alike.
- Unbelievably Delicious: That natural fermentation creates a depth of flavor store-bought just can’t match.
What makes this recipe stand out is the balance of traditional dill seasoning with a straightforward fridge fermentation method. I’ve found that adding a pinch of garlic and mustard seeds gives it a subtle kick that keeps people coming back for more. Honestly, it’s the kind of pickle recipe that feels like it’s been passed around quietly, growing better with every batch.
What Ingredients You Will Need
This recipe uses simple, wholesome ingredients to deliver bold flavor and satisfying crunch without the fuss. Most are pantry staples, and substitutions are easy if needed.
- Fresh cucumbers: 6-8 small pickling cucumbers (about 1 to 1.5 pounds / 450-680g), firm and crisp. Look for ones without soft spots.
- Filtered water: 4 cups (950 ml), chlorine-free to allow fermentation to happen naturally.
- Sea salt: 3 tablespoons (45g), non-iodized (like kosher or pickling salt) to keep the brine pure.
- Fresh dill: 3-4 sprigs, including the flower heads if possible (adds authentic dill flavor).
- Garlic cloves: 2-3, peeled and smashed (optional, but recommended for subtle pungency).
- Mustard seeds: 1 teaspoon (5g), for a gentle spice note.
- Black peppercorns: 1 teaspoon (5g), whole, to add a warm depth.
- Red pepper flakes: ¼ teaspoon (optional), if you like a bit of heat.
If you want to switch it up, you can use coconut aminos or soy sauce in place of salt for a unique twist, though that’s more experimental. For a gluten-free version, just stick to the salt and herbs. Personally, I like the pickles best when the dill is fresh from the farmer’s market, but store-bought works too as long as it’s vibrant and leafy.
Equipment Needed
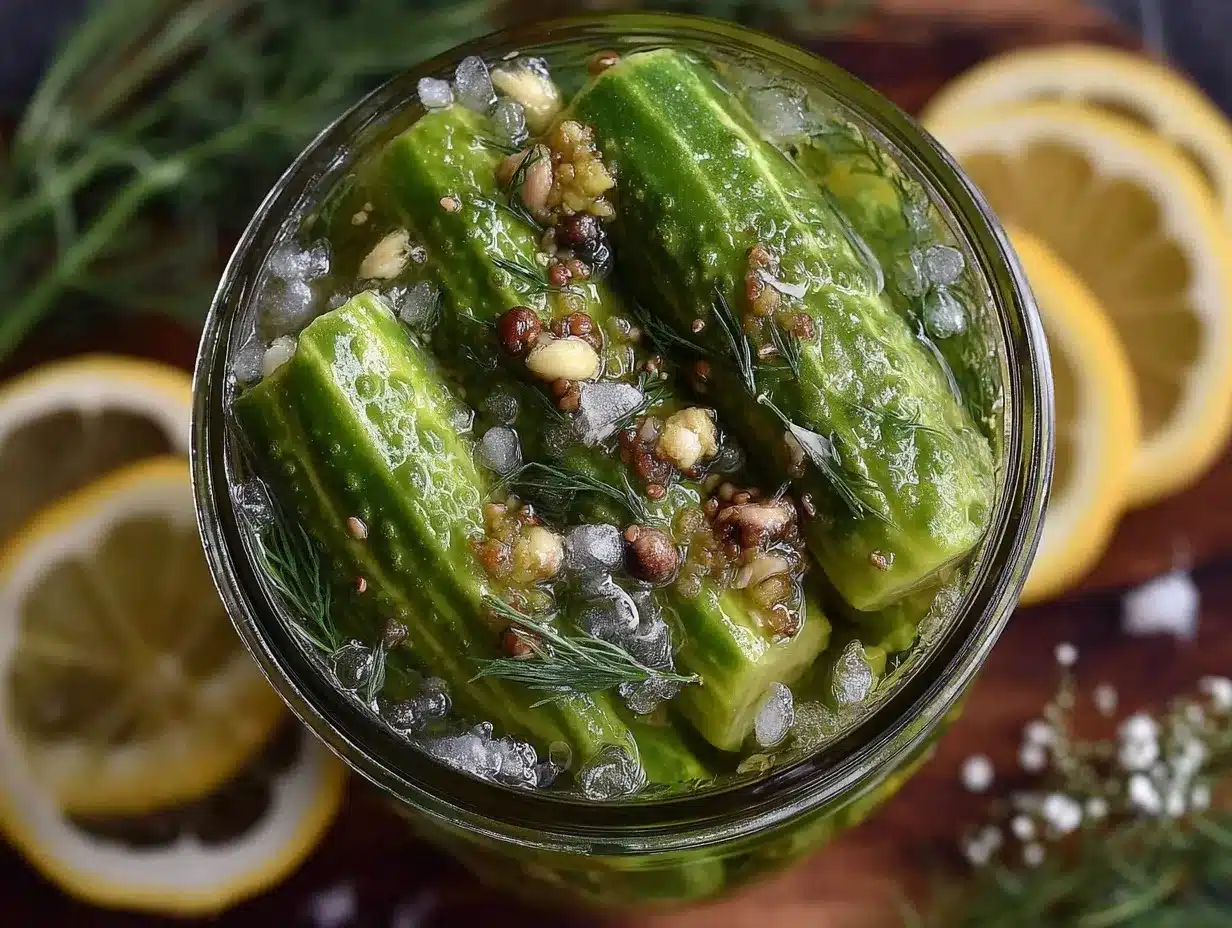
Making easy fermented refrigerator dill pickles is delightfully low-tech. Here’s what you’ll want:
- Wide-mouth glass jar: A quart (1 liter) size works perfectly. I prefer Mason jars because they’re sturdy and easy to seal.
- Non-metal lid: Plastic or fermentation lids that allow gases to escape are best, but a regular lid works if you open it daily.
- Kitchen scale or measuring spoons: For accurate salt and water measurements.
- Small plate or fermentation weight: To keep cucumbers submerged under the brine (I’ve used a small glass or a clean stone before).
- Mixing bowl: To dissolve salt in water and prepare brine.
If you don’t have a fermentation weight, a clean zip-top bag filled with water can help keep the cucumbers underwater. Avoid metal bowls or lids that aren’t stainless steel, as salt can corrode them. From my experience, investing in a set of glass fermentation weights is worth it if you plan to make pickles regularly—they make life so much easier and cleaner.
Preparation Method
- Prepare the brine (5 minutes): In a mixing bowl, dissolve 3 tablespoons (45g) of sea salt into 4 cups (950 ml) of filtered water. Stir until fully dissolved. It’s important the salt is fully dissolved to create the right environment for fermentation.
- Wash and slice cucumbers (10 minutes): Rinse the cucumbers under cold water. Trim off the blossom end (this helps keep them crisp) and slice into spears or rounds, whatever you prefer. I usually go for spears because they’re easier to snack on.
- Pack the jar (5 minutes): Place the dill sprigs, garlic cloves, mustard seeds, black peppercorns, and red pepper flakes (if using) at the bottom of the jar. Then pack the cucumber spears tightly but without crushing them. Press down gently to reduce air pockets.
- Add the brine and weight (2 minutes): Pour the brine over the cucumbers, leaving about 1 inch (2.5 cm) of headspace at the top. Place a fermentation weight or small plate on top to keep the cucumbers submerged. This prevents mold and ensures even fermenting.
- Seal and store (7-14 days): Cover the jar loosely (with a lid not fully tightened or with a fermentation lid) and place it in the refrigerator. The cool temperature slows fermentation, so check after 7 days. The pickles should start to taste tangy and crisp but can ferment up to two weeks for stronger flavor.
Pro tip: If you see bubbles or foam, that’s a good sign your pickles are fermenting. Just skim off any foam carefully. If the cucumbers float, press them down again to keep them submerged. If you forget to leave headspace, the jar might overflow a bit, so keep a towel handy the first time!
Cooking Tips & Techniques
Fermentation can feel a bit mysterious at first, but here are some tips that saved me from a few rookie mistakes:
- Use the right salt: Avoid iodized or table salt; they can inhibit fermentation or add unwanted flavors. Kosher or pickling salt works best.
- Keep cucumbers submerged: This is critical. Oxygen exposure invites mold. Use weights or even a clean zip-lock bag filled with water as a press.
- Patience is key: Don’t rush. The tangy flavor develops over days. Taste after one week and then every day until it’s just right for you.
- Don’t tighten the lid fully: Fermentation produces gas that needs to escape. A loosely covered jar or special fermentation lid helps avoid explosions.
- Temperature matters: Store in the fridge for slow, controlled fermentation. Room temp ferments faster but risks over-fermentation if you’re new.
When I first started, I over-salted a batch and ended up with pickles that were a bit too salty for my liking. Since then, I use a kitchen scale to be precise. Also, sometimes I crush a garlic clove a little more for bolder flavor. These little tweaks are what make this recipe your own.
Variations & Adaptations
There’s plenty of room to play with this recipe depending on your tastes or dietary needs:
- Spicy Pickles: Add more red pepper flakes or a sliced jalapeño to the jar for a fiery kick.
- Herb Variations: Swap dill for fresh tarragon or add fresh thyme for a different herbal profile.
- Garlic-Free: Omit garlic for those who prefer a milder flavor or have allergies.
- Vegan-Friendly: This recipe is naturally vegan, but you can add a splash of apple cider vinegar at the end for extra tang.
- Seasonal Twist: In summer, try adding thin slices of fresh ginger or turmeric for warmth and color.
Once, I experimented with adding a few slices of beetroot, which turned the brine a lovely pink and added earthiness. It’s fun to customize, but the classic dill version remains my go-to—the simplicity is part of its charm.
Serving & Storage Suggestions
These easy fermented refrigerator dill pickles are best served chilled straight from the jar. I love to keep them handy as a crunchy snack or alongside sandwiches and grilled meats. They pair wonderfully with sandwiches like crispy garlic chicken or a hearty bowl of soup on chilly evenings.
Store the pickles tightly sealed in the refrigerator for up to one month. Over time, the flavor will grow tangier and the texture may soften slightly, so it’s best to enjoy them within the first two weeks for optimal crunch.
To reheat or refresh, you can rinse them briefly in cold water to mellow the brine, but honestly, they’re best cold. If the brine becomes cloudy, it’s a normal sign of fermentation but always trust your nose and taste.
Nutritional Information & Benefits
These fermented dill pickles are low in calories (about 5-10 calories per spear) and rich in probiotics, which support gut health. The fermentation process produces beneficial bacteria that aid digestion and boost the immune system.
Sea salt adds essential minerals while keeping the recipe gluten-free and vegan-friendly. Cucumbers themselves provide hydration and small amounts of vitamins K and C.
For those watching sodium intake, you can reduce salt slightly, but remember it plays a crucial role in the fermentation process and flavor balance. These pickles are a wholesome snack for anyone looking to add natural fermented foods to their diet without complicated prep.
Conclusion
Easy fermented refrigerator dill pickles are proof that traditional methods don’t have to be complicated. This recipe offers a straightforward way to bring alive that classic tang and crunch right in your fridge, no fancy equipment or special skills required. I love how it connects me to a shared culinary moment with my colleague, turning a simple jar of pickles into a small story of kindness and discovery.
Feel free to make this recipe your own—add spices, herbs, or tweak the timing to suit your taste. And when you do, I’d love to hear how your batch turned out or what fun twists you tried. Leave a comment or share your version with friends. Happy fermenting!
Frequently Asked Questions
- How long do refrigerator dill pickles take to ferment? Typically 7 to 14 days in the fridge. Taste after one week and continue until you like the tang.
- Can I use regular table salt? It’s best to use non-iodized salt like kosher or pickling salt to avoid off-flavors and ensure proper fermentation.
- Do I need special fermentation equipment? No. A clean glass jar and a weight to keep cucumbers submerged are enough for beginners.
- Why are my pickles not crunchy? Using fresh, firm cucumbers and trimming the blossom end helps keep them crisp. Also, don’t skip the salt—it helps maintain texture.
- Can I ferment pickles at room temperature? Yes, but they ferment faster and risk over-fermentation. The fridge method is safer for beginners and gives more control.
Pin This Recipe!
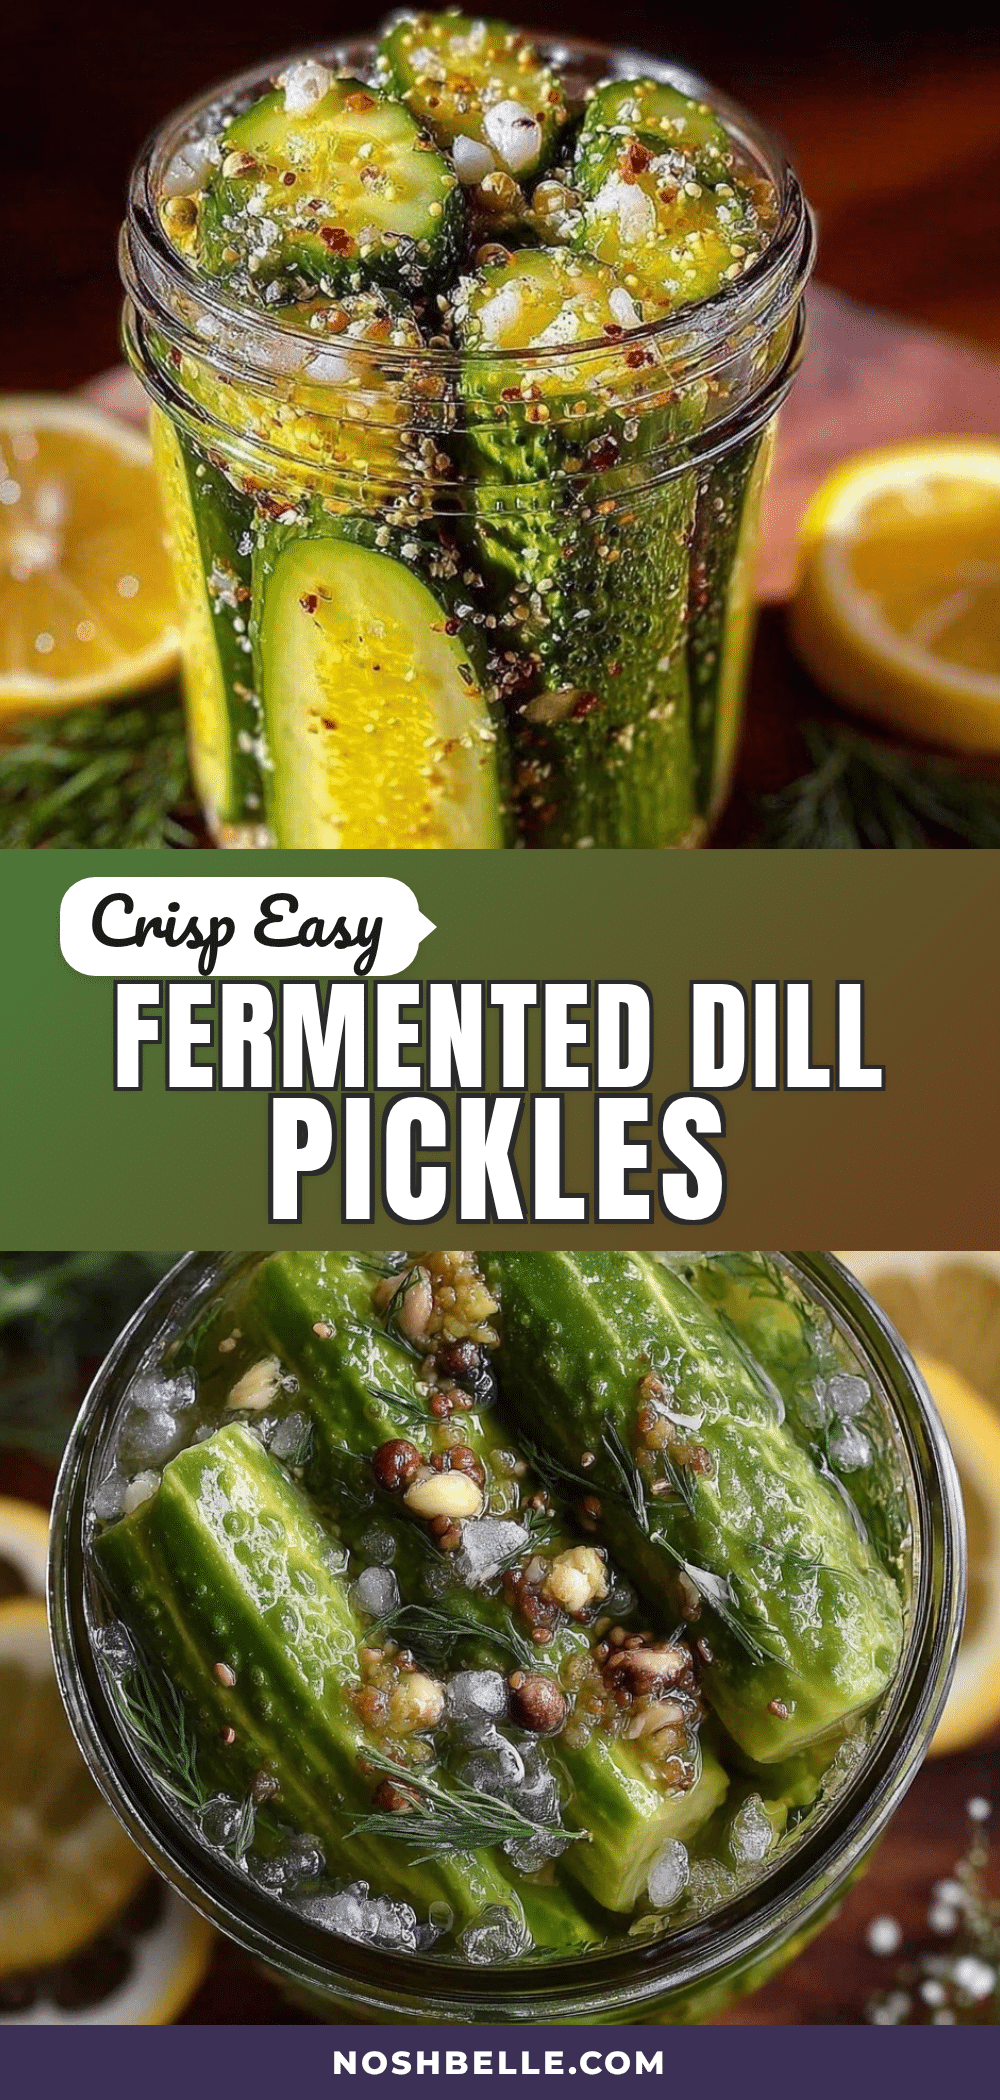
Easy Fermented Refrigerator Dill Pickles Recipe
A simple and beginner-friendly recipe for making tangy, crunchy fermented dill pickles in your refrigerator using everyday ingredients and minimal equipment.
- Prep Time: 15 minutes
- Cook Time: 0 minutes
- Total Time: 7 to 14 days fermentation
- Yield: 4 servings 1x
- Category: Condiment
- Cuisine: American
Ingredients
- 6–8 small pickling cucumbers (about 1 to 1.5 pounds / 450-680g), firm and crisp
- 4 cups (950 ml) filtered water, chlorine-free
- 3 tablespoons (45g) sea salt, non-iodized (kosher or pickling salt)
- 3–4 sprigs fresh dill, including flower heads if possible
- 2–3 garlic cloves, peeled and smashed (optional)
- 1 teaspoon (5g) mustard seeds
- 1 teaspoon (5g) whole black peppercorns
- ¼ teaspoon red pepper flakes (optional)
Instructions
- Prepare the brine: In a mixing bowl, dissolve 3 tablespoons (45g) of sea salt into 4 cups (950 ml) of filtered water. Stir until fully dissolved.
- Wash and slice cucumbers: Rinse cucumbers under cold water. Trim off the blossom end and slice into spears or rounds as preferred.
- Pack the jar: Place dill sprigs, garlic cloves, mustard seeds, black peppercorns, and red pepper flakes (if using) at the bottom of a wide-mouth glass jar. Pack cucumber spears tightly without crushing them.
- Add the brine and weight: Pour the brine over the cucumbers, leaving about 1 inch (2.5 cm) of headspace. Place a fermentation weight or small plate on top to keep cucumbers submerged.
- Seal and store: Cover the jar loosely with a lid or fermentation lid and place it in the refrigerator. Ferment for 7 to 14 days, checking after 7 days for desired tanginess.
Notes
Use non-iodized salt like kosher or pickling salt to ensure proper fermentation. Keep cucumbers fully submerged under brine to prevent mold. Leave headspace in the jar to allow gases to escape. Taste after 7 days and ferment longer for stronger flavor. If foam appears, skim it off carefully. Avoid metal lids or bowls that are not stainless steel.
Nutrition
- Serving Size: About 2 spears (appr
- Calories: 10
- Sugar: 1
- Sodium: 900
- Carbohydrates: 2
- Fiber: 1
Keywords: fermented pickles, refrigerator pickles, dill pickles, easy pickling, fermentation, probiotic foods, beginner fermentation