Megan wasn’t trying to make anything special that afternoon. I’d stopped by to drop off a library book she’d lent me, and the smell hit me before I even got through the screen door. It was warm and familiar, like fall had decided to camp out in her kitchen. She was standing there in sweatpants, holding a whisk in one hand and her phone in the other, scrolling through something boring—grocery list, maybe. And there on the counter were these little custard cups, still steaming, with that deep orange color that just screams pumpkin.
“Oh, those,” she said when I asked. “They’re for the kids. No crust, no fuss.” She shrugged like it was nothing. But I’d already grabbed a spoon from the drawer—honestly, you know that feeling when your hand moves before your brain catches up? That first bite was ridiculous. Creamy, not too sweet, with that warm spice hug you only get from real pumpkin pie. And she hadn’t even measured anything, just dumped and whisked and poured.
I stood there eating one while she told me about her week. The custard was still warm, and I swear I could have eaten three more standing right there in her kitchen. She laughed at me, said her kids fight over the last one every time. I get it now. This recipe stayed with me because it’s the kind of thing you make when you’re not trying to impress anyone—you’re just trying to feed people something good. And that’s exactly when the best food happens.
Why You’ll Love This Recipe
Let me be straight with you—I’ve tested this recipe about seven times now. Not because it’s complicated, but because I wanted to make sure it worked for real families, not just food bloggers with perfect kitchens. And honestly? It’s become my go-to for busy weeknights, lazy Sundays, and everything in between.
- Quick & Easy: You’re looking at about 10 minutes of prep time. That’s it. The oven does the rest of the work while you handle homework, laundry, or just sit down for a minute.
- Simple Ingredients: No trips to specialty stores. No weird flours or hard-to-find sweeteners. Everything here is probably in your pantry right now.
- Perfect for Fall: But honestly? I make these year-round. They hit that comfort food spot without weighing you down.
- Crowd-Pleaser: My kids call them “pumpkin pudding cups” and ask for them after school. The neighbor’s kids love them too. Even my husband, who claims he doesn’t like “healthy desserts,” goes back for seconds.
- Unbelievably Delicious: The texture is silky and smooth—no crust needed. It’s like the best part of pumpkin pie, minus the fuss.
What makes this different from other pumpkin custard recipes? I’ve spent time getting the ratio right so it’s not too eggy or too watery. It sets up perfectly every time, and the sweetness is just enough to satisfy without sending anyone into a sugar crash. Plus, it’s naturally low-carb and gluten-free, which means you can actually feel good about serving it to everyone at the table.
This is the kind of recipe that makes you close your eyes after the first bite. It’s comfort food reimagined—healthier, faster, but with the same soul-soothing satisfaction. Perfect for impressing guests without stress, or turning a simple Tuesday into something memorable.
What Ingredients You Will Need
This recipe uses simple, wholesome ingredients to deliver bold flavor and satisfying texture without the fuss. Most of these are pantry staples, which is exactly how I like to cook when I’m feeding my family on a budget.
- 1 can (15 oz) pumpkin puree (not pumpkin pie filling—make sure it’s 100% pumpkin. I prefer Libby’s for consistent texture, but store brand works fine too)
- 3 large eggs, room temperature (this helps everything blend smoothly. If you forgot to take them out, just soak them in warm water for 5 minutes)
- 1/2 cup heavy cream (adds richness. You can substitute full-fat coconut milk for a dairy-free version)
- 1/3 cup low-carb sweetener (I use Lakanto monk fruit or Swerve granular. Adjust to your taste—start with 1/4 cup if you prefer less sweet)
- 2 teaspoons pumpkin pie spice (or make your own: 1 teaspoon cinnamon, 1/2 teaspoon ginger, 1/4 teaspoon nutmeg, 1/4 teaspoon cloves)
- 1 teaspoon vanilla extract (pure vanilla makes a difference, but imitation works in a pinch)
- 1/4 teaspoon salt (don’t skip this—it balances the sweetness and brings out the pumpkin flavor)
Optional but recommended:
- Whipped cream for serving (I make my own with heavy cream and a little sweetener)
- Extra cinnamon for dusting on top
Here’s a tip I learned the hard way: don’t use pumpkin pie filling. It already has sugar and spices added, and it’ll throw off the sweetness and texture completely. Stick with plain pumpkin puree. Also, if you’re using a different sweetener than what I listed, check the conversion—some are sweeter than others. I’ve used allulose before and it works great, but it’s a little less sweet, so I add an extra tablespoon.
For the eggs, fresh is best. Older eggs can make the custard a bit watery. And if you’re worried about the custard being too eggy, don’t be—the pumpkin and spices mask it completely.
Equipment Needed
You don’t need much for this recipe, which is part of why I love it. Here’s what you’ll need:
- 6 (6-ounce) ramekins or custard cups (I bought mine at a thrift store for a dollar each. You can also use a standard muffin tin if you don’t have ramekins)
- Large mixing bowl (any bowl works, but I prefer glass or stainless steel)
- Whisk (a fork works in a pinch, but a whisk gives you smoother custard)
- Measuring cups and spoons
- 9×13-inch baking dish (for the water bath)
- Kitchen towel (to line the bottom of the baking dish so the ramekins don’t slide around)
- Parchment paper or foil (to cover the ramekins if they start browning too fast)
If you’re using a muffin tin instead of ramekins, just grease it well and reduce the baking time by about 5 minutes. I’ve done it both ways, and honestly, the ramekins give you prettier individual servings, but the muffin tin works perfectly for meal prep.
One thing I learned: don’t skip the water bath. It sounds fancy, but it’s really just pouring hot water into the baking dish around the ramekins. This keeps the custard creamy instead of rubbery. Trust me on this one.
Preparation Method
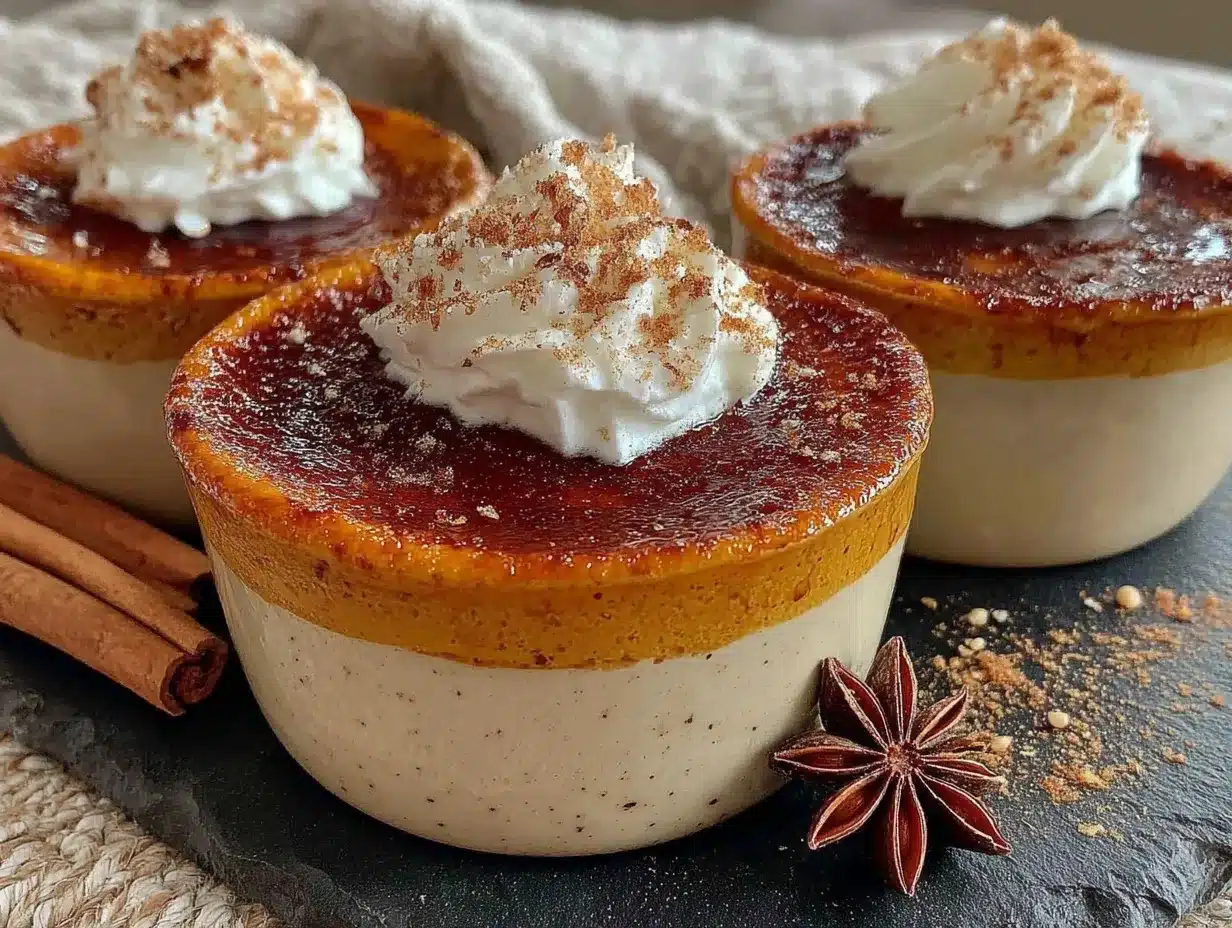
- Preheat your oven to 350°F (175°C). While it’s heating, arrange your ramekins in a 9×13-inch baking dish. Place a clean kitchen towel in the bottom of the dish first—this keeps the ramekins from sliding around when you add the water later.
- In your large mixing bowl, whisk the eggs until they’re light and frothy, about 30 seconds. You want them well-beaten so the custard sets evenly. I usually do this while I’m measuring out the other ingredients.
- Add the pumpkin puree, heavy cream, sweetener, pumpkin pie spice, vanilla extract, and salt to the bowl with the eggs. Whisk everything together until it’s completely smooth. Don’t be shy here—you want to make sure there are no lumps of sweetener or spice hiding at the bottom. The mixture should be a uniform orange color with a silky consistency.
- Taste the mixture. I know some people say not to taste raw eggs, but I’ve been doing this for years and I’m still here. Dip a clean spoon in and check the sweetness and spice level. If you want it sweeter, add another tablespoon of sweetener. If you want more spice, add a pinch more. This is your chance to adjust before it goes in the oven.
- Divide the mixture evenly among the 6 ramekins. I use a 1/3-cup measuring cup for this, and it works out perfectly—about 1/3 cup per ramekin. If you’re using a muffin tin, fill each cup about 3/4 full.
- Carefully pour hot water into the baking dish around the ramekins, being careful not to splash any water into the custard. The water should come about halfway up the sides of the ramekins. I use hot tap water for this—no need to boil it.
- Bake for 30-35 minutes, or until the custards are set around the edges but still slightly jiggly in the center. They’ll continue to set as they cool. If you insert a knife about 1 inch from the edge, it should come out clean. The center will still be a little wobbly—that’s perfect.
- Remove the baking dish from the oven and let the ramekins sit in the water bath for 5 minutes. Then carefully transfer them to a wire rack to cool completely. I use tongs or an oven mitt to grab them—they’re hot!
- Once cooled, cover each ramekin with plastic wrap and refrigerate for at least 2 hours, or overnight. This is the hard part—waiting. But trust me, they’re so much better chilled. The flavors meld together, and the texture gets perfectly creamy.
A note on timing: if you’re making these for a dinner party or holiday meal, make them the day before. They actually taste better after sitting overnight, and it takes one thing off your plate on the day of. I’ve served these at Thanksgiving alongside the traditional pie, and they were gone before the pie was even sliced.
Cooking Tips & Techniques
Let me share some things I’ve learned the hard way so you don’t have to. First time I made these, I skipped the water bath because I was in a hurry. Big mistake. The custard came out rubbery on the edges and cracked on top. Looked terrible, tasted okay, but not what I wanted. The water bath is non-negotiable for that silky texture.
Another thing: don’t overbake. I know it’s tempting to leave them in until they’re completely firm, but they’ll keep cooking after you pull them out. That jiggle in the center is your friend. If you’re nervous, start checking at 25 minutes. Every oven runs a little different, and you’d rather have them slightly underdone than overdone.
For the smoothest custard, make sure your eggs are room temperature. Cold eggs can make the mixture seize up a bit, and you’ll have to whisk harder to get it smooth. Also, if you’re using a granular sweetener like Swerve, make sure it’s fully dissolved. I sometimes blitz it in a spice grinder for a few seconds to make it super fine—this helps avoid any gritty texture.
Here’s a trick I picked up from my grandmother: if you want to speed up the cooling process, place the ramekins in an ice water bath for about 10 minutes before refrigerating. Just make sure the water doesn’t get into the custard. This works great if you’re in a rush, but honestly, I prefer letting them cool naturally on the counter.
And one more thing—don’t skip the salt. I know it seems weird in a dessert, but it really does make the pumpkin flavor pop. I’ve made them without it, and they tasted flat. That tiny pinch makes a big difference.
Variations & Adaptations
One of the best things about this recipe is how flexible it is. Here are some variations I’ve tried and loved:
Dairy-Free Version: Swap the heavy cream for full-fat coconut milk or canned coconut cream. The texture will be slightly different—a little lighter—but still delicious. I’ve made this for a friend who’s dairy-free, and she couldn’t tell the difference. Just make sure you shake the coconut milk can well before measuring.
Pumpkin Chocolate Chip: After you pour the custard into the ramekins, sprinkle a few sugar-free chocolate chips on top. They’ll sink slightly as they bake, creating little pockets of melted chocolate. My kids go crazy for this version. I use Lily’s brand chocolate chips, which are sweetened with stevia.
Spiced Up: Add a pinch of cayenne pepper or chipotle powder to the mixture for a warm, spicy kick. It sounds weird, but the heat pairs beautifully with the pumpkin and sweetener. Start with 1/8 teaspoon and adjust from there. I tried this on a whim one night and ended up loving it.
Nutty Crunch: Top each custard with a tablespoon of chopped pecans or walnuts before baking. They’ll toast up in the oven and add a nice crunch. Just be careful if you’re serving to young kids—you might want to crush the nuts finer to avoid choking hazards.
Pumpkin Cheesecake Custard: Add 4 ounces of softened cream cheese to the mixture. Beat it with the eggs first until smooth, then add the rest of the ingredients. This gives you a richer, denser custard that tastes like pumpkin cheesecake without the crust. I’ve served this at a dinner party and everyone asked for the recipe.
Serving & Storage Suggestions
These custard cups are best served cold, straight from the fridge. I like to top each one with a generous dollop of whipped cream and a dusting of cinnamon or nutmeg. If you’re feeling fancy, add a few candied pecans or a drizzle of sugar-free caramel sauce.
For a fun presentation, serve them in clear glass ramekins so you can see the beautiful orange color. I sometimes layer the custard with whipped cream in a parfait glass for a more elegant look. My kids love when I add a little cookie crumble on top—I use crushed almond flour cookies for a low-carb option.
These pair wonderfully with a warm cup of coffee or tea. For a fall brunch, I serve them alongside a frittata and some fresh fruit. They’re also perfect for Thanksgiving—make them ahead and pull them out when it’s time for dessert. They’ll be the star of the table.
Storage: Keep covered in the refrigerator for up to 5 days. I don’t recommend freezing them—the texture gets watery when thawed. But honestly, they never last that long in my house. The flavors actually get better after a day or two, so don’t be afraid to make them ahead.
Reheating: I actually prefer these cold, but if you want them warm, microwave individual ramekins for about 15 seconds. Just be careful not to overheat them or they’ll get rubbery. You can also let them sit at room temperature for 20 minutes before serving.
Nutritional Information & Benefits
Here’s the nutritional breakdown per serving (1 custard cup without whipped cream):
- Calories: 120
- Fat: 9g
- Carbohydrates: 6g (net carbs: 3g)
- Fiber: 3g
- Protein: 5g
- Sugar: 2g (natural from pumpkin)
These custard cups are naturally low-carb, gluten-free, and keto-friendly. Pumpkin is packed with vitamin A, which is great for eye health and immune function. The eggs provide high-quality protein, and the heavy cream adds healthy fats that keep you full and satisfied.
If you’re watching your sugar intake, this recipe is a game-changer. You get all the comfort of pumpkin pie without the blood sugar spike. I’ve had friends with diabetes tell me these are a lifesaver during the holidays when everyone else is eating pie.
One thing to note: if you’re using a sugar alcohol sweetener like erythritol, start with a small serving if you’re not used to it. Some people experience digestive discomfort. I’ve never had an issue, but I know it can happen. Allulose is a great alternative if you’re sensitive to sugar alcohols.
Conclusion
Look, I know there are a million pumpkin recipes out there. But this one is different. It’s the one I keep coming back to, the one that makes my kids smile and my husband ask for seconds. It’s the recipe that started with a casual afternoon at a friend’s house and turned into a staple in my kitchen.
I want you to try these, but more than that, I want you to make them your own. Add chocolate chips if that’s your thing. Top them with extra whipped cream. Serve them warm or cold. The beauty of this recipe is that it’s forgiving and flexible, just like good home cooking should be.
So go ahead—preheat your oven, grab that can of pumpkin, and give these a try. And when you do, come back and tell me how they turned out. Did you add something fun? Did your kids love them? I genuinely want to know. Drop a comment below or tag me in your photos. Happy cooking, friends!
Frequently Asked Questions
Can I use fresh pumpkin instead of canned?
Yes, but you’ll need to roast and puree it first. Fresh pumpkin has more water than canned, so you’ll want to strain the puree through a cheesecloth or fine-mesh sieve for about 30 minutes to remove excess moisture. Otherwise, your custard might be too watery. I usually stick with canned for consistency, but fresh works if that’s what you have.
Why did my custard turn out watery?
This usually happens for one of three reasons: you used pumpkin pie filling instead of puree, you didn’t bake it long enough, or your eggs were too old. Make sure you’re using 100% pumpkin puree and bake until the edges are set but the center is still slightly jiggly. Also, let them cool completely before refrigerating—the texture firms up as they chill.
Can I make these without a water bath?
Technically yes, but I wouldn’t recommend it. The water bath ensures even, gentle cooking that gives you that silky, creamy texture. Without it, you’ll likely end up with rubbery edges and a cracked top. If you absolutely can’t do a water bath, try baking at a lower temperature (325°F) for a few minutes longer, and cover the ramekins with foil for the first 20 minutes.
How do I know when they’re done baking?
The edges should be set and slightly pulling away from the sides of the ramekin. The center will still jiggle when you gently shake the ramekin. If you insert a knife about 1 inch from the edge, it should come out clean. Don’t wait for the center to be completely firm—it will continue to set as it cools.
Can I double this recipe?
Absolutely! Just double all the ingredients and use a larger baking dish for the water bath. You might need to add 5-10 minutes to the baking time since you’ll have more custard to heat through. I’ve made a triple batch for Thanksgiving before, and it worked perfectly. Just make sure your ramekins all fit in the oven at once, or bake in batches.
Pin This Recipe!
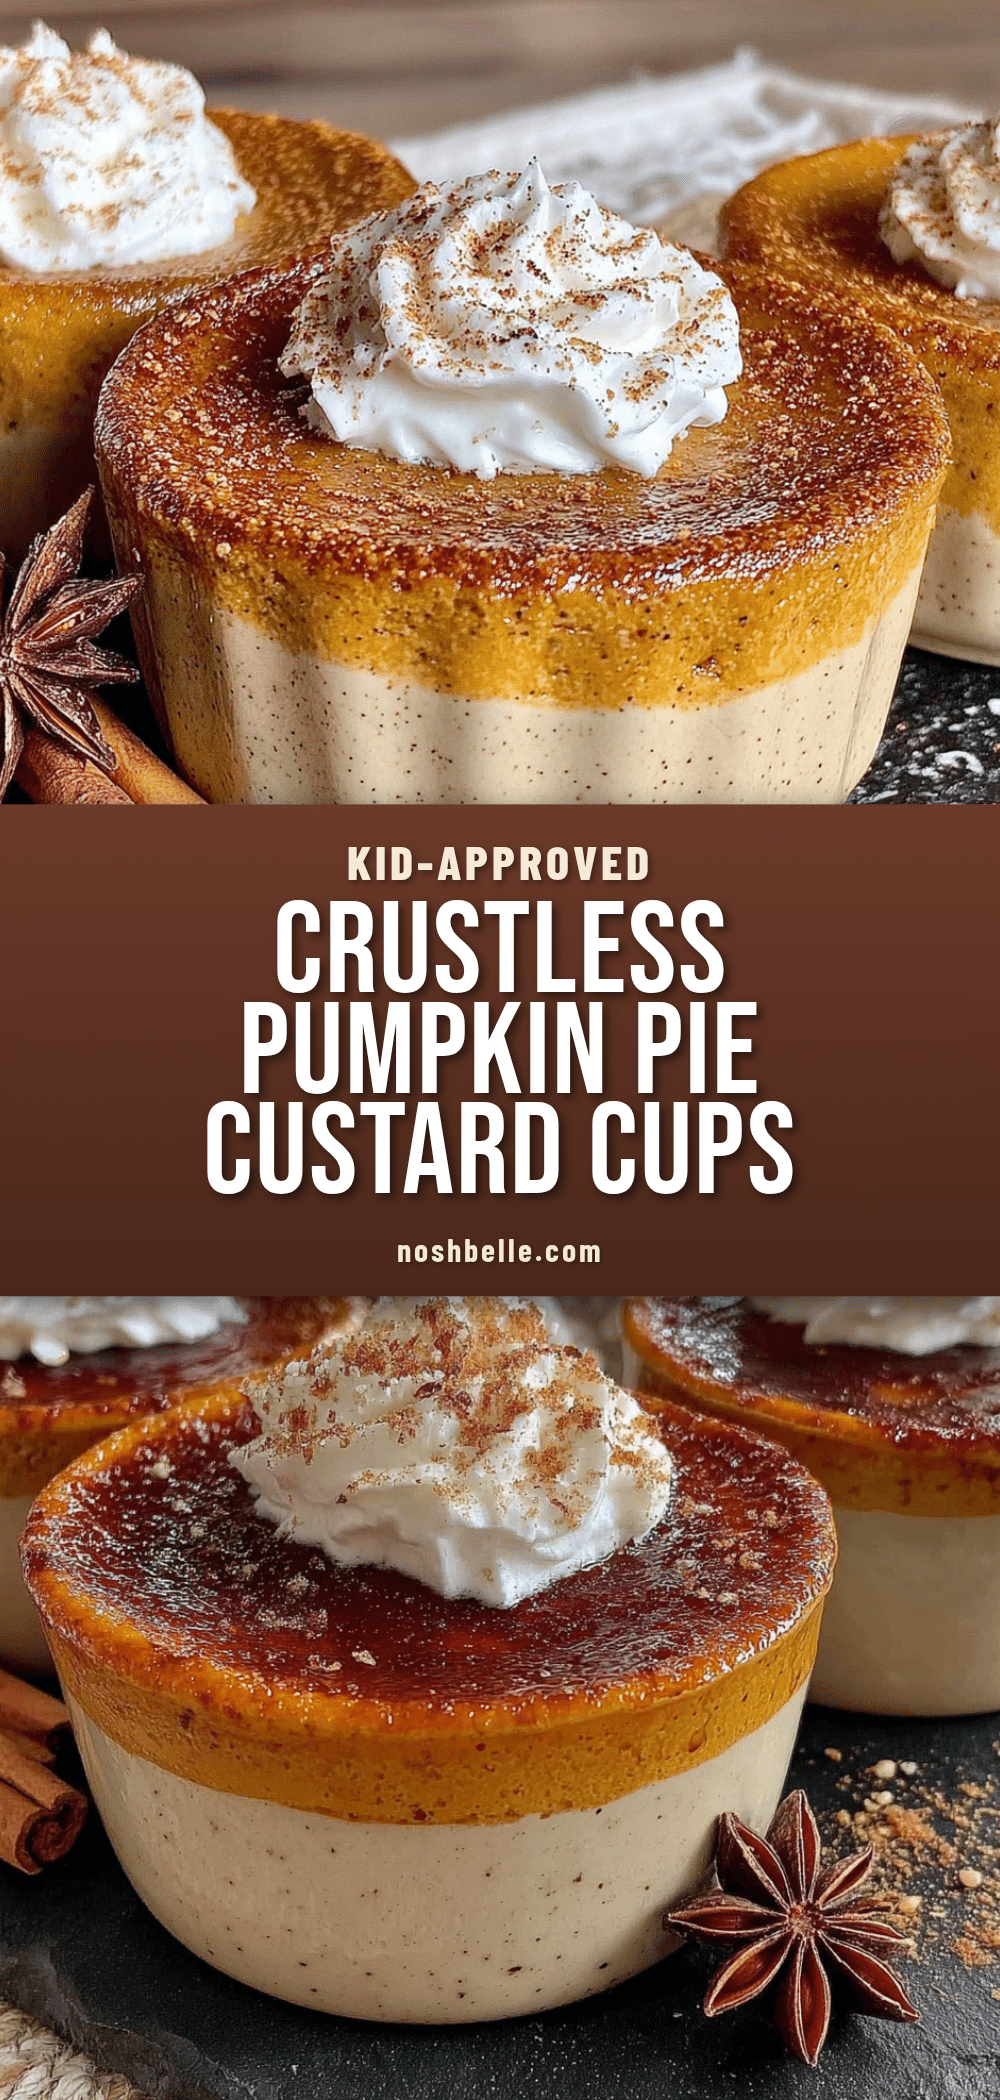
Easy Low-Carb Crustless Pumpkin Pie Custard Cups
These creamy, low-carb pumpkin custard cups are the perfect no-fuss dessert for fall. With just 10 minutes of prep and simple ingredients, they deliver all the comfort of pumpkin pie without the crust or sugar spike.
- Prep Time: 10 minutes
- Cook Time: 30 minutes
- Total Time: 40 minutes
- Yield: 6 servings 1x
- Category: Dessert
- Cuisine: American
Ingredients
- 1 can (15 oz) pumpkin puree (not pumpkin pie filling)
- 3 large eggs, room temperature
- 1/2 cup heavy cream
- 1/3 cup low-carb sweetener (e.g., Lakanto monk fruit or Swerve granular)
- 2 teaspoons pumpkin pie spice
- 1 teaspoon vanilla extract
- 1/4 teaspoon salt
- Whipped cream for serving (optional)
- Extra cinnamon for dusting (optional)
Instructions
- Preheat your oven to 350°F (175°C). Arrange 6 (6-ounce) ramekins in a 9×13-inch baking dish lined with a clean kitchen towel to prevent sliding.
- In a large mixing bowl, whisk the eggs until light and frothy, about 30 seconds.
- Add the pumpkin puree, heavy cream, sweetener, pumpkin pie spice, vanilla extract, and salt to the bowl. Whisk until completely smooth and uniform in color.
- Taste the mixture and adjust sweetness or spice level if desired.
- Divide the mixture evenly among the 6 ramekins, using about 1/3 cup per ramekin.
- Carefully pour hot water into the baking dish around the ramekins, coming about halfway up the sides, being careful not to splash water into the custard.
- Bake for 30-35 minutes, until the custards are set around the edges but still slightly jiggly in the center.
- Remove the baking dish from the oven and let the ramekins sit in the water bath for 5 minutes. Then transfer them to a wire rack to cool completely.
- Once cooled, cover each ramekin with plastic wrap and refrigerate for at least 2 hours, or overnight, before serving.
Notes
Don’t skip the water bath—it ensures a silky, creamy texture. For dairy-free, substitute full-fat coconut milk for heavy cream. For a richer version, add 4 oz softened cream cheese. Custards can be made a day ahead and taste even better after chilling. Store covered in the refrigerator for up to 5 days. Reheat individual ramekins in the microwave for about 15 seconds if desired, but they are best served cold.
Nutrition
- Serving Size: 1 custard cup (witho
- Calories: 120
- Sugar: 2
- Sodium: 180
- Fat: 9
- Saturated Fat: 5
- Carbohydrates: 6
- Fiber: 3
- Protein: 5
Keywords: low-carb pumpkin custard, crustless pumpkin pie, keto pumpkin dessert, sugar-free pumpkin, easy fall dessert, gluten-free pumpkin custard