It was 11:47 PM on a rainy Tuesday in October, and I had an unreasonable craving for something that tasted like autumn but felt like a hug. I didn’t have the patience for a layered cake, but I had a half-opened can of pumpkin puree in the fridge and a nagging memory of my neighbor, Mrs. Gable, who used to bring a mysterious rolled cake to every block party. I’d never made one. Honestly, I was pretty sure I’d ruin it. But something about the rain on the window and the quiet house made me think, “Let’s just see what happens.” I grabbed the cream cheese from the back of the fridge, hoping it was still good, and started whisking.
The first attempt was a disaster. I rolled it too tight, and the cake cracked right down the middle like a fault line. I sat there on my kitchen floor, eating the broken pieces straight from the parchment paper, and I realized something. The flavor was perfect—spiced, sweet, and a little tangy from the filling. The texture was light, almost cloud-like. I just needed to handle it with more grace. So the next night, I tried again. And again. By the third try, I had it. A perfect, beautiful spiral of pumpkin cake and cream cheese. No cracks. No fuss. Just pure, unapologetic fall joy.
Maybe you’ve been there—staring at a recipe that looks way too fancy, wondering if you’re actually capable of pulling it off. Let me tell you, this Easy Pumpkin Roll with Cream Cheese Filling is the one that proves you can. It looks like you spent hours in a bakery, but it’s really just a simple sponge cake with a little patience and a lot of butter. This recipe stayed with me because it taught me that sometimes the best things come from a late-night whim and a willingness to fail. And honestly, it tastes even better the next day.
Why You’ll Love This Recipe
I’ve tested this recipe more times than I care to admit, tweaking the flour ratio, the baking time, and the rolling technique until it was absolutely foolproof. This isn’t just another pumpkin roll recipe—it’s the one I’d serve to my mother-in-law, and I mean that as the highest compliment. Here’s why it stands out:
- Quick & Easy: From start to finish, you’re looking at about 45 minutes of active time. The oven does most of the work, and the rolling technique is easier than you think.
- Simple Ingredients: No fancy extracts, no hard-to-find spices. You probably have everything in your pantry right now, minus the pumpkin puree.
- Perfect for Fall Gatherings: This is the showstopper for Thanksgiving, Friendsgiving, or a cozy Sunday dinner. It slices beautifully and looks impressive on any dessert table.
- Crowd-Pleaser: I’ve brought this to potlucks and watched it disappear in minutes. Kids love the creamy center, and adults appreciate the sophisticated spice blend.
- Unbelievably Delicious: The cake is light and tender, the filling is luscious without being too sweet, and the whole thing tastes like a pumpkin spice latte in cake form.
What makes this version different? It’s the technique. Most recipes tell you to roll the cake while it’s hot, which can lead to cracks. I’ve found that letting it cool slightly—just enough to handle—then rolling it in a clean kitchen towel creates the most flexible cake without tearing. Plus, the cream cheese filling has a secret touch of brown sugar that adds a deeper, almost caramel-like flavor. This isn’t just another version. It’s your new go-to.
This recipe is the kind that makes you close your eyes after the first bite. It’s comfort food reimagined—faster, simpler, but with the same soul-soothing satisfaction. Perfect for impressing guests without the stress, or turning a simple Tuesday into something memorable.
What Ingredients You Will Need
This recipe uses simple, wholesome ingredients to create a dessert that tastes anything but basic. Most of these are pantry staples, and the few fresh items are easy to find at any grocery store. Let’s break it down so you know exactly what to grab and why it matters.
For the Pumpkin Cake
- All-purpose flour, ¾ cup (95g) – Provides structure without making the cake dense. Spoon and level your flour for the best results.
- Baking powder, 1 teaspoon – Helps the cake rise and stay light. Make sure it’s fresh for the best lift.
- Baking soda, 1 teaspoon – Works with the pumpkin’s acidity to create a tender crumb.
- Ground cinnamon, 2 teaspoons – The backbone of the spice blend. I prefer McCormick for its consistent warmth.
- Ground ginger, ½ teaspoon – Adds a subtle zing that balances the sweetness.
- Ground nutmeg, ½ teaspoon – A classic fall flavor. Freshly grated is amazing if you have it.
- Salt, ½ teaspoon – Enhances all the flavors and prevents the cake from tasting flat.
- Granulated sugar, 1 cup (200g) – Sweetens the cake and helps with browning.
- Pumpkin puree, ⅔ cup (165g) – Not pumpkin pie filling! Make sure it’s 100% pure pumpkin. I like Libby’s for its consistent texture.
- Large eggs, 3 – Provide structure and moisture. Bring them to room temperature for a better emulsion.
- Vanilla extract, 1 teaspoon – Enhances the warm spices. Pure vanilla is worth the splurge here.
- Powdered sugar, for dusting – Prevents sticking and adds a touch of sweetness to the outside.
For the Cream Cheese Filling
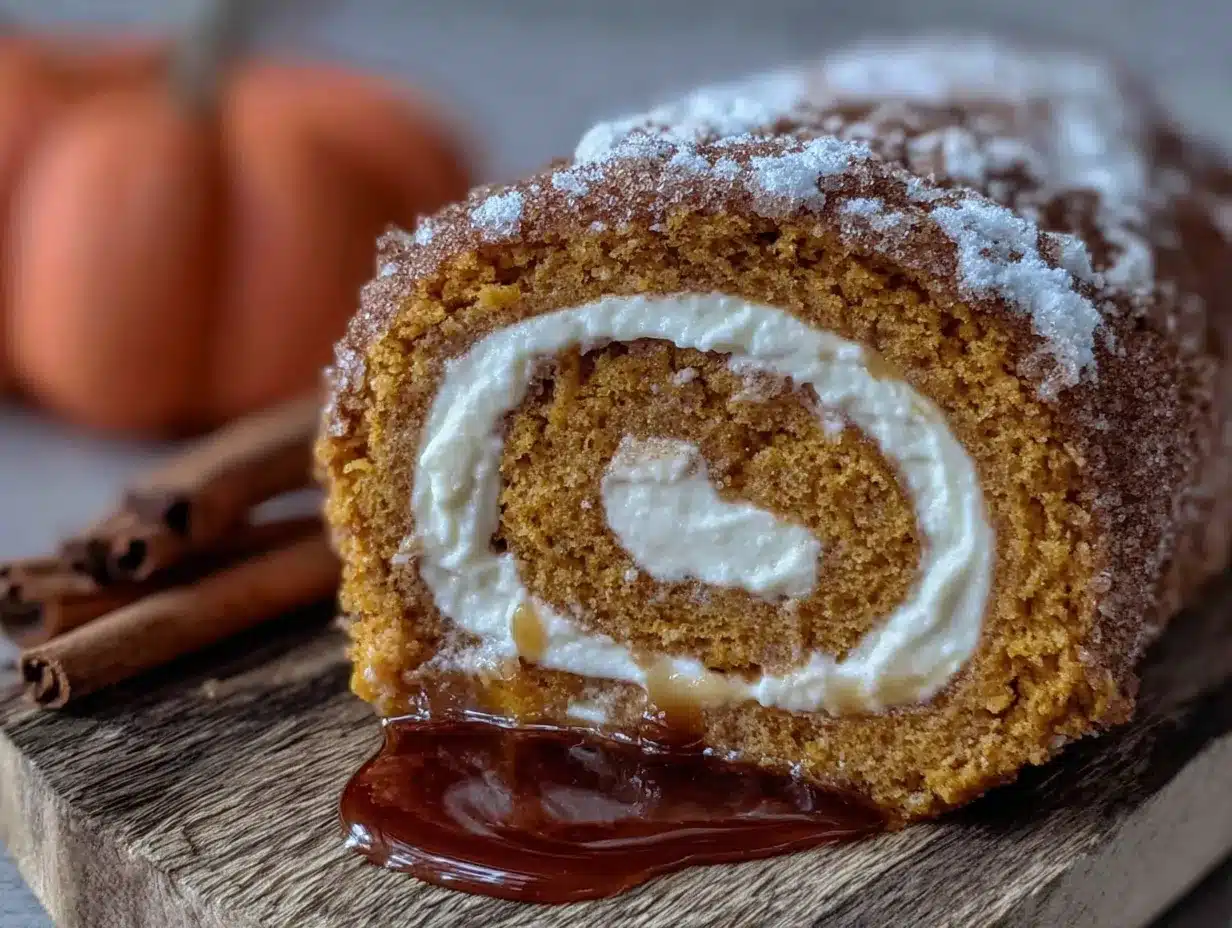
- Cream cheese, 8 ounces (226g), softened – The star of the show. Use full-fat block cream cheese for the best texture. I recommend Philadelphia for its consistent creaminess.
- Unsalted butter, ¼ cup (57g), softened – Adds richness and helps the filling hold its shape.
- Powdered sugar, 1 cup (120g), sifted – Sweetens the filling without making it grainy. Sifting is key for a smooth finish.
- Brown sugar, 2 tablespoons (25g), packed – My secret ingredient. It adds a subtle molasses depth that pairs perfectly with the pumpkin.
- Vanilla extract, 1 teaspoon – Enhances the cream cheese flavor.
For substitutions, you can use a gluten-free all-purpose blend in place of the flour. For a dairy-free filling, use vegan cream cheese and plant-based butter, but note the texture will be slightly softer. If you’re out of pumpkin puree, butternut squash puree works beautifully as a substitute.
Equipment Needed
You don’t need a fancy bakery setup to make this recipe. Here’s what you’ll need:
- 15×10-inch jelly roll pan – This is the standard size for a pumpkin roll. If you don’t have one, a rimmed baking sheet with similar dimensions works. Just adjust the baking time slightly.
- Parchment paper – Absolutely essential. It prevents sticking and helps you lift the cake out cleanly. Don’t skip it.
- Electric hand mixer or stand mixer – You’ll need this to whip the eggs and sugar until thick. A whisk and some serious arm strength can work, but a mixer makes it much easier.
- Clean kitchen towel – Used for rolling the cake while it’s warm. A thin, lint-free towel works best. Avoid terry cloth, which can leave marks.
- Sifter or fine-mesh strainer – For dusting powdered sugar and sifting the powdered sugar for the filling.
- Rubber spatula – For folding the flour mixture into the batter gently.
- Sharp knife or serrated knife – For clean slices. A dull knife will squish the filling out.
I’ve used a cheap jelly roll pan from a discount store for years, and it works perfectly. The key is lining it well with parchment paper. If you’re investing in one piece of equipment, make it a good kitchen towel—it makes the rolling process so much smoother.
Preparation Method
Let’s walk through this step by step. Take your time, and trust the process. You’ve got this.
- Preheat your oven to 375°F (190°C). Position the rack in the center of the oven. Line your 15×10-inch jelly roll pan with parchment paper, leaving a little overhang on the long sides. Lightly grease the parchment with cooking spray or butter.
- Mix the dry ingredients. In a small bowl, whisk together the flour, baking powder, baking soda, cinnamon, ginger, nutmeg, and salt. Set aside.
- Beat the eggs and sugar. In a large mixing bowl, beat the eggs and granulated sugar with an electric mixer on high speed for about 3-4 minutes. The mixture should be thick, pale, and fall in ribbons when you lift the beaters. This step is crucial for a light cake.
- Add the pumpkin and vanilla. Reduce the mixer speed to low and beat in the pumpkin puree and vanilla extract until just combined. Don’t overmix here—you want to keep the air you beat into the eggs.
- Fold in the dry ingredients. Sprinkle the flour mixture over the pumpkin mixture. Using a rubber spatula, gently fold until no streaks of flour remain. A few small lumps are fine. Overmixing will make the cake tough.
- Spread the batter in the pan. Pour the batter into the prepared pan and spread it evenly with the spatula. It will be a thin layer—that’s exactly what you want. Tap the pan gently on the counter to release any air bubbles.
- Bake for 12-14 minutes. The cake is done when the top springs back lightly when touched and the edges are just starting to pull away from the pan. Don’t overbake, or it will crack when rolled.
- Prepare the rolling surface. While the cake bakes, lay a clean kitchen towel flat on your counter. Dust it generously with powdered sugar. This will prevent the cake from sticking to the towel.
- Roll the cake immediately. As soon as the cake comes out of the oven, run a knife around the edges to loosen it. Invert the cake onto the prepared towel. Carefully peel off the parchment paper. Starting from one short end, roll the cake and towel together into a tight log. Place it seam-side down on a wire rack to cool completely. This takes about 45 minutes to 1 hour.
- Make the filling. While the cake cools, beat the softened cream cheese and butter together in a medium bowl until smooth and creamy. Add the sifted powdered sugar, brown sugar, and vanilla extract. Beat until well combined and fluffy. Don’t overbeat, or the filling can become too soft.
- Unroll and fill. Once the cake is completely cool, gently unroll it. It will have a slight curl, which is perfect. Spread the cream cheese filling evenly over the cake, leaving a ½-inch border around the edges.
- Roll again and chill. Starting from the same short end, roll the cake back up without the towel this time. Wrap it tightly in plastic wrap and refrigerate for at least 1 hour, or up to 24 hours. Chilling firms up the filling and makes slicing much easier.
Cooking Tips & Techniques
I’ve made this recipe more times than I can count, and I’ve learned a few things the hard way. Here’s what I wish someone had told me:
- Don’t skip the ribbon stage. Beating the eggs and sugar until thick and pale is non-negotiable. It creates the structure that keeps the cake from being dense. If you’re unsure, lift the beaters—the batter should fall in a slow, thick ribbon that holds its shape on the surface for a few seconds.
- Roll while it’s hot. This is the most important tip. If you let the cake cool flat, it will crack when you try to roll it. The warm cake is pliable and will hold the shape of the roll. Trust me, I learned this the hard way when I got distracted by a phone call and ended up with a cracked mess.
- Use a thin towel. A thick, fluffy towel will leave imprints on the cake. A thin, smooth kitchen towel works best. If you don’t have one, a clean, lint-free dishcloth works too.
- Cool completely before filling. If the cake is even slightly warm, the cream cheese filling will melt and become a runny mess. Patience is key here. I usually make the cake a day ahead and fill it the next morning.
- Sift your powdered sugar. Lumps in the filling are not cute. Sifting the powdered sugar takes 30 seconds and makes a world of difference in the texture.
One time, I forgot to add the baking powder. The cake came out flat and dense, like a sad pancake. It still tasted okay, but it was not the light, airy roll I was going for. Double-check your ingredients before you start mixing!
Variations & Adaptations
This recipe is wonderfully adaptable. Here are a few ways to make it your own:
- Gluten-Free Version: Substitute the all-purpose flour with a 1:1 gluten-free baking blend. I’ve used King Arthur Measure for Measure with great results. The texture is slightly more delicate, so handle the cake gently when rolling.
- Dairy-Free Version: Use vegan cream cheese and plant-based butter for the filling. The flavor will be slightly different, but still delicious. Just note that the filling may be a bit softer, so chill it for at least 2 hours before serving.
- Spice It Up: Add ¼ teaspoon of ground cloves or allspice to the flour mixture for a warmer, more complex spice profile. I love this variation for holiday gatherings.
- Chocolate Pumpkin Roll: Replace 2 tablespoons of the flour with unsweetened cocoa powder. The chocolate-pumpkin combination is surprisingly wonderful.
- Nutty Twist: Sprinkle ¼ cup of finely chopped pecans or walnuts over the filling before rolling. It adds a lovely crunch and pairs beautifully with the cream cheese.
I once tried a version with a maple cream cheese filling—just swapped the brown sugar for maple syrup. The filling was a bit softer, but the flavor was incredible. It’s now my go-to for fall brunches.
Serving & Storage Suggestions
This pumpkin roll is best served chilled, straight from the fridge. The cold filling contrasts beautifully with the tender cake. Here’s how to serve and store it:
- Serving: Slice the roll into ½-inch to ¾-inch slices using a sharp serrated knife. Wipe the knife clean between slices for the neatest cuts. Arrange on a platter and dust with a little extra powdered sugar or a drizzle of caramel sauce for a fancy touch.
- Complementary Dishes: This roll pairs wonderfully with a hot cup of coffee, spiced chai, or a glass of cold milk. For a full dessert spread, serve it alongside a classic apple crisp or a pumpkin cheesecake bars recipe for a fall-themed feast.
- Storage: Wrap the roll tightly in plastic wrap and store it in the refrigerator for up to 5 days. The flavors actually meld and improve after a day or two.
- Freezing: This recipe freezes beautifully. Wrap the unfilled cake roll (rolled in the towel) in plastic wrap, then foil, and freeze for up to 3 months. Thaw in the refrigerator overnight, then unroll, fill, and re-roll. You can also freeze the finished roll for up to 2 months. Thaw in the refrigerator before slicing.
- Reheating: This is a cold dessert, so no reheating needed. If you prefer it at room temperature, let it sit out for about 15 minutes before serving.
Nutritional Information & Benefits
Here’s an approximate nutritional breakdown per slice (based on 10 slices):
| Nutrient | Amount per Slice |
|---|---|
| Calories | 285 |
| Total Fat | 14g |
| Saturated Fat | 8g |
| Cholesterol | 85mg |
| Sodium | 220mg |
| Total Carbohydrates | 36g |
| Dietary Fiber | 1g |
| Sugars | 26g |
| Protein | 5g |
Pumpkin is packed with vitamin A, which supports eye health and immune function. It’s also a good source of fiber and antioxidants. The cream cheese provides calcium and protein, while the eggs add high-quality protein and choline. This dessert is a treat, but it’s made with real, whole ingredients that offer some nutritional value. For a lower-sugar option, you can reduce the granulated sugar in the cake to ¾ cup, though the texture will be slightly less tender.
FAQs
Why did my pumpkin roll crack?
The most common reason is overbaking. A dry cake is brittle and will crack when rolled. Make sure you bake it for only 12-14 minutes, and remove it from the oven as soon as it springs back to the touch. Rolling it while it’s still warm is also crucial—waiting too long is a recipe for cracks.
Can I use pumpkin pie filling instead of pumpkin puree?
No, please don’t. Pumpkin pie filling is pre-sweetened and spiced, which will throw off the balance of the recipe. Stick with 100% pure pumpkin puree for the best results. If you only have pie filling, you can try it, but you’ll need to adjust the sugar and spices significantly.
How do I get clean slices?
Use a sharp serrated knife and wipe it clean between each cut. Chilling the roll for at least an hour (or up to 24) firms up the filling and makes slicing much easier. A warm roll will squish and smear.
Can I make this ahead of time?
Absolutely! This is a great make-ahead dessert. You can bake the cake, roll it in the towel, and store it in the fridge for up to 2 days before filling. Or, fill and roll it completely, then refrigerate for up to 24 hours before serving. The flavors actually get better with time.
My filling is too soft. What went wrong?
This usually happens if the cream cheese or butter was too soft, or if you overbeat the mixture. Make sure your cream cheese is softened but still cool to the touch. Beat just until smooth and fluffy—no more. If the filling is still too soft, chill it for 15-20 minutes before spreading.
Conclusion
This Easy Pumpkin Roll with Cream Cheese Filling is more than just a dessert—it’s a little piece of fall that you can create in your own kitchen. It looks like something from a bakery window, but it’s made with simple ingredients and a whole lot of love. The tender, spiced cake wrapped around that luscious, tangy filling is a combination that never gets old.
I love this recipe because it reminds me that sometimes the best things come from a late-night whim and a willingness to try again after a failure. It’s forgiving, adaptable, and always impressive. Whether you’re making it for a holiday gathering, a cozy weekend treat, or just because you have a can of pumpkin that needs using, this roll will not disappoint.
Now, I want to hear from you! Have you tried making a pumpkin roll before? Did this recipe work for you? Share your thoughts, your variations, and your own tips in the comments below. And if you loved it, don’t forget to pin it for later or share it with a friend who needs a little fall magic in their life. Happy baking, friend!
Pin This Recipe!
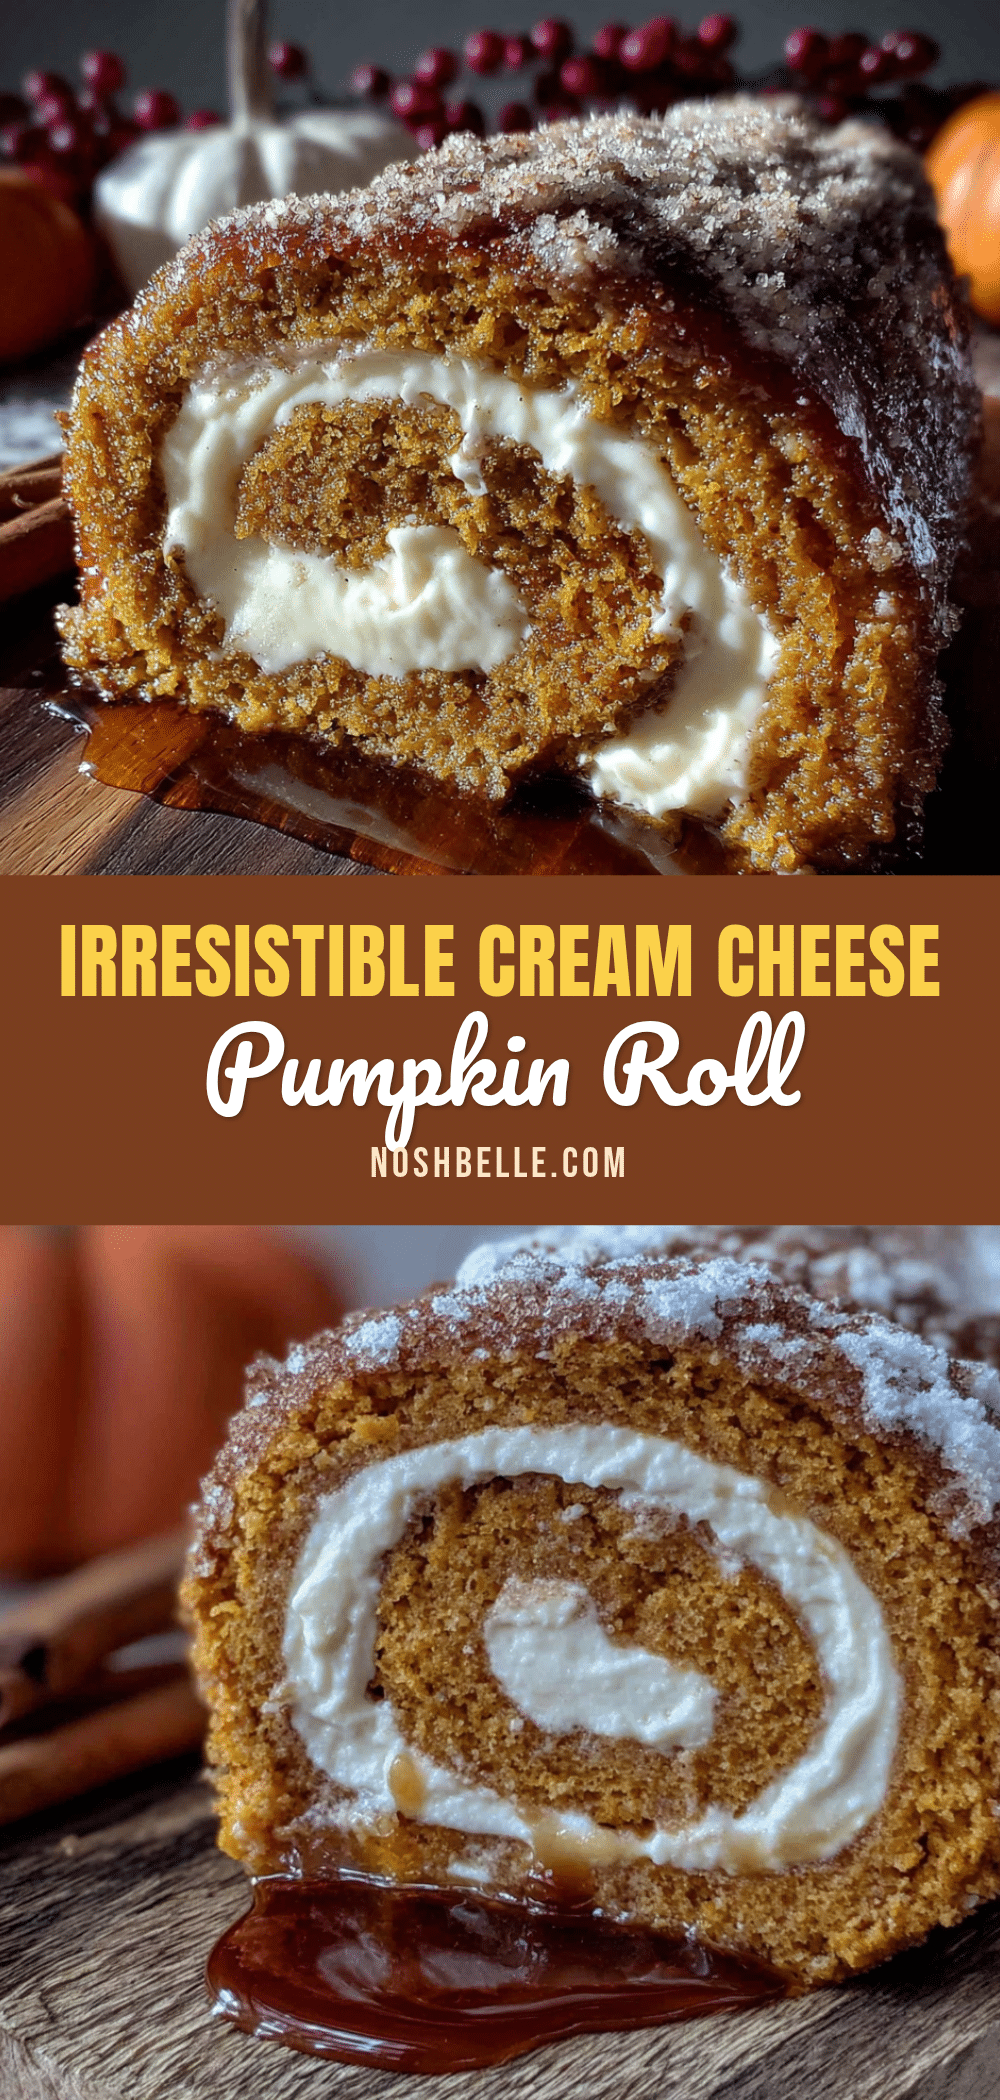
Easy Pumpkin Roll with Cream Cheese Filling

A tender, spiced pumpkin cake rolled with a luscious cream cheese filling. This foolproof recipe looks like a bakery showstopper but is surprisingly simple to make, perfect for fall gatherings or a cozy treat.
- Prep Time: 45 minutes
- Cook Time: 12-14 minutes
- Total Time: 1 hour 15 minutes (plus chilling time)
- Yield: 10 servings
- Category: Dessert
- Cuisine: American
Ingredients
- All-purpose flour, ¾ cup (95g)
- Baking powder, 1 teaspoon
- Baking soda, 1 teaspoon
- Ground cinnamon, 2 teaspoons
- Ground ginger, ½ teaspoon
- Ground nutmeg, ½ teaspoon
- Salt, ½ teaspoon
- Granulated sugar, 1 cup (200g)
- Pumpkin puree, ⅔ cup (165g)
- Large eggs, 3
- Vanilla extract, 1 teaspoon
- Powdered sugar, for dusting
- Cream cheese, 8 ounces (226g), softened
- Unsalted butter, ¼ cup (57g), softened
- Powdered sugar, 1 cup (120g), sifted
- Brown sugar, 2 tablespoons (25g), packed
- Vanilla extract, 1 teaspoon
Instructions
- Preheat your oven to 375°F (190°C). Position the rack in the center of the oven. Line your 15×10-inch jelly roll pan with parchment paper, leaving a little overhang on the long sides. Lightly grease the parchment with cooking spray or butter.
- Mix the dry ingredients. In a small bowl, whisk together the flour, baking powder, baking soda, cinnamon, ginger, nutmeg, and salt. Set aside.
- Beat the eggs and sugar. In a large mixing bowl, beat the eggs and granulated sugar with an electric mixer on high speed for about 3-4 minutes. The mixture should be thick, pale, and fall in ribbons when you lift the beaters.
- Add the pumpkin and vanilla. Reduce the mixer speed to low and beat in the pumpkin puree and vanilla extract until just combined.
- Fold in the dry ingredients. Sprinkle the flour mixture over the pumpkin mixture. Using a rubber spatula, gently fold until no streaks of flour remain.
- Spread the batter in the pan. Pour the batter into the prepared pan and spread it evenly with the spatula. Tap the pan gently on the counter to release any air bubbles.
- Bake for 12-14 minutes. The cake is done when the top springs back lightly when touched and the edges are just starting to pull away from the pan.
- Prepare the rolling surface. While the cake bakes, lay a clean kitchen towel flat on your counter. Dust it generously with powdered sugar.
- Roll the cake immediately. As soon as the cake comes out of the oven, run a knife around the edges to loosen it. Invert the cake onto the prepared towel. Carefully peel off the parchment paper. Starting from one short end, roll the cake and towel together into a tight log. Place it seam-side down on a wire rack to cool completely (about 45 minutes to 1 hour).
- Make the filling. While the cake cools, beat the softened cream cheese and butter together in a medium bowl until smooth and creamy. Add the sifted powdered sugar, brown sugar, and vanilla extract. Beat until well combined and fluffy.
- Unroll and fill. Once the cake is completely cool, gently unroll it. Spread the cream cheese filling evenly over the cake, leaving a ½-inch border around the edges.
- Roll again and chill. Starting from the same short end, roll the cake back up without the towel. Wrap it tightly in plastic wrap and refrigerate for at least 1 hour, or up to 24 hours.
Notes
Roll the cake while it’s still warm to prevent cracking. Cool completely before filling to avoid melting the cream cheese. For best results, chill the finished roll for at least 1 hour before slicing. The cake can be made ahead and stored in the refrigerator for up to 5 days or frozen for up to 2 months.
Nutrition
- Serving Size: 1 slice (1/10 of rol
- Calories: 285
- Sugar: 26
- Sodium: 220
- Fat: 14
- Saturated Fat: 8
- Carbohydrates: 36
- Fiber: 1
- Protein: 5
Keywords: pumpkin roll, cream cheese filling, fall dessert, pumpkin dessert, easy pumpkin roll, Thanksgiving dessert, pumpkin cake roll


