My sister-in-law claimed she hated meal prep for years. Hated the containers, hated the planning, hated eating the same thing for four days straight. “It’s like punishment eating,” she’d say, watching me stack my little glass containers on a Sunday afternoon. I’d just nod and keep chopping. Then one Tuesday, I brought these sheet pan chicken fajita quesadillas over after she’d had a brutal week at work. I found her standing at her kitchen counter at 10pm, eating one cold straight from the container, and she had this look on her face like she’d been caught doing something wrong. “Okay,” she said with her mouth full, “these don’t taste like meal prep.”
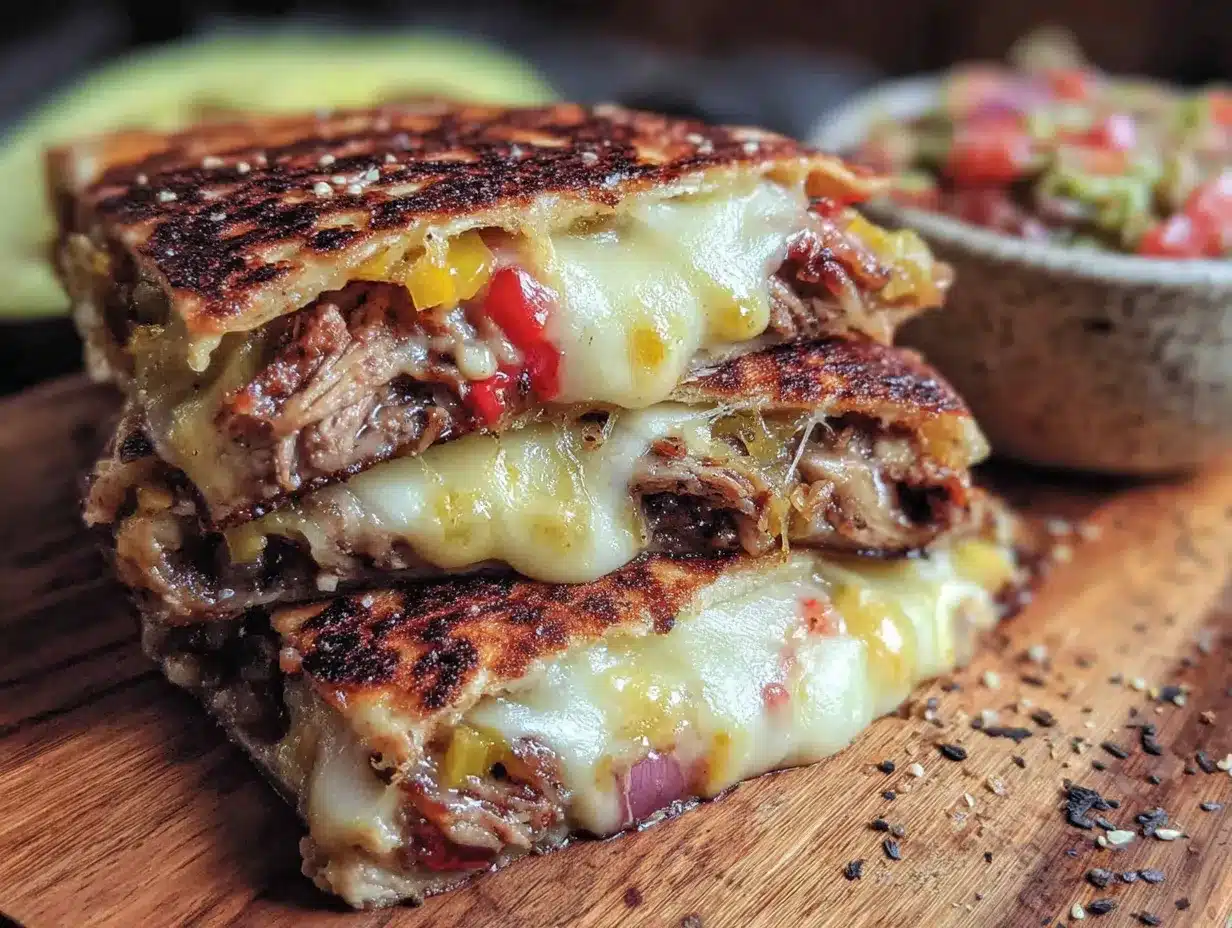
That’s the thing, honestly. Most meal prep recipes taste like an obligation. They’re dry, they’re bland, and by Wednesday you’re ordering takeout anyway. But these sheet pan chicken fajita quesadillas? They taste like you actually made dinner, not like you were planning for survival. The chicken stays juicy, the peppers get those gorgeous charred edges, and the cheese gets all melty and crispy in the oven. I mean, you get that golden-brown crunch without standing over a hot skillet flipping quesadillas one by one. It’s the kind of dinner that makes you forget you’re being efficient.
I started making these on Sundays after I realized my weeknight self was never going to stand at the stove and make individual quesadillas. Let’s be real—future you is tired and hungry and just wants something good to eat with zero effort. These reheat like a dream, and the flavors actually get better after a day in the fridge. Maybe you’ve been there, staring at another sad meal prep container, wondering why you bother. This one changes the game.
Why You’ll Love This Recipe
These sheet pan chicken fajita quesadillas are the meal prep answer you didn’t know you needed. They solve every problem that makes people give up on planning their meals ahead of time.
- Quick & Easy: Everything cooks on one sheet pan, and I mean everything. From the chicken and peppers to the assembled quesadillas themselves. You’re looking at about 30 minutes of active time, and then the oven does the rest.
- Simple Ingredients: Chicken breasts, bell peppers, onions, tortillas, cheese, and a few pantry spices. No special grocery store trips, no weird ingredients you’ll use once and forget about.
- Perfect for Meal Prep: This recipe makes 8 generous quesadillas that reheat beautifully all week. Sunday afternoon prep means Tuesday, Wednesday, and Thursday lunches are handled.
- Crowd-Pleaser: I’ve served these to picky kids, spice-averse relatives, and serious foodie friends. Everyone loves them. The fajita flavor is familiar enough to be comforting but bold enough to feel special.
- Unbelievably Delicious: The secret is roasting the chicken and vegetables together on the sheet pan before assembling the quesadillas. That extra step concentrates the flavors and gives you that caramelized, almost smoky taste you usually only get from a grill.
What makes this recipe different from every other quesadilla recipe out there is the method. Instead of cooking each quesadilla individually in a pan—which takes forever and leaves you standing at the stove—you assemble them all on a sheet pan and bake them together. The cheese gets perfectly melted, the tortillas get crispy on the outside, and you get 8 perfect quesadillas at once. It’s not just another version; it’s the smartest version.
This recipe is the kind that makes you close your eyes after the first bite. The chicken is tender, the peppers are sweet and smoky, and the cheese pulls apart in long, satisfying strings. It’s comfort food reimagined—faster, easier, and designed for your busiest weeks, but with the same soul-soothing satisfaction as a restaurant-quality fajita dinner.
What Ingredients You Will Need
This recipe uses simple, wholesome ingredients to deliver big fajita flavor without any fuss. Most of these are pantry staples, which makes this an easy last-minute meal prep option. Here’s what you’ll need:
For the Chicken and Vegetables
- 1.5 pounds boneless, skinless chicken breasts (about 3 medium breasts) — Look for breasts that are similar in size so they cook evenly. I prefer using chicken breasts here because they slice neatly for the quesadillas, but boneless thighs work great too if you prefer darker meat.
- 3 bell peppers, sliced — I use a mix of red, yellow, and orange for color and sweetness. Green peppers work but are slightly more bitter. Slice them into thin strips, about 1/4 inch wide.
- 1 large red onion, sliced — Red onion gets sweeter and milder as it roasts. Slice it into thin half-moons.
- 3 tablespoons olive oil — Use a good quality extra virgin olive oil for roasting. It helps everything caramelize beautifully.
- 2 tablespoons fajita seasoning — You can use store-bought or make your own. I’ll share my homemade blend below because it really makes a difference.
- 1 teaspoon salt — Kosher salt is best for even seasoning.
- 1/2 teaspoon black pepper — Freshly ground, please.
For the Homemade Fajita Seasoning (or use 2 tbsp store-bought)
- 1 tablespoon chili powder — This gives the fajitas their characteristic warm, smoky flavor.
- 1 teaspoon cumin — Essential for that Mexican-inspired taste.
- 1 teaspoon smoked paprika — Adds depth and a subtle smokiness you can’t get from regular paprika.
- 1/2 teaspoon garlic powder — Not garlic salt; we’re controlling the salt separately.
- 1/2 teaspoon onion powder — Rounds out the savory flavor.
- 1/4 teaspoon cayenne pepper — Optional, for heat. Leave it out if you’re serving kids or sensitive palates.
- 1 teaspoon dried oregano — A classic Mexican oregano adds an earthy note.
For the Quesadillas
- 8 large flour tortillas — Burrito-size, about 10 inches. Flour tortillas crisp up better than corn for this application. I recommend Mission or Guerrero brand for consistent results.
- 3 cups shredded Mexican blend cheese — About 12 ounces. The blend of Monterey Jack, cheddar, and asadero melts perfectly. You can also use all Monterey Jack or all cheddar.
- 1/4 cup chopped fresh cilantro — For garnish and fresh flavor.
- Optional: sour cream, salsa, and guacamole for serving — These aren’t necessary for the recipe but make for excellent dipping.
Ingredient Substitutions
- Chicken: Use boneless skinless thighs for juicier meat, or swap with 1.5 pounds of firm tofu (pressed and sliced) for a vegetarian version.
- Tortillas: Use corn tortillas for a gluten-free option, but note they’re smaller and won’t hold as much filling. Low-carb or whole wheat tortillas work beautifully too.
- Cheese: Dairy-free shredded cheese melts decently in the oven. I’ve used Violife and Follow Your Heart brands with good results.
- Peppers: Add poblano peppers for extra smoky flavor, or use jarred roasted red peppers for a sweeter note.
Equipment Needed
You don’t need much fancy equipment for this recipe, which is part of the appeal. Here’s what you’ll need:
- Large sheet pan (half-sheet pan, 18×13 inches) — This is the star of the show. A rimmed baking sheet prevents juices from spilling. I use a Nordic Ware aluminum sheet pan, and it’s never let me down.
- Parchment paper or aluminum foil — For easy cleanup. Parchment is my preference because nothing sticks to it.
- Sharp chef’s knife — A good knife makes slicing peppers and chicken effortless. Dull knives are dangerous and frustrating.
- Cutting board — Preferably a large wooden or plastic board.
- Mixing bowls — One for the chicken and vegetables, one for the fajita seasoning if you’re making your own.
- Tongs — For flipping the chicken and tossing the vegetables.
- Meat thermometer — Not strictly necessary but highly recommended for perfectly cooked chicken. 165°F (74°C) is the magic number.
- Spatula — For transferring the finished quesadillas to a cutting board.
If you don’t have a half-sheet pan, you can use two smaller baking sheets. Just rotate them halfway through baking. And honestly, if you don’t have a meat thermometer, you can cut into the thickest piece of chicken to check—the juices should run clear and there should be no pink in the center.
Preparation Method
This method is designed to be efficient, with minimal cleanup and maximum flavor. Let me walk you through it step by step.
Step 1: Preheat and Prepare the Sheet Pan
Preheat your oven to 400°F (200°C). Line your sheet pan with parchment paper or aluminum foil. If using foil, lightly spray it with cooking spray to prevent sticking. This step saves you from scrubbing later, trust me.
Step 2: Make the Fajita Seasoning (if using homemade)
In a small bowl, combine 1 tablespoon chili powder, 1 teaspoon cumin, 1 teaspoon smoked paprika, 1/2 teaspoon garlic powder, 1/2 teaspoon onion powder, 1/4 teaspoon cayenne (if using), and 1 teaspoon dried oregano. Whisk together with a fork. Store any leftover seasoning in an airtight container for up to 3 months—it’s great on everything.
Step 3: Prepare the Chicken and Vegetables
Pat the chicken breasts dry with paper towels. This helps them brown rather than steam. Slice the bell peppers into thin strips and the red onion into thin half-moons. In a large bowl, combine the chicken breasts, sliced peppers, and onions. Drizzle with 3 tablespoons olive oil, then sprinkle with 2 tablespoons fajita seasoning, 1 teaspoon salt, and 1/2 teaspoon black pepper. Toss everything together with your hands or tongs until evenly coated. Make sure the seasoning gets under the chicken breasts too.
Step 4: Roast the Chicken and Vegetables
Spread the seasoned chicken and vegetables in a single layer on the prepared sheet pan. Try to keep the chicken breasts from touching each other too much for even cooking. Roast for 20-25 minutes, flipping the chicken halfway through. The vegetables should be tender and lightly charred at the edges, and the chicken should reach an internal temperature of 165°F (74°C). If you don’t have a thermometer, cut into the thickest part of a breast—the juices should run clear.
Step 5: Rest and Slice the Chicken
Remove the sheet pan from the oven and transfer the chicken breasts to a cutting board. Let them rest for 5 minutes. This is crucial—resting allows the juices to redistribute so the chicken stays moist. While the chicken rests, leave the roasted peppers and onions on the sheet pan. After 5 minutes, slice the chicken against the grain into thin strips, about 1/2 inch wide. The grain runs lengthwise on a chicken breast, so slice perpendicular to those lines.
Step 6: Assemble the Quesadillas
Push the roasted peppers and onions to one side of the sheet pan to make room. Lay out 4 tortillas on the empty side of the pan (or on a separate work surface if you prefer). Sprinkle about 1/4 cup of shredded cheese evenly over each tortilla. Divide the sliced chicken and roasted vegetables among the 4 tortillas. Top with another 1/4 cup of cheese per quesadilla. Place the remaining 4 tortillas on top and press down gently. You want the filling to be evenly distributed.
Step 7: Bake the Quesadillas
If you assembled the quesadillas on the sheet pan, carefully transfer them to a clean sheet pan lined with parchment paper (the original pan has chicken juices that might burn). If you assembled them on a work surface, place them on the prepared sheet pan. Bake at 400°F (200°C) for 8-10 minutes, then carefully flip each quesadilla with a spatula and bake for another 5-7 minutes, until both sides are golden brown and crispy. The cheese should be fully melted and oozing out the edges slightly.
Step 8: Cool and Slice
Let the quesadillas rest on the sheet pan for 2-3 minutes after baking. This helps them set so they slice cleanly. Transfer to a cutting board and use a sharp knife or pizza cutter to slice each quesadilla into 4 wedges. Sprinkle with fresh chopped cilantro.
Step 9: Portion for Meal Prep
Let the quesadilla wedges cool completely before storing. Divide them into meal prep containers—I usually put 4 wedges (one whole quesadilla) per container. Store with a small container of sour cream, salsa, or guacamole on the side if desired.
Cooking Tips & Techniques
After making these sheet pan chicken fajita quesadillas probably a dozen times, I’ve learned a few things the hard way. Here are my best tips to make sure yours turn out perfect every time.
Don’t overcrowd the sheet pan. I made this mistake the first time—I tried to cram everything onto one pan, and the chicken ended up steaming instead of roasting. You want those nice browned edges on the peppers and the chicken. If your pan is too small, use two pans or roast in batches. A little space goes a long way.
Flip the quesadillas carefully. The first time I made these, I flipped them too early and the top tortilla slid right off, spilling cheese everywhere. Wait the full 8-10 minutes before flipping, and use a wide spatula. If the top tortilla isn’t browning evenly, that’s okay—the second side will catch up faster.
Let the chicken rest. I know it’s tempting to slice it right away, but that five-minute rest is non-negotiable. I once skipped it because I was hungry and in a rush, and the chicken was noticeably drier. The juices need time to settle back into the meat.
Use room temperature tortillas. Cold tortillas straight from the fridge are stiff and crack when you try to fold or flip them. Let them sit on the counter for 10 minutes before assembling. If you forgot to take them out, microwave them for 15 seconds wrapped in a damp paper towel.
Season generously. Fajita seasoning needs to be bold because it’s spread across chicken, vegetables, and tortillas. Don’t be shy. If you’re using a store-bought blend, check the salt content and adjust accordingly. Some brands are saltier than others.
Make extra fajita seasoning. I always double the homemade blend and keep it in a jar. It’s perfect for quick weeknight dinners—just toss chicken and veggies with oil and seasoning, and you’ve got fajita bowls, tacos, or salads in minutes.
Variations & Adaptations
This recipe is incredibly flexible, and I’ve tried several variations over the months. Here are some of my favorites:
Vegetarian Version
Skip the chicken and use 1.5 pounds of firm tofu or 2 cans of black beans (drained and rinsed). For tofu, press it for 30 minutes, then slice into 1/2-inch slabs and roast with the peppers and onions. For black beans, add them to the sheet pan during the last 5 minutes of roasting just to warm through. Both versions are hearty and satisfying.
Spicy Chipotle Version
Add 2 chipotle peppers in adobo sauce (minced) to the fajita seasoning mixture. This adds a deep, smoky heat that’s incredible. I tried this version for a game day snack and it was gone in minutes. Just be careful—chipotle heat sneaks up on you.
Breakfast Quesadillas
Use the same method but swap the fajita seasoning for a breakfast blend (salt, pepper, garlic powder). Add scrambled eggs to the filling along with the chicken and peppers. These are perfect for meal prep breakfasts—just reheat in a skillet for crispy edges.
Low-Carb Version
Use large low-carb tortillas (I like the Ole Xtreme Wellness brand) and load up on the vegetables. The filling itself is already low-carb, so the only change is the tortilla. These reheat beautifully and don’t get soggy.
Cheese Variations
I’ve made these with pepper jack for extra heat, with smoked gouda for a rich, smoky flavor, and with queso fresco crumbled on top after baking for a more authentic Mexican touch. Each cheese brings something different to the table.
Serving & Storage Suggestions
These quesadillas are versatile enough for lunch, dinner, or even a hearty snack. Here’s how to serve and store them for the best results.
Serving Suggestions
Serve the quesadillas warm, sliced into wedges, with a side of sour cream, salsa, and guacamole. A squeeze of fresh lime juice over the top right before serving brightens up all the flavors. For a complete meal, pair them with a simple side salad dressed with lime vinaigrette, or a bowl of black bean soup. They’re also fantastic dipped in creamy cilantro lime dressing.
Storage Instructions
Let the quesadillas cool completely before storing. Place them in an airtight container with parchment paper between layers to prevent sticking. They’ll keep in the refrigerator for up to 5 days. The flavors actually meld and improve after a day or two, so don’t worry about making them too far in advance.
Freezing Instructions
These freeze beautifully for up to 3 months. Wrap each whole quesadilla individually in plastic wrap, then place them in a freezer-safe bag. To reheat from frozen, bake at 375°F (190°C) for 15-20 minutes, or microwave for 2-3 minutes. The oven method gives you a crispier result.
Reheating Tips
The best way to reheat these is in a dry skillet over medium heat for 2-3 minutes per side. This restores the crispy exterior. The microwave works in a pinch (about 1 minute per quesadilla), but the tortillas will be softer. If you’re reheating in the oven, place them directly on the oven rack at 350°F (175°C) for 5-7 minutes.
Nutritional Information & Benefits
Here’s the approximate nutritional breakdown for one whole quesadilla (4 wedges), made with the ingredients listed above:
- Calories: 485
- Protein: 38g
- Carbohydrates: 32g
- Fat: 22g
- Fiber: 4g
- Sugar: 6g
- Sodium: 890mg
These quesadillas are a solid source of lean protein from the chicken, which keeps you full and supports muscle recovery. The bell peppers are packed with vitamin C—more than an orange, actually—and the onions provide prebiotic fiber that’s great for gut health. Using a mix of colorful peppers ensures you’re getting a variety of antioxidants.
If you’re watching your sodium, use a low-sodium fajita seasoning or make your own (my homemade version has about half the sodium of most store-bought blends). For a lower-calorie option, use low-carb tortillas and reduce the cheese to 2 cups total.
This recipe is naturally gluten-free if you use corn tortillas, and easily dairy-free with vegan cheese. It’s also nut-free and egg-free, making it a safe option for many common allergies.
Conclusion
These easy sheet pan chicken fajita quesadillas have honestly become my most-requested meal prep recipe. Friends ask for the recipe, family members request them for gatherings, and my sister-in-law—the one who swore she hated meal prep—now texts me every Sunday asking if I’m “making the quesadillas.” That conversion alone tells me this recipe is something special.
What I love most about this recipe is how it solves the real problem of meal prep: making food that actually tastes good enough to look forward to. These quesadillas aren’t a compromise. They’re a genuine pleasure to eat, whether you’re having them fresh out of the oven or pulling them from the fridge on a chaotic Wednesday afternoon. The chicken stays tender, the vegetables are sweet and smoky, and that crispy-cheesy exterior never gets old.
I hope you try this recipe and make it your own. Maybe you’ll add extra jalapeños, swap in steak instead of chicken, or serve them with your favorite hot sauce. That’s the beauty of a good base recipe—it’s a starting point, not a rulebook. Let me know in the comments how yours turn out, and don’t forget to share your own variations. I’m always looking for new ideas to try!
Frequently Asked Questions
Can I use frozen chicken breasts for this recipe?
I don’t recommend using frozen chicken breasts directly. They release too much water as they cook, which steams the vegetables instead of roasting them. Thaw the chicken completely in the refrigerator overnight before starting. If you’re in a hurry, you can use thinly sliced chicken breast cutlets, which cook faster and don’t need thawing if they’re individually frozen.
How do I keep the quesadillas from getting soggy when reheating?
The key is to reheat them in a dry skillet or on a sheet pan in the oven, not in the microwave. The microwave creates steam that softens the tortillas. If you must use the microwave, place a paper towel under the quesadilla to absorb excess moisture, and only heat for 30-45 seconds. For the crispiest results, reheat in a skillet over medium heat for 2 minutes per side.
Can I make these ahead of time and bake them later?
Absolutely. You can assemble the quesadillas completely and store them in the refrigerator for up to 24 hours before baking. Place them on a parchment-lined sheet pan, cover tightly with plastic wrap, and refrigerate. When you’re ready to bake, add 2-3 minutes to the baking time since the tortillas will be cold. This is a great option if you’re prepping for a party or busy week.
What’s the best way to slice the peppers and onions for even cooking?
Slice the peppers into strips about 1/4 inch wide and 2-3 inches long. Slice the onion into thin half-moons, also about 1/4 inch thick. Consistent sizing ensures everything cooks at the same rate. I find it easiest to cut the peppers in half, remove the seeds and ribs, then slice them lengthwise. For the onion, cut off the top and root end, slice in half through the root, peel off the skin, and slice crosswise into half-moons.
Can I use a different protein instead of chicken?
Yes! This method works beautifully with thinly sliced flank steak, shrimp, or even chorizo. For steak, slice it thin against the grain and roast for 12-15 minutes. For shrimp, add them to the sheet pan during the last 8 minutes of roasting. For chorizo, crumble it onto the sheet pan with the vegetables and roast until cooked through. Each protein brings its own delicious twist to the recipe.
Pin This Recipe!
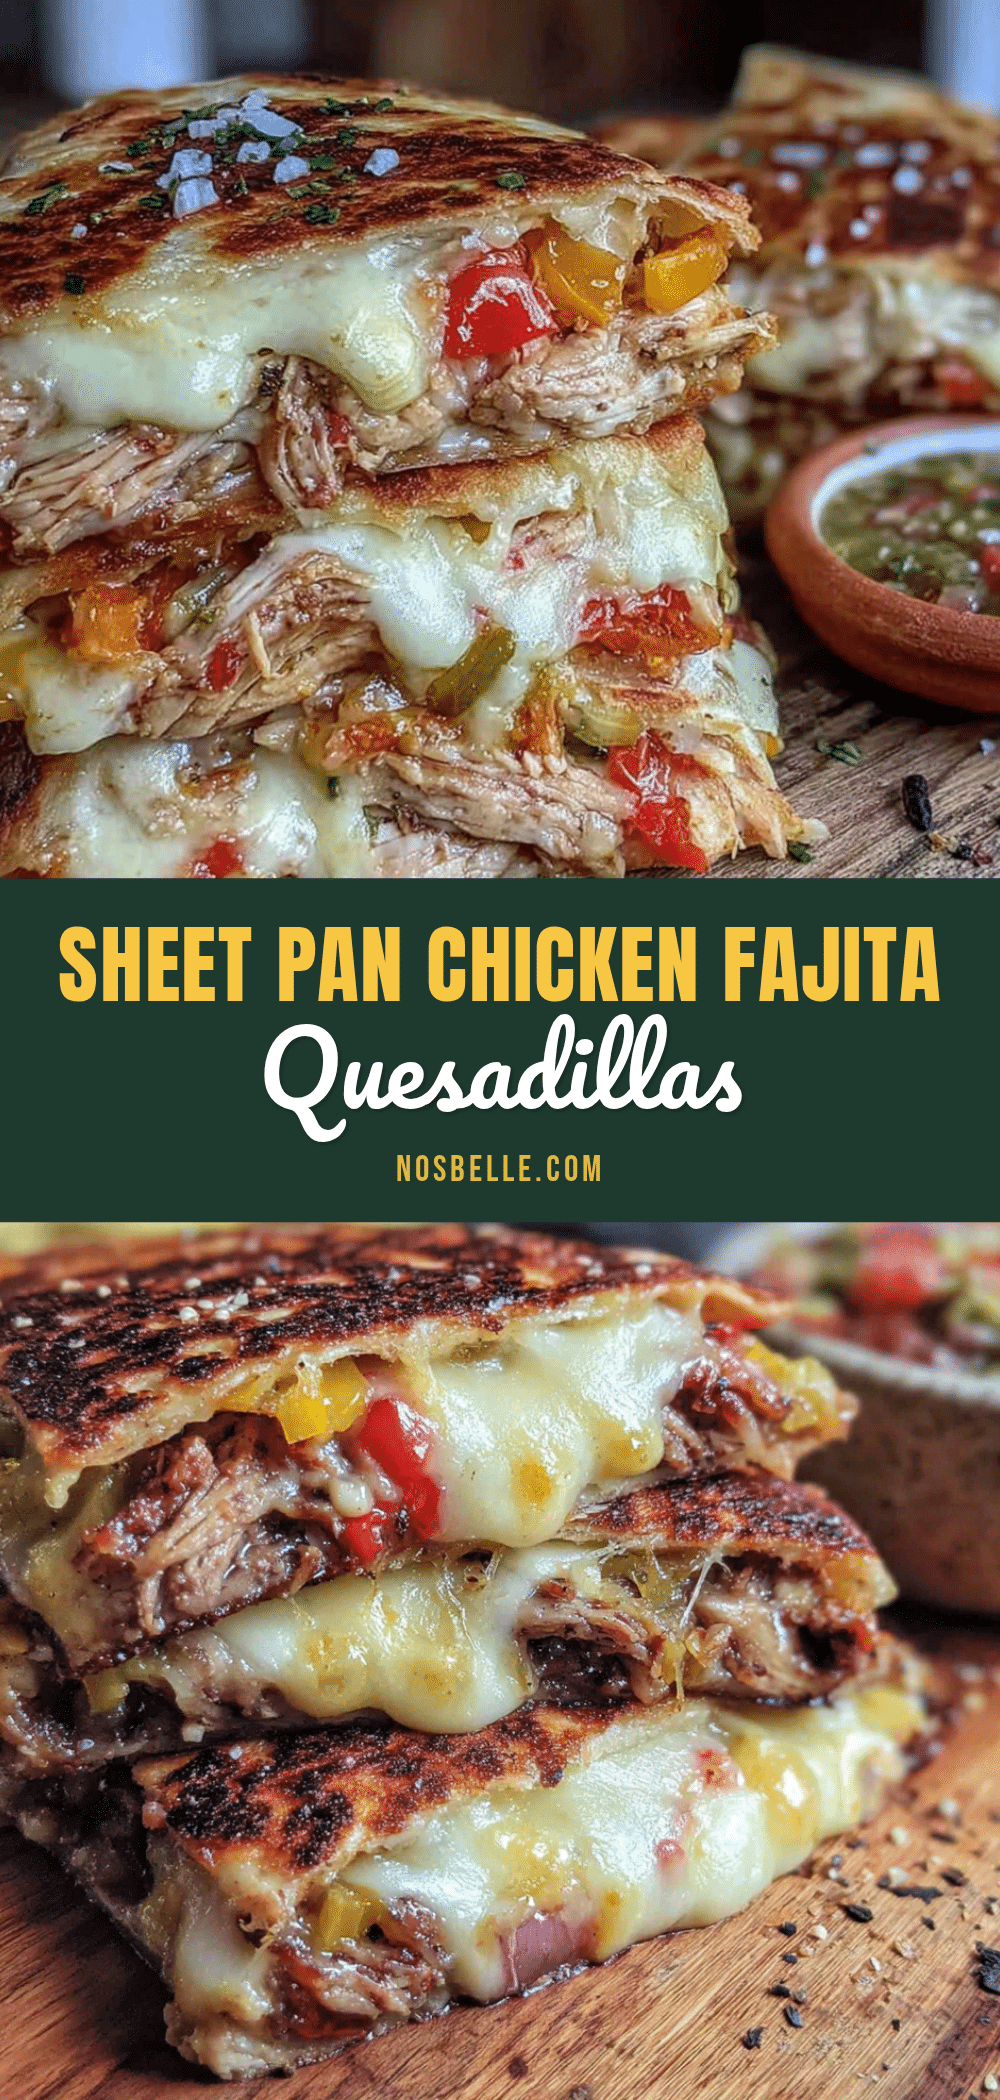
Easy Sheet Pan Chicken Fajita Quesadillas for Meal Prep
These sheet pan chicken fajita quesadillas are a game-changing meal prep recipe that tastes like a real dinner, not a compromise. Juicy chicken, charred peppers, and melty cheese come together on one sheet pan for a crispy, golden-brown result that reheats beautifully all week.
- Prep Time: 30 minutes
- Cook Time: 35 minutes
- Total Time: 1 hour 5 minutes
- Yield: 8 servings 1x
- Category: Main Course
- Cuisine: Mexican
Ingredients
- 1.5 pounds boneless, skinless chicken breasts (about 3 medium)
- 3 bell peppers (red, yellow, orange), sliced into thin strips
- 1 large red onion, sliced into thin half-moons
- 3 tablespoons olive oil
- 2 tablespoons fajita seasoning (store-bought or homemade)
- 1 teaspoon kosher salt
- 1/2 teaspoon black pepper, freshly ground
- 8 large flour tortillas (burrito-size, about 10 inches)
- 3 cups shredded Mexican blend cheese (about 12 ounces)
- 1/4 cup chopped fresh cilantro
- Optional: sour cream, salsa, guacamole for serving
- For homemade fajita seasoning:
- 1 tablespoon chili powder
- 1 teaspoon cumin
- 1 teaspoon smoked paprika
- 1/2 teaspoon garlic powder
- 1/2 teaspoon onion powder
- 1/4 teaspoon cayenne pepper (optional)
- 1 teaspoon dried oregano
Instructions
- Preheat oven to 400°F (200°C). Line a large sheet pan with parchment paper or aluminum foil.
- If making homemade fajita seasoning, combine chili powder, cumin, smoked paprika, garlic powder, onion powder, cayenne (if using), and oregano in a small bowl.
- Pat chicken breasts dry with paper towels. In a large bowl, combine chicken, sliced peppers, and onions. Drizzle with olive oil, sprinkle with fajita seasoning, salt, and black pepper. Toss to coat evenly.
- Spread chicken and vegetables in a single layer on the prepared sheet pan. Roast for 20-25 minutes, flipping chicken halfway through, until chicken reaches 165°F (74°C) and vegetables are tender and lightly charred.
- Transfer chicken to a cutting board and let rest for 5 minutes. Leave roasted peppers and onions on the sheet pan. Slice chicken against the grain into thin strips.
- Push vegetables to one side of the sheet pan. Lay out 4 tortillas on the empty side. Sprinkle about 1/4 cup cheese on each tortilla. Divide sliced chicken and vegetables among the tortillas. Top each with another 1/4 cup cheese. Place remaining 4 tortillas on top and press gently.
- Transfer assembled quesadillas to a clean parchment-lined sheet pan. Bake at 400°F (200°C) for 8-10 minutes. Carefully flip each quesadilla and bake for another 5-7 minutes until both sides are golden brown and crispy.
- Let quesadillas rest on the sheet pan for 2-3 minutes. Transfer to a cutting board and slice each into 4 wedges. Sprinkle with fresh cilantro.
- Cool completely before storing. Divide into meal prep containers (4 wedges per container). Store with optional sour cream, salsa, or guacamole on the side.
Notes
For best results, use room temperature tortillas and let the chicken rest before slicing. Reheat in a dry skillet for crispy edges. The quesadillas can be assembled up to 24 hours ahead and refrigerated before baking.
Nutrition
- Serving Size: 1 whole quesadilla (
- Calories: 485
- Sugar: 6
- Sodium: 890
- Fat: 22
- Saturated Fat: 10
- Carbohydrates: 32
- Fiber: 4
- Protein: 38
Keywords: sheet pan quesadillas, chicken fajita quesadillas, meal prep, easy dinner, one pan meal, Mexican recipe