This was supposed to be a batch of granola. I had the oats measured out, the nuts toasted, the maple syrup warmed and waiting. But then my neighbor, Carol, knocked on the door holding a massive bag of pretzel sticks her kid had bought for a school party that got canceled. “Take them,” she said, shoving the bag into my hands. “I’m not baking with them, and they’re going to go stale.” So there I was, standing in my kitchen with a half-started granola project and three pounds of pretzels that had no plans. I shoved the oats aside, grabbed a box of Chex cereal from the pantry, and just started tossing things into a bowl. I honestly didn’t know what I was doing. The oven was already preheated to the wrong temperature, I used salted butter instead of unsalted by accident, and I was running late for a phone call. What came out of that oven was nothing like my planned granola—and honestly, it was way better.
That first bite stopped me mid-sentence on the phone. It was salty, sweet, crunchy, and had this weirdly perfect fall vibe even though I hadn’t planned for any pumpkin spice. The brown sugar had caramelized onto the cereal in these little clusters, and the pretzels had soaked up just enough butter to get crispy without turning into rocks. I mean, I ate half the batch standing at the counter, and I’m not proud of that. Maybe you’ve been there—when a kitchen mistake turns into something you can’t stop thinking about. I kept making this mix for every gathering that fall, and each time, someone asked for the recipe. This is that recipe.
Why You’ll Love This Recipe
Let’s be honest—there are a thousand Chex mix recipes out there. But this one is different. It’s the one that disappears first at parties, the one people stand around the bowl eating while holding full plates of other food. Here’s why it works so well:
- Quick & Easy: Comes together in about 30 minutes, with only 10 minutes of hands-on work. Perfect for last-minute hosting.
- Simple Ingredients: Everything comes from your regular grocery store—no specialty shops or weird online orders.
- Perfect for Fall Gatherings: Great for tailgates, Thanksgiving appetizers, Halloween parties, or just a cozy night in.
- Crowd-Pleaser: The sweet-salty combo hits everyone’s craving button. Kids love the cereal clusters, adults love the pretzel crunch.
- Unbelievably Delicious: The brown sugar and butter create a subtle caramel coating that’s not too sweet, while the salt balances everything perfectly.
What makes this version stand out from the dozens of other Chex mix recipes online is the method. Instead of just melting butter and pouring it over dry cereal, you create a quick caramel-like coating by whisking brown sugar into the melted butter before baking. This little extra step changes everything—the coating gets into every nook and cranny of the cereal, creating those irresistible clusters. I tested this recipe at three different gatherings before I felt confident sharing it, and every single time, someone asked for the recipe before they’d even finished their first handful.
This isn’t just good snack mix—it’s the kind that makes people close their eyes after the first bite. It’s comfort food with a crunch, perfect for impressing guests without any stress. You can make it ahead, it travels well, and it stays fresh for over a week. Honestly, what more could you want from a snack?
What Ingredients You Will Need
This recipe uses simple, pantry-friendly ingredients to create a snack that tastes way more complicated than it actually is. Most of these are probably already in your kitchen, which makes this perfect for those moments when you need something impressive fast.
- Rice Chex cereal (9 cups) – The base of the mix. I prefer Rice Chex because it stays crunchy and doesn’t get soggy. Corn Chex also works, but avoid wheat Chex for this recipe—it gets too chewy.
- Pretzel sticks (2 cups) – The salty crunch factor. I use standard pretzel sticks, but mini twists work too. Avoid the thick Bavarian-style pretzels—they’re too dense.
- Roasted salted almonds (1 cup) – Adds protein and a satisfying crunch. Pecans or cashews are great substitutes if you prefer. I like using roasted almonds because they stay crunchy even after baking.
- Pumpkin seeds or pepitas (1/2 cup) – The fall touch. They add a nice green pop of color and a subtle earthy flavor. If you can’t find pepitas, sunflower seeds work well.
- Unsalted butter (1/2 cup, 1 stick) – The base of the coating. I use unsalted so I can control the salt level, but if you only have salted butter, just reduce the added salt by half.
- Light brown sugar (1/3 cup, packed) – Creates that caramel-like coating. Dark brown sugar gives a deeper molasses flavor if you prefer a richer taste.
- Maple syrup (2 tablespoons) – Adds a subtle fall flavor that works beautifully with the brown sugar. Honey is a fine substitute, but the maple flavor really makes this feel like autumn.
- Vanilla extract (1 teaspoon) – Rounds out the sweetness and adds warmth. Pure vanilla extract is worth using here—you can taste the difference.
- Kosher salt (1/2 teaspoon) – Enhances all the flavors. Flaky sea salt sprinkled on top after baking takes this over the top.
- Cinnamon (1/2 teaspoon) – Optional but recommended. It adds that cozy fall warmth without screaming “pumpkin spice.”
- Baking soda (1/4 teaspoon) – This is the secret ingredient. It helps the coating stay light and crispy instead of getting heavy and greasy. Don’t skip it.
I’ve tested this with different brands, and honestly, the biggest difference comes from the butter. I use Kerrygold unsalted butter when I’m feeling fancy—it has a higher butterfat content that creates a richer coating. But regular store-brand butter works perfectly too. Just don’t use margarine or spreadable butter—they have too much water and will make the mix soggy.
Equipment Needed
You don’t need much for this recipe, which is part of why I love it. Here’s what you’ll need:
- Large mixing bowl – You need something big enough to toss 9 cups of cereal without spilling everything. I use my grandmother’s old ceramic bowl, but a large stainless steel one works great.
- Large baking sheet with sides – A rimmed baking sheet is essential here. The coating can bubble up during baking, and you don’t want it dripping all over your oven. I use a half-sheet pan (18×13 inches).
- Silicone spatula or wooden spoon – For stirring the coating and tossing everything together. A silicone spatula is great for scraping every last bit of that buttery goodness.
- Small saucepan – For melting the butter and brown sugar together. Any small pot will do.
- Whisk – For combining the butter, brown sugar, and maple syrup into a smooth coating.
- Parchment paper or silicone baking mat – Highly recommended for easy cleanup. The coating can get sticky, and parchment paper makes it a breeze.
- Cooling rack – Optional but helpful for cooling the mix evenly. If you don’t have one, just let it cool on the baking sheet.
I learned the hard way that using a baking sheet without sides is a disaster waiting to happen. The first time I made this, I used a flat cookie sheet, and the butter mixture dripped onto the oven floor, creating a smoky mess. Stick with a rimmed baking sheet—you’ll thank me later.
Preparation Method
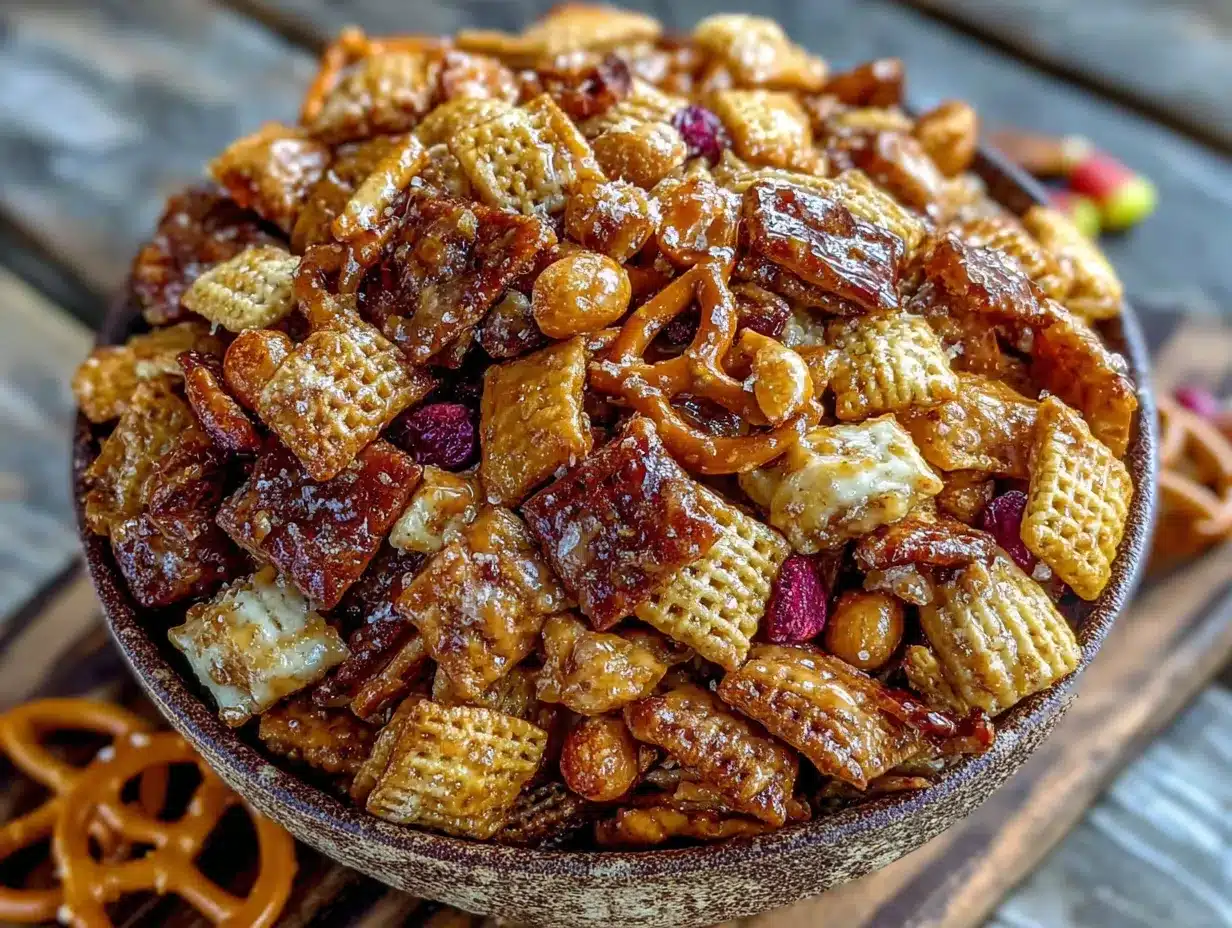
This comes together quickly, so have everything measured and ready before you start. The actual hands-on time is only about 10 minutes, but the oven does most of the work.
- Preheat your oven to 250°F (120°C). Yes, this is a low temperature—that’s intentional. You’re not trying to toast the cereal; you’re gently drying and setting the coating. Line your baking sheet with parchment paper or a silicone mat.
- Combine the dry ingredients. In your large bowl, gently toss together the 9 cups of Rice Chex cereal, 2 cups of pretzel sticks, 1 cup of roasted salted almonds, and 1/2 cup of pumpkin seeds. Be gentle—you don’t want to crush the cereal. Set this aside while you make the coating.
- Make the coating. In your small saucepan over medium heat, melt 1/2 cup (1 stick) of unsalted butter. Once it’s fully melted, add 1/3 cup of packed light brown sugar and 2 tablespoons of maple syrup. Whisk continuously until the brown sugar dissolves completely—this takes about 2 minutes. You’ll see it go from grainy to smooth, and the mixture will start to bubble gently.
- Add the flavorings. Remove the saucepan from the heat. Whisk in 1 teaspoon of vanilla extract, 1/2 teaspoon of kosher salt, 1/2 teaspoon of cinnamon (if using), and 1/4 teaspoon of baking soda. The mixture will foam up a bit when you add the baking soda—that’s normal and exactly what you want. This foaming action helps create a lighter coating.
- Combine everything. Pour the hot butter mixture over the dry ingredients. Using your silicone spatula or a wooden spoon, gently fold and toss until everything is evenly coated. Make sure you get into the bottom of the bowl—there’s always some coating that settles there. Take your time with this step; uneven coating leads to uneven crunch.
- Spread on the baking sheet. Transfer the coated mixture to your prepared baking sheet. Spread it into an even layer—don’t pile it up too thick, or the bottom won’t dry properly. You want a single layer if possible, with some space between clusters.
- Bake for 20 minutes. Place the baking sheet in the preheated oven. After 10 minutes, take it out and stir everything gently with your spatula. This ensures even drying and prevents the bottom from getting too dark. Return to the oven for another 10 minutes.
- Cool completely. Remove the baking sheet from the oven and let the mix cool right on the sheet. Don’t stir it again while it’s cooling—let it sit undisturbed for at least 30 minutes. As it cools, the coating will set and create those wonderful crunchy clusters. If you stir it while warm, you’ll break up the clusters.
A few things I’ve learned the hard way: First, don’t rush the cooling process. I once tried to speed things up by putting the baking sheet in the fridge, and the condensation made the mix slightly soggy. Just let it sit at room temperature. Second, if you’re making this for a party, the mix actually gets better after sitting overnight. The flavors meld together, and the crunch somehow gets even better.
Cooking Tips & Techniques
After making this recipe more times than I can count, I’ve picked up a few tricks that make a real difference. Here’s what I wish someone had told me the first time.
The baking soda trick. I mentioned this earlier, but it’s worth repeating. Adding baking soda to the butter mixture creates tiny bubbles that lighten the coating. Without it, the coating can feel heavy and greasy. Don’t skip it—it’s the secret to that light, crispy texture.
Watch your oven temperature. Ovens run differently, and 250°F in one oven might be 275°F in another. If your oven runs hot, check the mix at 15 minutes instead of 20. You’re looking for a light golden color on the edges—not dark brown. If it’s getting too dark too fast, reduce the temperature to 225°F next time.
The cooling mistake I made twice. The first time I made this, I dumped the hot mix into a bowl to cool, thinking it would speed things up. It didn’t. The steam got trapped, and the mix turned chewy instead of crunchy. Always cool it in a single layer on the baking sheet. This lets the steam escape and the coating set properly.
Multitasking strategy. While the mix is baking, clean up your dishes and prep any other snacks you’re serving. The 20-minute bake time goes fast, and you’ll want to focus on the stirring and cooling steps without distraction. I usually make a cup of tea and sit down for five minutes during the second half of baking—it’s nice to have a moment.
Consistency tip. If you want bigger clusters (and who doesn’t?), press the mixture down gently with your spatula about 5 minutes before the baking is done. Don’t smash it—just lightly press it into the pan. This encourages the pieces to stick together as they cool.
Variations & Adaptations
This recipe is incredibly flexible, and I’ve tried several variations over the years. Here are some of my favorites.
Spicy Sweet Version. Add 1/2 teaspoon of cayenne pepper and 1/4 teaspoon of smoked paprika to the butter mixture. The heat balances beautifully with the sweet coating. I made this for a football party, and it was gone in 20 minutes. Just be careful—the heat builds as you eat it.
Chocolate Drizzle. After the mix has cooled completely, melt 1/2 cup of dark chocolate chips with 1 teaspoon of coconut oil and drizzle it over the top. Let it set for about 30 minutes before breaking into pieces. This turns it into a dessert-like treat that’s perfect for holiday cookie platters.
Gluten-Free Adaptation. This recipe is naturally gluten-free if you use gluten-free pretzels. Snyder’s makes a good gluten-free pretzel stick that works perfectly. Just double-check your Chex box—Rice Chex is gluten-free, but some varieties aren’t. Also confirm your vanilla extract is gluten-free (most are, but it’s worth checking).
Nut-Free Version. Skip the almonds and pumpkin seeds and add 1 cup of roasted chickpeas instead. They get wonderfully crunchy in the oven and mimic the texture of nuts. You can also add extra pretzels to make up the volume.
Maple Bacon Version. Cook 4 slices of bacon until crispy, crumble them, and add to the mix after baking. Also replace the maple syrup in the coating with an extra tablespoon of real maple syrup. The salty, smoky bacon takes this to another level. I made this for a brunch gathering, and people were literally fighting over the last pieces.
My personal favorite variation is adding a tablespoon of bourbon to the butter mixture along with the vanilla. The alcohol cooks off during baking, but it leaves behind a subtle warmth that pairs beautifully with the maple and brown sugar. Just don’t tell the kids—let them enjoy the regular version.
Serving & Storage Suggestions
This mix is incredibly versatile when it comes to serving. Here’s how I handle it for different occasions.
Serving temperature. Serve at room temperature. There’s no need to warm it up—the crunch is best when it’s fully cooled. If you’ve made it ahead, just let it sit out for 10 minutes before serving to take the chill off if it’s been in the fridge (though it rarely lasts long enough for that).
Presentation ideas. For parties, I like to serve this in a large wooden bowl or a rustic ceramic dish. The contrast between the golden cereal and the darker pretzels looks beautiful. For individual servings, small paper cones or mini mason jars make great party favors. I’ve also packed it in cellophane bags tied with twine for holiday gifts—people love receiving homemade snacks.
What to serve alongside. This mix pairs beautifully with a cheese board—the sweetness cuts through rich, creamy cheeses like brie or aged cheddar. It’s also great alongside a bowl of fresh apple slices or pear slices for a sweet-savory contrast. For drinks, it’s perfect with apple cider, mulled wine, or a good craft beer. Honestly, it goes with almost anything.
Storage instructions. Store in an airtight container at room temperature for up to 10 days. I use a large glass jar with a tight-fitting lid. If you live in a humid climate, add a food-safe silica gel packet to the container to keep the mix crunchy—trust me on this one. Do not store it in the refrigerator, as the moisture will make it soft.
Freezer instructions. This mix freezes beautifully for up to 3 months. Let it cool completely, then transfer to a freezer-safe zip-top bag, pressing out as much air as possible. When you’re ready to serve, let it thaw at room temperature for about 30 minutes. The crunch comes back perfectly—I’ve tested this multiple times.
Flavor development. Here’s something interesting: the flavors actually improve after a day or two. The sweetness mellows slightly, and the saltiness becomes more pronounced. If you can resist eating it immediately, make it a day ahead for the best flavor. I’ve had people tell me it’s even better on day three.
Nutritional Information & Benefits
Let’s be real—this is a treat, not a health food. But it’s not as bad as you might think, and there are some redeeming qualities.
Estimated per serving (about 1 cup):
– Calories: 280
– Fat: 14g
– Saturated Fat: 6g
– Carbohydrates: 36g
– Fiber: 2g
– Sugar: 12g
– Protein: 5g
– Sodium: 310mg
Health highlights. The almonds provide vitamin E, magnesium, and healthy monounsaturated fats. Pumpkin seeds are excellent sources of zinc, magnesium, and plant-based protein. The Rice Chex is fortified with iron and B vitamins. And yes, the butter and brown sugar aren’t exactly superfoods, but in moderation, this is a satisfying snack that won’t leave you feeling guilty.
Dietary considerations. This recipe is naturally gluten-free (with the right pretzels), contains no eggs, and can easily be made nut-free. It does contain dairy from the butter, but you can substitute coconut oil or vegan butter for a dairy-free version—just know the texture will be slightly different.
Potential allergens: Dairy (butter), tree nuts (almonds), gluten (if using regular pretzels). Always check labels if serving to someone with allergies.
My personal philosophy is that food should be enjoyed, and this mix is meant to be shared and savored. I don’t stress about the nutritional numbers when I’m serving it at a party—it’s about connection and enjoyment. But I do appreciate that it’s not empty calories; there’s real nutritional value in those nuts and seeds.
Conclusion
This sweet and salty fall Chex mix started as a complete accident—a distracted moment, a neighbor’s unwanted pretzels, and a recipe that went completely off-script. But sometimes the best things come from those moments when we stop following the plan and just start experimenting. This recipe has become my go-to for every fall gathering, from tailgates to Thanksgiving appetizer tables. It’s the snack that people ask for by name, the one that gets texted around after parties.
What I love most about this recipe is how forgiving it is. You can tweak the mix-ins, adjust the sweetness, add spice or chocolate—it always works. It’s the kind of recipe that makes you look like a kitchen pro even when you’re just throwing things together. So go ahead and make it your own. Add your favorite nuts, swap in different cereals, or drizzle it with chocolate. And if you make a mistake along the way? Well, that might just be the start of your own happy accident.
I’d love to hear how this turns out for you. Drop a comment below and let me know what variations you tried, or share a photo of your mix on social media. Happy snacking, friends!
Frequently Asked Questions
Can I use different types of Chex cereal?
Absolutely! Corn Chex and Wheat Chex both work, though Wheat Chex will be a bit chewier. I recommend keeping Rice Chex as the base and mixing in up to 3 cups of another variety for texture variety.
Why did my Chex mix turn out soggy?
Sogginess usually comes from one of three things: the oven temperature was too low, the mix didn’t cool completely before storing, or it was stored in an airtight container while still warm. Make sure you cool it completely—at least 30 minutes—before putting it away.
Can I make this in a slow cooker?
Yes! Combine everything in a slow cooker, cook on low for 2 hours, stirring every 30 minutes, then remove the lid and cook for another 30 minutes to let the moisture escape. The texture will be slightly different—less crunchy, more chewy—but still delicious.
How long does this Chex mix stay fresh?
Stored in an airtight container at room temperature, it stays fresh and crunchy for up to 10 days. In the freezer, it keeps for up to 3 months. Just make sure it’s completely cool before storing.
Can I double this recipe?
Yes, but you’ll need to bake it in two batches or use two baking sheets. Don’t try to cram it all onto one sheet—the coating won’t dry evenly, and you’ll end up with a soggy mess. Divide it between two sheets and bake both at the same time, rotating them halfway through.
Pin This Recipe!
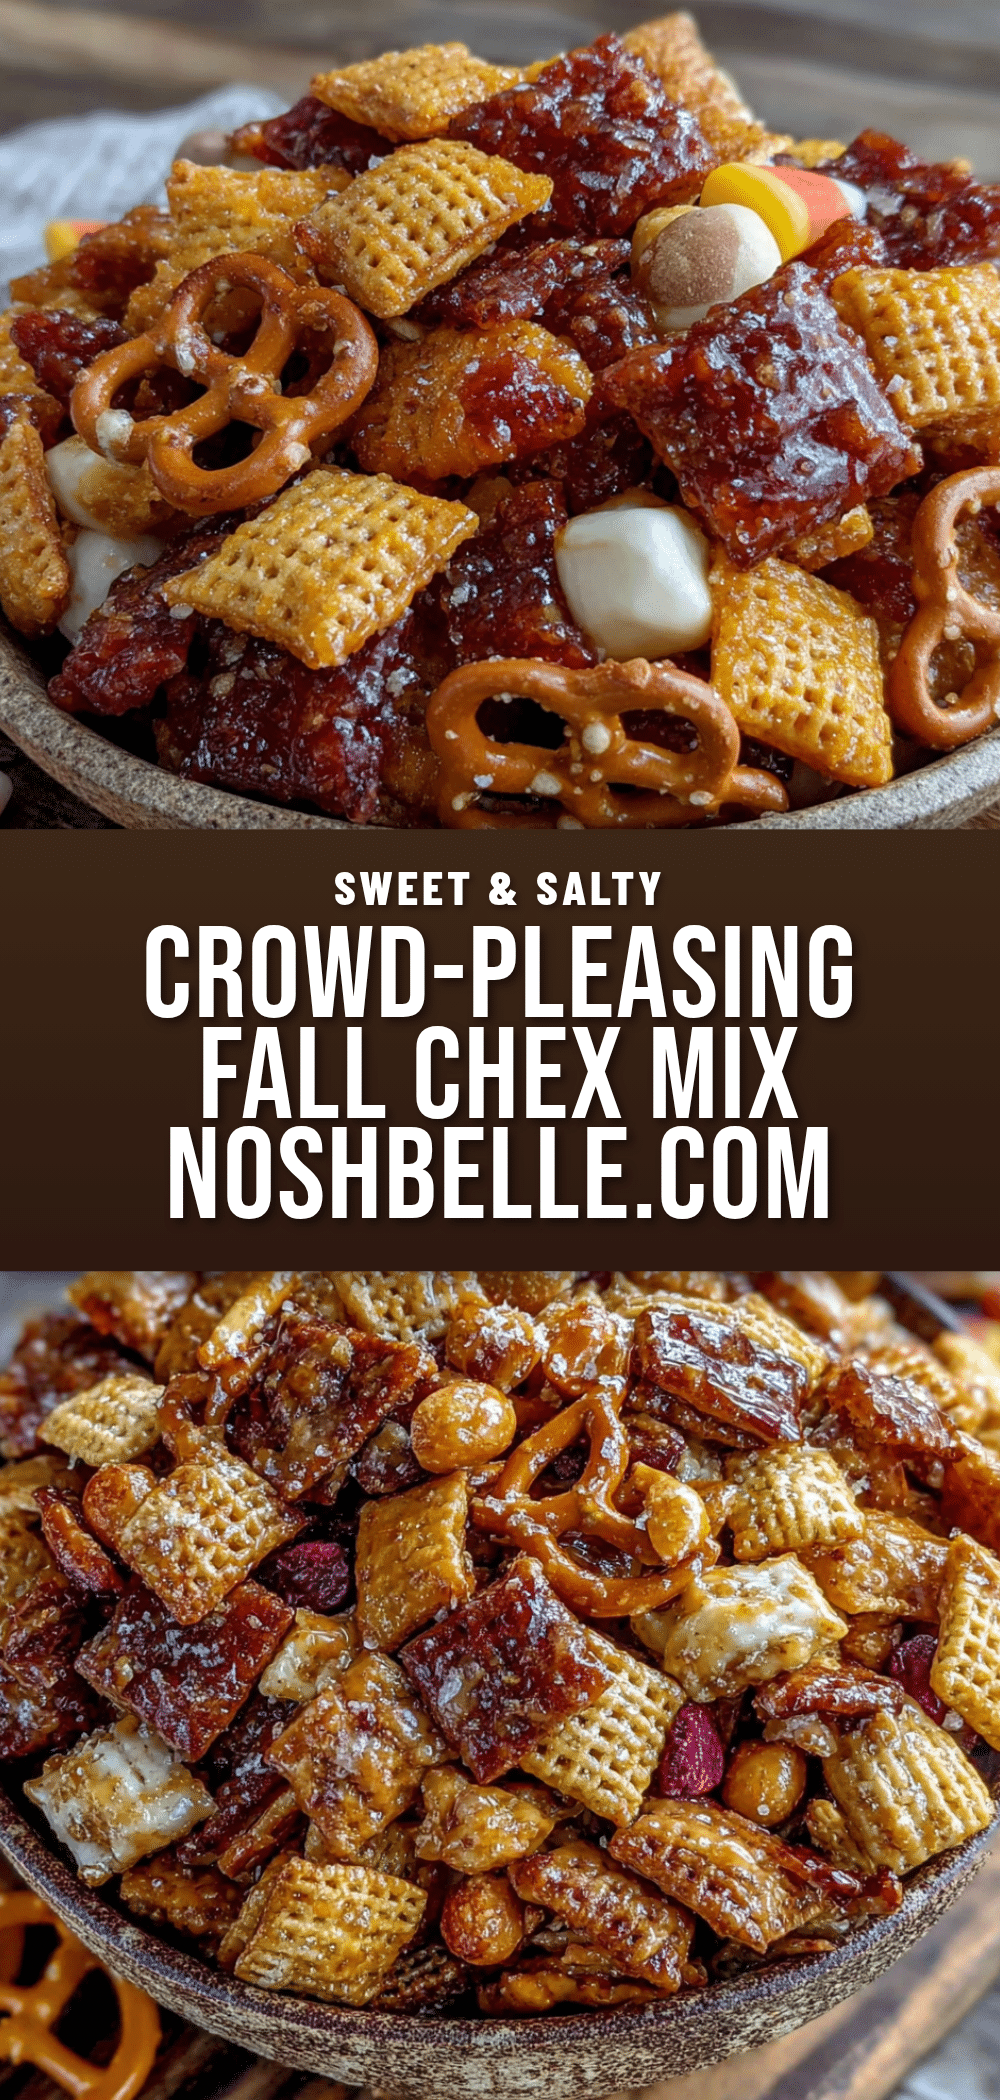
Easy Sweet & Salty Fall Chex Mix Recipe

A quick and easy sweet and salty Chex mix with a caramel-like coating, perfect for fall gatherings. This crowd-pleasing snack comes together in about 30 minutes with simple ingredients.
- Prep Time: 10 minutes
- Cook Time: 20 minutes
- Total Time: 30 minutes
- Yield: 12 servings 1x
- Category: Snack
- Cuisine: American
Ingredients
- 9 cups Rice Chex cereal
- 2 cups pretzel sticks
- 1 cup roasted salted almonds
- 1/2 cup pumpkin seeds or pepitas
- 1/2 cup unsalted butter (1 stick)
- 1/3 cup packed light brown sugar
- 2 tablespoons maple syrup
- 1 teaspoon vanilla extract
- 1/2 teaspoon kosher salt
- 1/2 teaspoon cinnamon (optional)
- 1/4 teaspoon baking soda
Instructions
- Preheat your oven to 250°F (120°C). Line a large rimmed baking sheet with parchment paper or a silicone baking mat.
- In a large bowl, gently toss together the Rice Chex cereal, pretzel sticks, roasted salted almonds, and pumpkin seeds. Set aside.
- In a small saucepan over medium heat, melt the unsalted butter. Add the packed light brown sugar and maple syrup. Whisk continuously until the brown sugar dissolves completely, about 2 minutes, until the mixture is smooth and gently bubbling.
- Remove the saucepan from the heat. Whisk in the vanilla extract, kosher salt, cinnamon (if using), and baking soda. The mixture will foam up slightly.
- Pour the hot butter mixture over the dry ingredients. Using a silicone spatula or wooden spoon, gently fold and toss until everything is evenly coated.
- Transfer the coated mixture to the prepared baking sheet and spread it into an even layer.
- Bake for 20 minutes, stirring gently after 10 minutes to ensure even drying.
- Remove from the oven and let the mix cool completely on the baking sheet, undisturbed, for at least 30 minutes. The coating will set and create crunchy clusters as it cools.
Notes
Don’t rush the cooling process; let it sit at room temperature for at least 30 minutes. The mix actually gets better after sitting overnight. For bigger clusters, press the mixture down gently with a spatula about 5 minutes before baking is done. Store in an airtight container at room temperature for up to 10 days, or freeze for up to 3 months.
Nutrition
- Serving Size: 1 cup
- Calories: 280
- Sugar: 12
- Sodium: 310
- Fat: 14
- Saturated Fat: 6
- Carbohydrates: 36
- Fiber: 2
- Protein: 5
Keywords: Chex mix, sweet and salty, fall snack, party mix, easy snack, caramel Chex mix


