My buddy Leo watched me eyeing the deep fryer at his Super Bowl party last year, and he didn’t say anything at first. Then he just shook his head and pointed to a platter on the coffee table. “Try those first,” he said. I grabbed one, expecting the usual greasy wing, and honestly, I was ready for a nap before halftime. But the first bite hit me—crispy skin, spicy kick, and zero of that heavy oil slick on my fingers. Leo’s a chef, but he’s also the guy who ran five miles that morning. He grinned and said, “They’re baked. You can eat a dozen and still chase the kids around tomorrow.”
That moment stuck with me. I mean, I’d spent years thinking wings had to be fried to be good. But here was proof—a plate of healthy baked buffalo chicken wings that vanished faster than the commercials. The secret wasn’t some fancy gadget or imported sauce. It was just a smarter way to cook something we all love. Leo told me his mom used to make them this way for church potlucks, and she’d always say, “If it’s good enough for Sunday, it’s good enough for game day.” Maybe you’ve been there, standing over a hot stove, wondering if there’s a better way to feed a crowd without the guilt.
So I started tinkering. I burned a batch, forgot the baking powder once (don’t do that—they come out sad), and finally landed on a version that’s become my go-to for every football watch party. These healthy baked buffalo chicken wings are spicy, crispy, and ridiculously easy. You get all the flavor of a bar wing without the deep-fried regret. And honestly, they’re so good that my fried-wing-loving friends don’t even notice the difference. That’s why I keep making them—because a recipe that brings people together without making them feel awful the next day? That’s a winner.
Why You’ll Love This Recipe
Let’s be real—most game day snacks are a nutritional nightmare. But these healthy baked buffalo chicken wings flip the script. They’re the kind of recipe that makes you wonder why you ever bothered with a fryer.
- Quick & Easy: Comes together in under an hour, with just 10 minutes of prep. Perfect for those last-minute “everyone’s coming over” texts.
- Simple Ingredients: No obscure sauces or specialty items. Chances are, you’ve got everything in your pantry right now—except maybe the chicken wings.
- Perfect for Game Day: Whether it’s the Super Bowl, a playoff game, or just a Tuesday night match, these wings disappear fast. They’re messy in the best way, but without the heavy grease.
- Crowd-Pleaser: I’ve served these to kids, keto friends, and even my aunt who “doesn’t eat spicy food.” She ate seven. Seven wings.
- Unbelievably Delicious: The texture is where this recipe shines. The skin gets shatteringly crisp from a clever baking powder trick, and the buffalo sauce clings to every ridge. It’s comfort food that doesn’t weigh you down.
What makes this different from every other baked wing recipe out there? It’s the technique. Most baked wings come out rubbery or soggy. By patting the wings dry and using a specific ratio of baking powder to salt, you get that fried-like crunch without the oil bath. I tested it three times before I got it right—and I’m sharing every mistake I made so you don’t have to repeat them.
This recipe isn’t just good—it’s the kind that makes you close your eyes after the first bite. It’s comfort food reimagined: healthier, faster, but with the same soul-soothing satisfaction. Perfect for impressing guests without stress, or turning a simple snack into something memorable.
What Ingredients You Will Need
This recipe uses simple, wholesome ingredients to deliver bold flavor and that crispy texture without the fuss. Most of these are pantry staples, so you’re probably already halfway there.
For the Wings
- Chicken wings: 2 pounds (about 900g), separated into drumettes and flats. I prefer fresh over frozen for better texture, but thawed frozen works fine too.
- Baking powder: 1½ teaspoons (NOT baking soda—trust me on this, I learned the hard way). This is the secret to crispy skin. Look for aluminum-free if you can find it.
- Salt: 1 teaspoon (5g) kosher salt. I use Diamond Crystal because it’s less salty by volume, but any kosher salt works.
- Garlic powder: ½ teaspoon (2g). Adds a subtle savory depth without being overpowering.
- Black pepper: ¼ teaspoon (1g) freshly ground. Fresh makes a difference here.
- Olive oil spray: Or any neutral cooking spray. Just a light coating to help the seasoning stick.
For the Buffalo Sauce
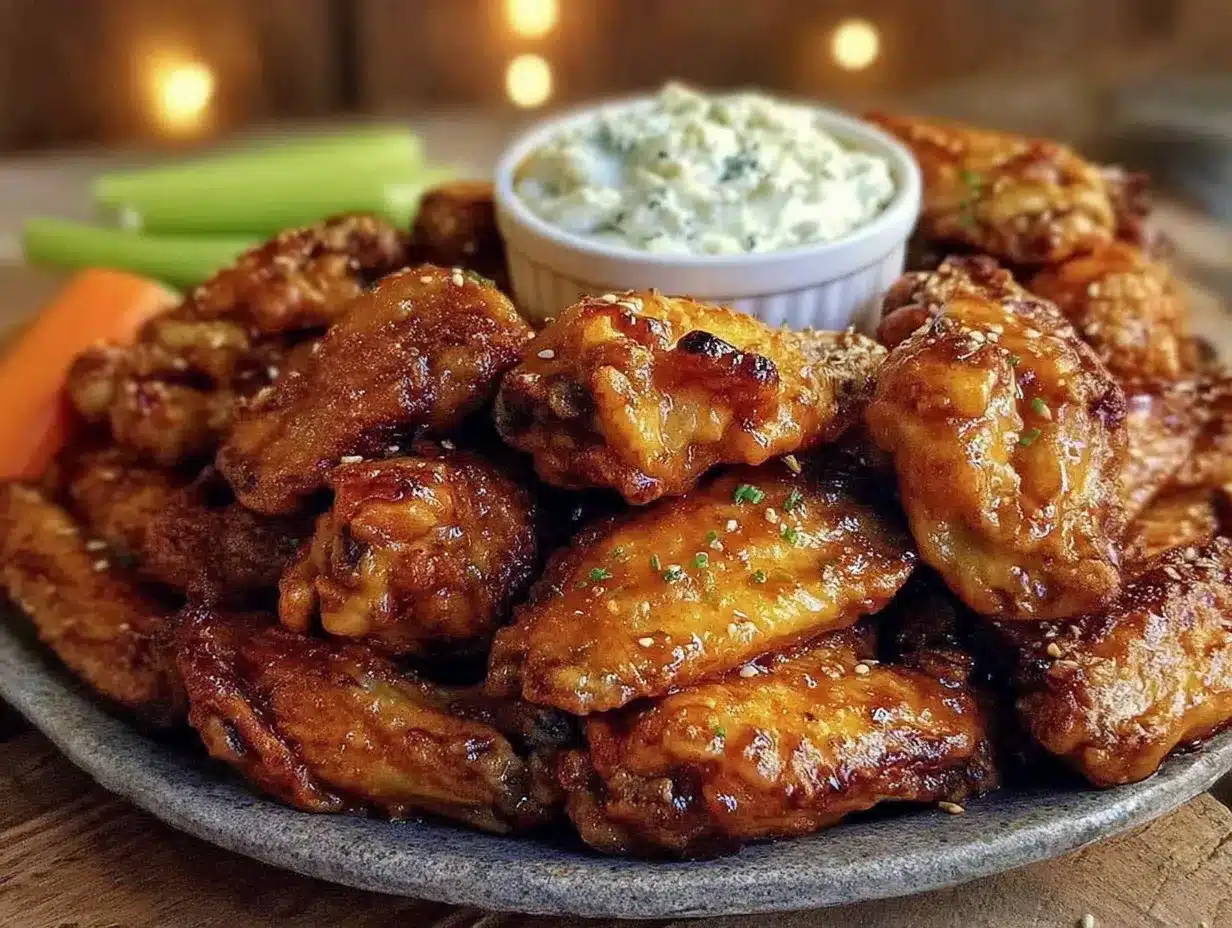
- Hot sauce: ½ cup (120ml) Frank’s RedHot Original. I’ve tried others, but Frank’s has the perfect balance of heat and tang. It’s the gold standard for a reason.
- Unsalted butter: 2 tablespoons (28g), melted. Using unsalted lets you control the salt level. For a dairy-free version, use vegan butter or coconut oil—just know the flavor shifts slightly.
- Honey: 1 tablespoon (15ml). Optional, but it rounds out the heat and adds a touch of sweetness. Skip it if you’re strict keto.
- Worcestershire sauce: 1 teaspoon (5ml). Adds umami depth you don’t even notice until it’s missing.
For Serving (Optional)
- Celery sticks: 3-4 stalks, cut into 3-inch pieces. The crunch is essential for contrast.
- Carrot sticks: Optional, but I like the extra color on the platter.
- Ranch or blue cheese dressing: For dipping. I’m a ranch girl, but my husband swears by blue cheese. No judgment here.
Ingredient note: If you can’t find Frank’s, look for a cayenne-based hot sauce with a similar vinegar tang. Avoid super-thick sauces like sriracha—they don’t coat the wings the same way. For a milder version, mix ¼ cup hot sauce with ¼ cup ketchup. It sounds weird, but it works.
Equipment Needed
You don’t need a fancy kitchen to pull these off. Here’s what I use:
- Baking sheet: A rimmed half-sheet pan (13×18 inches) is ideal. The rim catches any drips.
- Wire rack: Fits inside the baking sheet. This is non-negotiable for crispy wings—it lets air circulate underneath so the skin dries out instead of steaming.
- Large bowl: For tossing the wings with seasoning. Glass or stainless steel works best.
- Tongs: For flipping the wings halfway through baking. Metal tongs with silicone tips are my favorite.
- Small saucepan: For warming the sauce. Or a microwave-safe bowl if you’re lazy like me sometimes.
- Paper towels: Lots of them. Patting the wings dry is the most important step.
Budget-friendly tip: If you don’t have a wire rack, you can flip the wings halfway through and use a non-stick baking sheet. They won’t be quite as crispy, but they’ll still be good. I’ve done it in a pinch. Also, dollar stores often carry basic wire cooling racks that fit standard baking sheets—no need to splurge.
Preparation Method
Here’s the step-by-step. Follow these closely, and you’ll have wings that rival any bar version.
- Preheat the oven to 425°F (218°C). Place your oven rack in the upper third of the oven—not the middle. You want the heat blasting down on the wings. Line your baking sheet with foil for easier cleanup, then place the wire rack on top.
- Dry the wings thoroughly. This is the most important step. Pat each wing with paper towels until no moisture remains. I mean really dry—if they feel damp at all, the skin won’t crisp. I usually go through 5-6 paper towels for 2 pounds of wings. (I once skipped this step in a hurry, and the wings came out chewy. Learn from my laziness.)
- Season the wings. In a large bowl, combine the baking powder, salt, garlic powder, and black pepper. Add the wings and toss until every piece is evenly coated. Use your hands—it’s the only way to make sure the seasoning gets into all the nooks and crannies. The baking powder might look a little clumpy; that’s normal.
- Arrange the wings on the rack. Place them skin-side up, making sure no pieces are touching. Crowding the pan will trap steam and ruin the crispiness. If you need to, use two baking sheets. Leave about ½ inch between each wing.
- Bake for 30 minutes. After 30 minutes, flip each wing using tongs. The skin should be starting to turn golden. Bake for another 20-25 minutes. The total time is about 50-55 minutes. The wings are done when the internal temperature reaches 165°F (74°C) and the skin is deep golden brown and crispy to the touch. If you like them extra crispy, give them 5 more minutes—just watch so they don’t burn.
- Make the sauce while the wings bake. In a small saucepan over low heat, combine the hot sauce, melted butter, honey (if using), and Worcestershire sauce. Whisk until smooth and warmed through. Don’t let it boil or the butter will separate. Alternatively, microwave in 20-second bursts, stirring between each.
- Toss the wings in sauce. Transfer the baked wings to a large bowl. Pour the sauce over them and toss gently with tongs until every wing is coated. Don’t drown them—you want a thin, even layer. If you prefer extra saucy wings, make a double batch of sauce.
- Serve immediately. Transfer to a platter with celery and carrot sticks. Serve with ranch or blue cheese dressing on the side. These wings are best within 15 minutes of saucing, so call everyone to the table first.
Visual cue: At the 30-minute mark, the skin should look dry and slightly puffed. After the final 20-25 minutes, it should be crackling and a deep amber color. If it’s still pale, give it more time—every oven runs differently.
Cooking Tips & Techniques
I’ve made these wings probably twenty times now, and I’ve messed up more than a few batches. Here’s what I’ve learned so you don’t have to repeat my mistakes.
- Don’t skip the drying step. I cannot stress this enough. Moisture is the enemy of crispy skin. If you’re short on time, pat the wings dry and then let them sit uncovered in the fridge for 30 minutes. That extra drying time makes a huge difference.
- Baking powder vs. baking soda. They are not interchangeable. Baking soda will give your wings a metallic, soapy taste. I learned this the hard way when I grabbed the wrong box. Stick with baking powder, and make sure it’s fresh—check the expiration date.
- The wire rack is your best friend. If you bake wings directly on the sheet, the bottom steams and gets soggy. The rack lets hot air circulate, crisping every side. If you don’t have one, flip the wings every 15 minutes and use a non-stick pan.
- Don’t overcrowd. If the wings are touching, they’ll steam instead of roast. Use two pans if needed. I’ve done it with one pan and regretted it—the middle wings came out flabby.
- Let the sauce cool slightly. If you toss hot wings with hot sauce, the butter can separate and make the wings greasy. Let the sauce cool for 2-3 minutes after warming, then toss. The wings should still be hot from the oven.
- Timing strategy: While the wings bake, prep your veggies and dressing. That way, everything is ready the second the wings come out. I usually set a timer for 30 minutes, then another for 20, and use the in-between time to clean up.
Variations & Adaptations
One of the best things about this recipe is how flexible it is. Here are some ways to switch it up.
- Dietary adaptations: For a keto-friendly version, skip the honey in the sauce and use ghee instead of butter. For gluten-free, double-check your hot sauce and Worcestershire sauce labels—most are gluten-free, but some brands add wheat. I use Frank’s and Lea & Perrins, both of which are safe.
- Flavor variations: Swap the buffalo sauce for a garlic parmesan coating (melted butter, minced garlic, grated Parmesan, and parsley). Or try a smoky chipotle version by blending 2 chipotle peppers in adobo with the hot sauce. For a sweet heat, add an extra tablespoon of honey and a pinch of cayenne.
- Different cooking methods: You can air fry these at 400°F (204°C) for 20-25 minutes, flipping halfway. No need for the wire rack—just place them in a single layer in the basket. If you’re grilling, use indirect heat at 375°F (190°C) for about 30 minutes, flipping once. The smoke will add a nice char.
- Customize the heat level: For mild wings, use ¼ cup hot sauce and ¼ cup ketchup. For extra spicy, add 1 teaspoon of cayenne pepper or a dash of ghost pepper sauce. I once made a batch with habanero sauce and couldn’t feel my tongue for an hour. Proceed with caution.
- Personal variation I love: I sometimes add a teaspoon of smoked paprika to the dry rub. It gives the wings a subtle barbecue flavor that pairs beautifully with the buffalo sauce. My kids call them “fancy wings.”
Serving & Storage Suggestions
These wings are best hot and fresh, but here’s how to handle leftovers and make-ahead situations.
- Serving temperature: Serve immediately after tossing in sauce. The wings stay crispy for about 15-20 minutes. After that, the sauce starts to soften the skin. If you’re serving at a party, toss them in batches or keep the sauce separate and let guests add it themselves.
- Presentation idea: Arrange the wings on a large wooden board with celery, carrot sticks, and small bowls of ranch and blue cheese dressing. Sprinkle a little chopped parsley or green onion on top for color. It looks impressive with zero effort.
- Complementary dishes: These wings pair perfectly with a crisp coleslaw, sweet potato fries, or a simple green salad. For drinks, an ice-cold beer or a spicy margarita is the way to go. If you’re keeping it non-alcoholic, try a lime seltzer.
- Storage: Store leftover wings in an airtight container in the refrigerator for up to 4 days. The skin will soften, but the flavor stays great. For longer storage, freeze the unsauced baked wings in a single layer on a baking sheet, then transfer to a freezer bag for up to 3 months. Thaw in the fridge overnight before reheating.
- Reheating: The best way to reheat is in the oven at 400°F (204°C) for 5-7 minutes. This restores some crispiness. Avoid the microwave—it turns them rubbery. If you’re in a hurry, an air fryer at 375°F (190°C) for 3-4 minutes works great. Add fresh sauce after reheating for the best flavor.
- Flavor development: Leftover wings actually taste better the next day if you reheat them properly. The flavors meld overnight. I’ve been known to make a double batch just for leftovers—they’re amazing chopped up on a salad for lunch.
Nutritional Information & Benefits
Per serving (based on 4 servings, about 6-7 wings each):
- Calories: 320
- Protein: 28g
- Fat: 20g (7g saturated)
- Carbohydrates: 4g (1g fiber, 2g sugar)
- Sodium: 880mg
These numbers are significantly lower than traditional fried wings, which can clock in at 500+ calories per serving. The baking method cuts out the deep-frying oil, saving you about 15g of fat per serving. Plus, chicken wings are a great source of protein and contain important nutrients like selenium and vitamin B6.
The hot sauce in this recipe contains capsaicin, which has been linked to boosting metabolism and reducing inflammation. The celery sticks add fiber and vitamin K. If you’re watching sodium, use a low-sodium hot sauce and cut the salt in the dry rub to ½ teaspoon. For a lower-fat option, skip the butter in the sauce and use a tablespoon of olive oil instead—it’s not as rich, but it still works.
Dietary considerations: This recipe is naturally low-carb and gluten-free (check your Worcestershire sauce). It can be made dairy-free by using vegan butter or coconut oil. Not suitable for strict vegan or vegetarian diets, obviously.
Conclusion
These healthy baked buffalo chicken wings prove you don’t need a deep fryer to get that perfect game day crunch. They’re proof that a little technique—patting dry, using baking powder, and a hot oven—can transform something simple into something spectacular. I’ve made these for Super Bowl parties, casual Sunday dinners, and even a birthday gathering, and they never fail to impress. The best part? You can eat a handful without feeling like you need a nap afterward.
I’d love to hear how yours turn out. Did you try a different sauce? Add a secret spice? Leave a comment below and let me know—I’m always looking for new twists. And if you snap a photo, tag me on social media. Nothing makes my day like seeing your crispy, saucy creations. Now go preheat that oven and get ready to win game day. You’ve got this.
Frequently Asked Questions
Can I use frozen chicken wings for this recipe?
Yes, but thaw them completely in the fridge overnight first. Pat them extra dry—frozen wings release more moisture as they thaw. If you bake them frozen, the skin will turn out rubbery.
Why are my baked wings not crispy?
Most likely one of three things: you didn’t dry them enough, you skipped the baking powder, or you overcrowded the pan. Check each of those steps next time. Also, make sure your oven is fully preheated—a cool oven won’t crisp the skin.
Can I make these wings ahead of time?
You can bake the wings without sauce up to a day ahead. Store them in the fridge, then reheat in a 400°F oven for 5-7 minutes before tossing in sauce. The sauce should be made fresh for best flavor.
Is baking powder the same as baking soda?
No. Baking powder is a mixture of baking soda, cream of tartar, and cornstarch. It helps crisp the skin without leaving a metallic taste. Baking soda will ruin the flavor—don’t substitute.
What’s the best way to reheat leftover wings?
Oven or air fryer. Reheat at 400°F (204°C) for 5-7 minutes in the oven, or 375°F (190°C) for 3-4 minutes in an air fryer. The microwave will make them soggy. Add a splash of fresh hot sauce after reheating to revive the flavor.
Pin This Recipe!
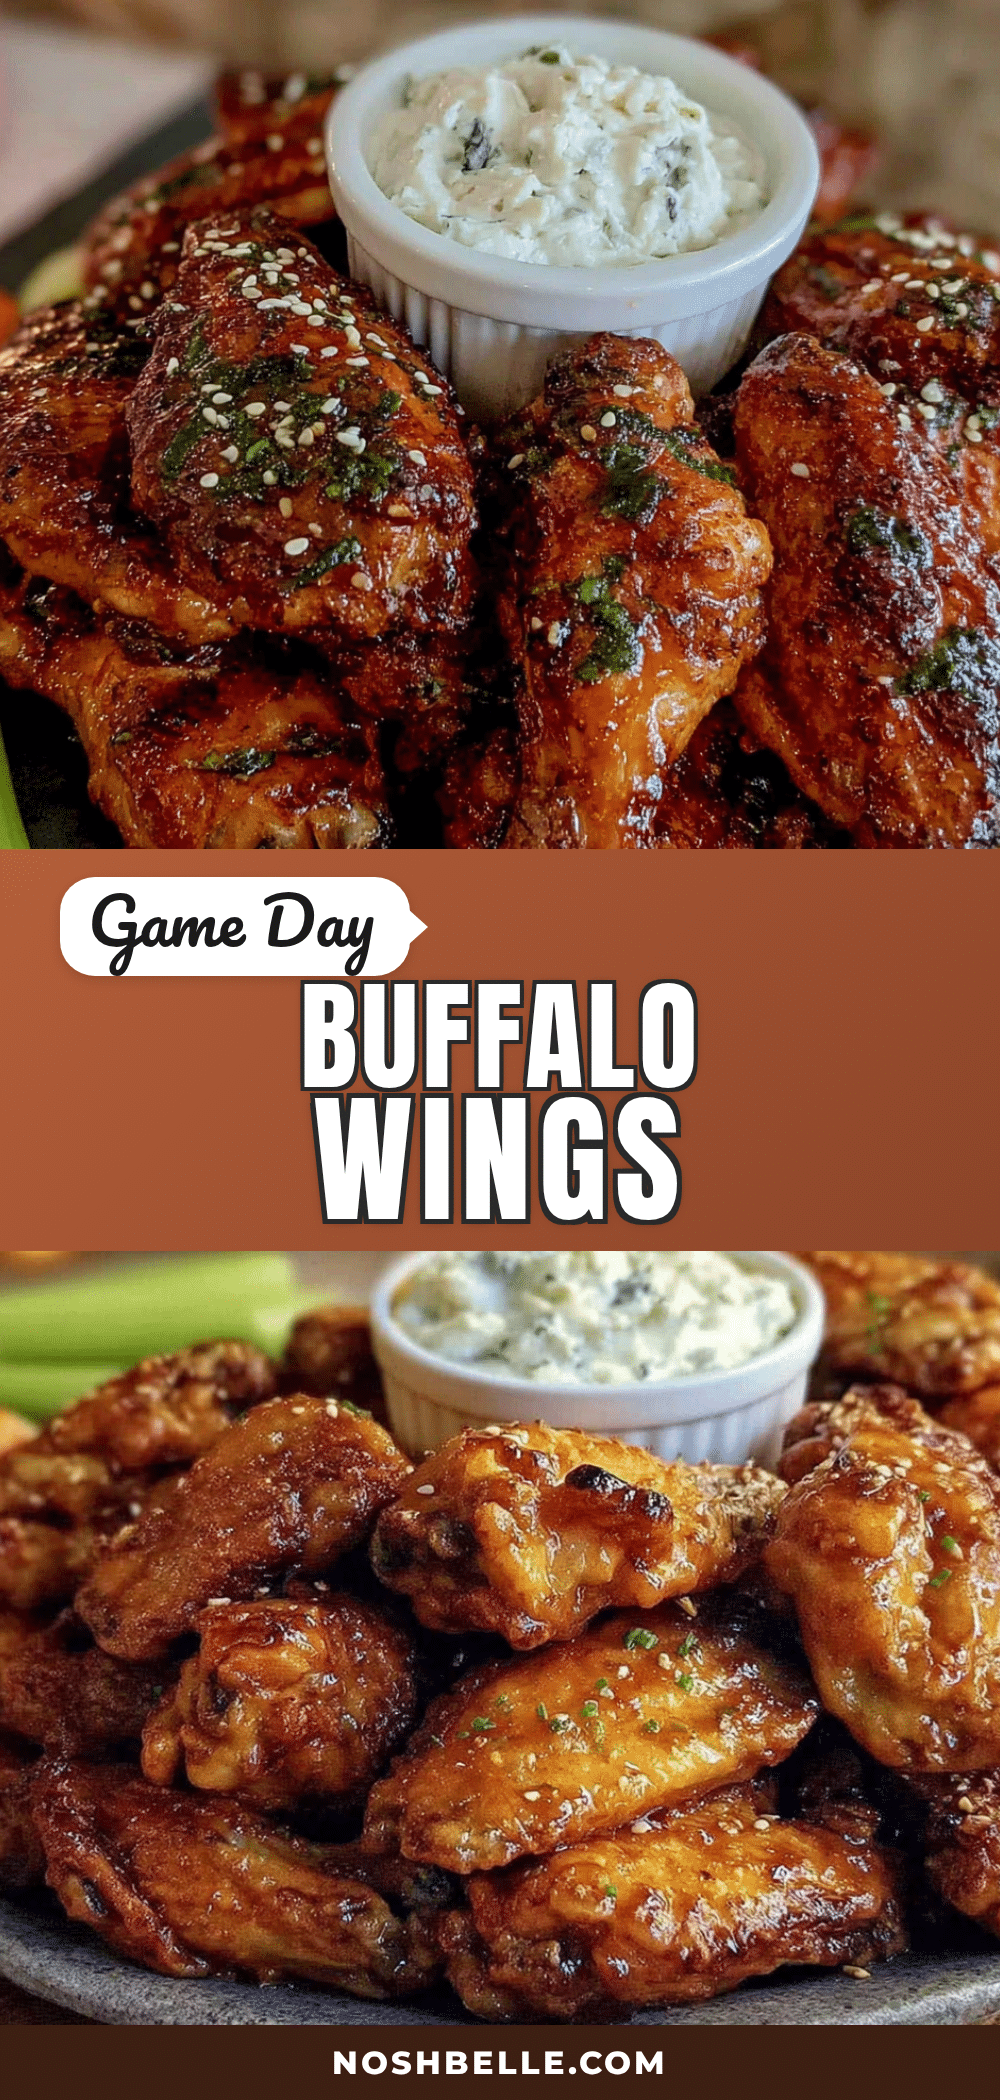
Healthy Baked Buffalo Chicken Wings: Best Easy Game Day Recipe

Crispy, spicy baked buffalo chicken wings that are healthier than fried but just as delicious. Perfect for game day, these wings use a clever baking powder trick for shatteringly crisp skin without the deep fryer.
- Prep Time: 10 minutes
- Cook Time: 50 minutes
- Total Time: 1 hour
- Yield: 4 servings 1x
- Category: Appetizer
- Cuisine: American
Ingredients
- 2 pounds (about 900g) chicken wings, separated into drumettes and flats
- 1½ teaspoons baking powder (aluminum-free preferred)
- 1 teaspoon (5g) kosher salt (Diamond Crystal recommended)
- ½ teaspoon (2g) garlic powder
- ¼ teaspoon (1g) freshly ground black pepper
- Olive oil spray (or any neutral cooking spray)
- ½ cup (120ml) Frank’s RedHot Original hot sauce
- 2 tablespoons (28g) unsalted butter, melted
- 1 tablespoon (15ml) honey (optional)
- 1 teaspoon (5ml) Worcestershire sauce
- 3–4 celery stalks, cut into 3-inch pieces (for serving)
- Carrot sticks (optional, for serving)
- Ranch or blue cheese dressing (for serving)
Instructions
- Preheat the oven to 425°F (218°C). Place the oven rack in the upper third of the oven. Line a rimmed baking sheet with foil and place a wire rack on top.
- Pat the chicken wings thoroughly dry with paper towels until no moisture remains. This is crucial for crispy skin.
- In a large bowl, combine the baking powder, salt, garlic powder, and black pepper. Add the wings and toss with your hands until evenly coated.
- Arrange the wings skin-side up on the wire rack, making sure no pieces are touching. Leave about ½ inch between each wing.
- Bake for 30 minutes. Flip each wing using tongs, then bake for another 20-25 minutes, until the internal temperature reaches 165°F (74°C) and the skin is deep golden brown and crispy.
- While the wings bake, make the sauce: In a small saucepan over low heat, combine the hot sauce, melted butter, honey (if using), and Worcestershire sauce. Whisk until smooth and warmed through. Do not let it boil. Alternatively, microwave in 20-second bursts, stirring between each.
- Transfer the baked wings to a large bowl. Pour the sauce over them and toss gently with tongs until every wing is coated.
- Serve immediately on a platter with celery and carrot sticks, and ranch or blue cheese dressing on the side.
Notes
Pat the wings very dry for maximum crispiness. Do not substitute baking soda for baking powder. Use a wire rack to allow air circulation. Do not overcrowd the pan. Let the sauce cool slightly before tossing to prevent butter separation. For extra crispy wings, bake 5 more minutes. Leftovers can be stored in the fridge for up to 4 days; reheat in the oven or air fryer.
Nutrition
- Serving Size: 6-7 wings
- Calories: 320
- Sugar: 2
- Sodium: 880
- Fat: 20
- Saturated Fat: 7
- Carbohydrates: 4
- Fiber: 1
- Protein: 28
Keywords: baked buffalo wings, healthy chicken wings, game day recipe, crispy baked wings, buffalo chicken wings, low carb wings, gluten free wings