There used to be a tiny, dimly lit bakery tucked between a laundromat and a dusty antique shop on the corner of Elm and 4th Street in my old neighborhood. They made an eggnog cheesecake that was nothing short of a religious experience—smooth, spiced, and sitting on a crust that crunched like gingerbread dreams. When they closed abruptly three winters ago, I actually stood outside the shuttered door for a solid minute, holding a paper bag that held the last slice I’d ever buy. The grief was real, let me tell you. After twelve tries—twelve, honestly, including one that collapsed so spectacularly it looked like a crime scene—I finally got it. This is that recipe.
The first few attempts were disasters. Too dense, too runny, the crust turned to mush, or the cheesecake tasted more like a candle than a holiday dessert. But I was determined. I wanted that exact bite—the one that made you close your eyes mid-conversation at a party. You know that feeling when a dessert just silences the room for a second? That was this cheesecake. I drove myself a little crazy testing ratios, swapping out ingredients, and burning through more cream cheese than I care to admit. My neighbor, Mrs. Patterson, started knocking on my door every time she smelled something promising, hoping to be a taste tester. She was brutally honest, which I needed.
This recipe is the result of that obsession. It’s the eggnog cheesecake you bring to a holiday dinner party when you want to steal the show without breaking a sweat. It’s rich but not heavy, spiced just right, and that gingersnap crust? It’s the crunchy, buttery backbone that makes every forkful unforgettable. I keep making it because every time I pull it out of the oven, I think of that little bakery and the way a single slice could make a cold Tuesday feel like Christmas morning. And honestly, it tastes even better than I remember.
Why You’ll Love This Recipe
This isn’t just another cheesecake recipe, and it’s definitely not your average holiday dessert. This is the one that will have people asking for the recipe before they’ve even finished their first slice. I’ve tested this on crowds ranging from my skeptical brother-in-law to a room full of food bloggers, and the reaction is always the same—silence, followed by a chorus of “Wow.”
- Perfect for Holiday Hosting: This cheesecake is designed to impress at dinner parties, potlucks, and festive gatherings. It serves a crowd beautifully and looks stunning on a dessert table with minimal effort.
- Simple Ingredients, Showstopper Results: No weird extracts or hard-to-find ingredients here. You likely have most of these in your pantry, minus maybe the eggnog. It’s all about technique, not fancy shopping lists.
- Make-Ahead Friendly: This is a lifesaver for hosts. You can make this cheesecake a full day or two in advance. In fact, it tastes even better after a night in the fridge, giving the flavors time to meld together perfectly.
- Crowd-Pleaser Guaranteed: Even people who say they “don’t like cheesecake” or “aren’t eggnog fans” have been converted by this recipe. The balance of spices and the creamy texture is just that good.
- Unbelievably Creamy and Flavorful: The secret is in the blend of full-fat cream cheese, real eggnog, and a touch of warm spices. It’s dense but luscious, with a tangy-sweet profile that’s pure comfort.
What makes this recipe different from every other eggnog cheesecake out there? It’s the crust, honestly. Most recipes use a graham cracker crust, which gets soggy and doesn’t hold up to the moisture of the filling. A gingersnap crust, on the other hand, stays crunchy, adds a deep molasses-and-ginger kick, and complements the eggnog flavor without competing with it. It’s a game-changer. This is the kind of dessert that makes you close your eyes after the first bite—it’s that good. Perfect for impressing guests without stress, or turning a simple holiday meal into something memorable.
What Ingredients You Will Need
This recipe uses simple, wholesome ingredients to deliver that bold holiday flavor and satisfying texture without the fuss. Most of these are pantry staples during the holiday season, making this an easy last-minute dessert to whip up.
For the Gingersnap Crust:
- 2 cups (240g) finely crushed gingersnap cookies (about 30 cookies; I prefer Nabisco or a bakery brand for the best spice profile)
- 1/4 cup (50g) granulated sugar
- 1/2 teaspoon ground cinnamon
- 1/4 teaspoon ground nutmeg (freshly grated if you have it—it makes a difference)
- 6 tablespoons (85g) unsalted butter, melted
For the Eggnog Cheesecake Filling:
- 32 ounces (904g) full-fat cream cheese, softened to room temperature (I recommend Philadelphia for the creamiest results; low-fat will make the texture grainy)
- 1 cup (200g) granulated sugar
- 3 tablespoons all-purpose flour (helps stabilize the filling and prevents cracking)
- 1 1/2 cups (360ml) high-quality eggnog (use a thick, creamy brand like Hood or Organic Valley; avoid low-fat versions)
- 3 large eggs, at room temperature
- 2 large egg yolks, at room temperature
- 1 teaspoon vanilla extract
- 1/2 teaspoon ground nutmeg
- 1/2 teaspoon ground cinnamon
- 1/4 teaspoon ground cloves
- Pinch of salt
For the Optional Topping:
- 1 cup (240ml) heavy cream
- 2 tablespoons powdered sugar
- 1/4 teaspoon vanilla extract
- Freshly grated nutmeg, for garnish
- Optional: caramel sauce or sugared cranberries for extra flair
If you can’t find gingersnap cookies, you can substitute with a mix of graham crackers and a teaspoon of ground ginger and molasses. For a gluten-free version, use gluten-free gingersnaps or a simple almond flour crust. And if you’re dairy-free, swap the cream cheese for a high-quality dairy-free block cream cheese and use a coconut-based eggnog. I’ve tested both, and they work surprisingly well, though the texture is slightly less dense.
Equipment Needed
You don’t need a professional bakery setup to nail this cheesecake, but a few key tools will make your life a whole lot easier. Here’s what I use every time:
- 9-inch springform pan – This is non-negotiable. A springform pan allows you to remove the sides cleanly without destroying your beautiful cheesecake. I’ve used a Williams Sonoma brand for years, but any heavy-duty one works.
- Electric hand mixer or stand mixer – You need power to get that cream cheese silky smooth. A stand mixer with the paddle attachment is ideal, but a hand mixer works perfectly fine too.
- Large roasting pan – For the water bath. You’ll place the springform pan inside this to create a humid oven environment, which prevents cracking.
- Food processor or zip-top bag and rolling pin – For crushing the gingersnaps. A food processor gives you a fine, even crumb, but a bag and a rolling pin is a great arm workout.
- Mixing bowls – A few sizes. I use a large one for the filling and a medium one for the crust.
- Rubber spatula – For scraping down the bowl and folding in ingredients gently.
- Aluminum foil – To wrap the bottom of the springform pan so water doesn’t seep in during the water bath.
- Cooling rack – Essential for letting the cheesecake cool gradually to room temperature before chilling.
If you don’t have a roasting pan, a large, deep baking dish works just fine. And honestly, I’ve used a disposable aluminum pan in a pinch—just be careful not to poke holes in it. Budget-friendly tip: you can often find springform pans at thrift stores for a few dollars.
Preparation Method
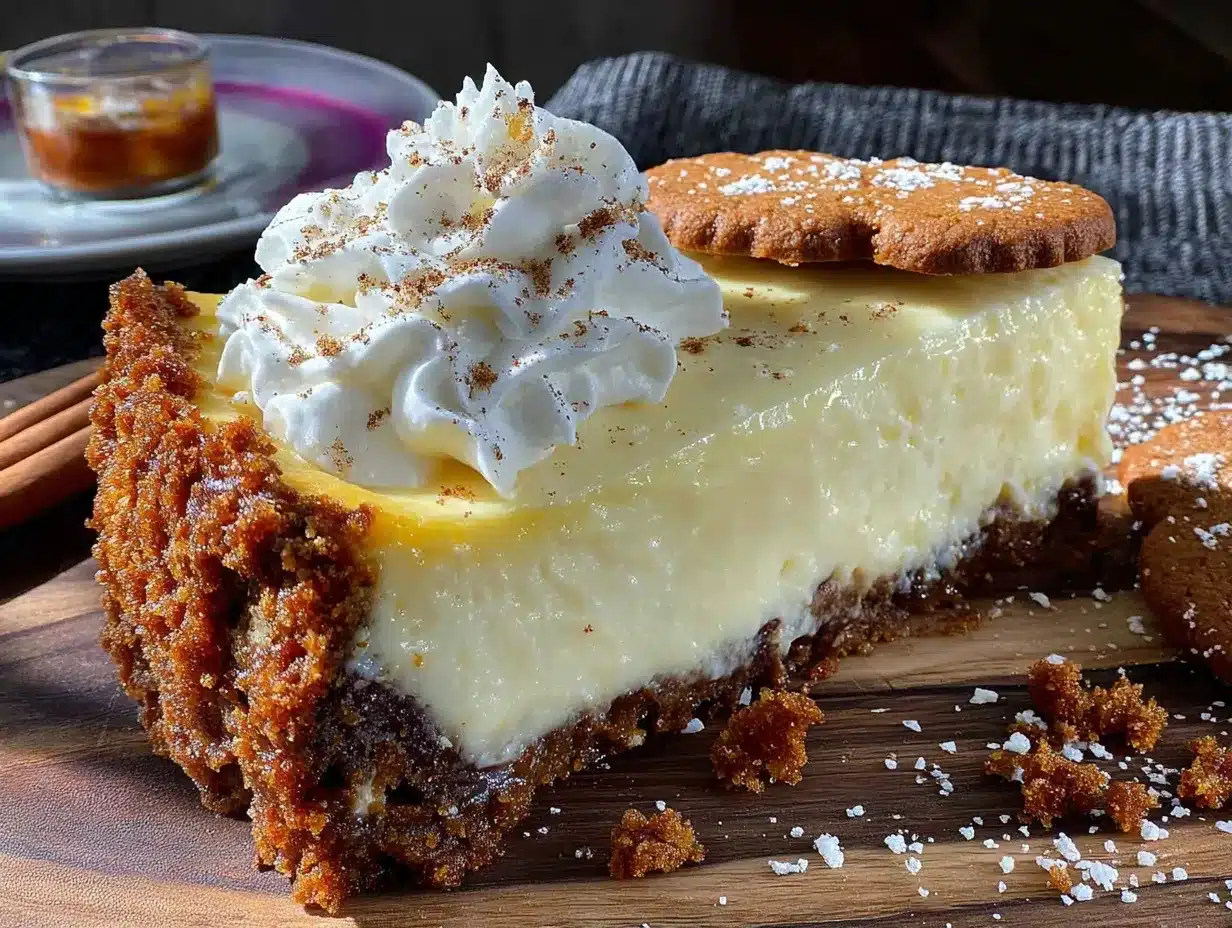
This recipe takes a little patience, but the steps are straightforward. Follow these closely, and you’ll have a flawless cheesecake that looks like it came from a high-end bakery.
- Preheat your oven to 350°F (175°C). Position a rack in the middle of the oven. While it’s heating, wrap the outside of your springform pan with two layers of heavy-duty aluminum foil, making sure it comes up the sides. This will keep water out during the water bath.
- Make the crust. In a food processor, pulse the gingersnap cookies until they become fine crumbs. You should have about 2 cups. Transfer to a medium bowl, then stir in the sugar, cinnamon, and nutmeg. Pour in the melted butter and mix with a fork until the crumbs are evenly moistened. They should look like wet sand.
- Press the crust into the pan. Dump the crumb mixture into the prepared springform pan. Use the bottom of a measuring cup or a flat glass to press it firmly and evenly into the bottom and about 1 inch up the sides. Don’t skimp on this step—a tight, compact crust prevents crumbling later. Bake the crust for 10 minutes, then set it aside to cool while you make the filling. Reduce the oven temperature to 325°F (160°C).
- Start the filling. In a large mixing bowl, beat the softened cream cheese with an electric mixer on medium speed until it’s completely smooth and creamy—about 2 minutes. Scrape down the sides and the bottom of the bowl with a rubber spatula. Add the sugar and flour, then beat for another 2 minutes until light and fluffy.
- Add the eggnog and flavorings. With the mixer on low speed, slowly pour in the eggnog, vanilla, nutmeg, cinnamon, cloves, and salt. Mix until just combined. Don’t overmix here, or you’ll incorporate too much air, which can cause cracks.
- Add the eggs one at a time. Crack the eggs and egg yolks into a small bowl first (to avoid shell bits). With the mixer on low, add the eggs one at a time, beating just until each yolk disappears into the batter before adding the next. After the last egg, give the batter a final gentle stir with a spatula to make sure everything is incorporated from the bottom.
- Pour the filling into the crust. Gently pour the batter over the cooled crust. It will be quite liquidy—that’s normal. Smooth the top with a spatula.
- Prepare the water bath. Place the wrapped springform pan into your large roasting pan. Carefully pour hot—not boiling—water into the roasting pan until it reaches about halfway up the sides of the springform pan. Be slow and steady so water doesn’t splash onto the cheesecake.
- Bake the cheesecake. Carefully transfer the roasting pan to the oven. Bake at 325°F (160°C) for 55 to 65 minutes. The edges should be set and slightly puffed, but the center should still jiggle slightly when you gently shake the pan. It will continue to set as it cools. Overbaking is the #1 cause of cracks, so trust the jiggle.
- Cool gradually. Turn off the oven, crack the door open, and let the cheesecake sit in the water bath for 1 hour. This slow cooling prevents the dreaded crack. After an hour, remove the pan from the water bath, take off the foil, and let it cool on a wire rack at room temperature for another hour.
- Chill overnight. Once it’s at room temperature, cover the pan with plastic wrap and refrigerate for at least 6 hours, but preferably overnight. This is the hardest part—waiting—but it’s essential for the texture to set properly.
- Make the whipped cream topping (optional but recommended). Just before serving, pour the heavy cream, powdered sugar, and vanilla into a chilled bowl. Whip on medium-high speed until soft peaks form. Spread or pipe it onto the chilled cheesecake. Garnish with a generous grating of fresh nutmeg.
Cooking Tips & Techniques
I’ve made this cheesecake more times than I can count, and I’ve learned a few things the hard way. Let me save you some trouble.
Room temperature ingredients are not optional. Cold cream cheese creates lumps that no amount of beating will fully smooth out. Leave your cream cheese, eggs, and eggnog on the counter for at least 30 minutes before you start. I once rushed this step and ended up with a lumpy filling that looked like cottage cheese. Not cute.
Don’t overmix the batter. Once you add the eggs, you’re just trying to incorporate them gently. Overmixing whips in too much air, which expands in the oven and then collapses, causing cracks. Trust me, I’ve learned this the messy way—my kitchen floor wore more cheesecake than my guests did.
The water bath is your best friend. I know it’s a hassle, but it’s what gives you that silky, crack-free top. The steam creates a gentle, even heat. If you’re nervous about water leaking, use a slow cooker liner or a heavy-duty oven bag to wrap the springform pan before the foil. It’s an extra layer of insurance.
Timing is everything. Bake until the center jiggles like Jell-O when you shake the pan. If it’s completely firm, it’s overbaked. And don’t skip the gradual cooling—that sudden temperature shock is what causes those ugly fissures. I ruined my first three attempts by pulling the cheesecake straight out of the oven onto a cold counter. Learn from my mistakes.
For a professional finish, run a thin knife around the edge of the pan before you release the springform. This prevents the crust from sticking and tearing. Do this after the cheesecake has chilled completely.
Variations & Adaptations
One of the best things about this recipe is how easily it adapts to different tastes and dietary needs. Here are a few variations I’ve personally tested and loved.
- Boozy Eggnog Cheesecake: For an adult twist, replace 1/4 cup of the eggnog with dark rum or bourbon. Add it at the same time as the eggnog. The alcohol bakes off, leaving a warm, complex flavor that pairs beautifully with the spices.
- Gluten-Free Version: Use gluten-free gingersnap cookies for the crust. I’ve tried several brands, and Mi-Del makes a fantastic one that doesn’t taste like cardboard. The filling is naturally gluten-free, so you’re good there.
- Chocolate Swirl Eggnog Cheesecake: Melt 4 ounces of semi-sweet chocolate and let it cool slightly. After pouring the filling into the crust, dollop the melted chocolate on top and swirl it with a knife. It adds a rich, fudgy ribbon that cuts through the tanginess of the eggnog.
- Vegan Adaptation: I tested this for a friend who’s vegan, and it actually worked! Use a dairy-free block cream cheese (like Miyoko’s or Violife), a coconut-based eggnog, and a flax egg mixture (1 tablespoon ground flaxseed + 3 tablespoons water per egg). The texture is slightly less dense, but the flavor is spot-on.
- Mini Cheesecakes: Press the crust into a 12-cup muffin tin lined with paper liners. Fill each cup about 3/4 full with the filling. Bake at 325°F for 18-22 minutes. They’re perfect for parties where you want individual servings without the hassle of slicing.
Serving & Storage Suggestions
This cheesecake is best served cold, straight from the fridge. Let it sit at room temperature for about 10-15 minutes before slicing—it takes the chill off and makes cutting cleaner. Use a sharp, thin-bladed knife dipped in hot water and wiped dry between slices for those picture-perfect pieces.
What to serve alongside: A dollop of fresh whipped cream is classic, but I also love a drizzle of salted caramel sauce or a spoonful of spiced cranberry compote. The tartness of cranberries cuts through the richness beautifully. For a drink pairing, serve it with a cup of strong black coffee, a spiced chai latte, or—if you’re feeling festive—a glass of actual eggnog with a shot of bourbon.
Storage: Cover the cheesecake tightly with plastic wrap or store it in an airtight cake carrier. It will keep in the refrigerator for up to 5 days—though I doubt it’ll last that long. The flavors actually deepen and meld together after a day or two, so day-old cheesecake is even better than fresh.
Freezing: This cheesecake freezes beautifully. Once it’s fully chilled and set, wrap the entire pan (or individual slices) in a layer of plastic wrap, then a layer of aluminum foil. Freeze for up to 3 months. To thaw, transfer it to the refrigerator overnight. Don’t try to speed-thaw it at room temperature, or the texture will get weepy.
Reheating: Honestly, I never reheat this cheesecake. It’s meant to be served cold. But if you have leftover crust crumbs or want to warm up a slice slightly, pop it in a 300°F oven for 5 minutes—just enough to soften the cream cheese without melting it.
Nutritional Information & Benefits
Let’s be real: this is a decadent dessert. But that doesn’t mean it can’t have a few redeeming qualities. Here’s a rough breakdown per slice (based on 12 servings):
| Nutrient | Amount Per Serving |
|---|---|
| Calories | ~480 kcal |
| Total Fat | 32g |
| Saturated Fat | 18g |
| Cholesterol | 175mg |
| Sodium | 380mg |
| Total Carbohydrates | 38g |
| Sugars | 28g |
| Protein | 9g |
| Calcium | 15% DV |
| Vitamin A | 20% DV |
Eggnog itself is a good source of calcium, protein, and vitamin A (thanks to the milk and eggs). The gingersnap crust adds a bit of fiber from the molasses and whole grains, depending on the brand. And while this isn’t a health food by any stretch, it’s a treat made with real ingredients—no preservatives, no artificial flavors. I believe in enjoying dessert mindfully, and one slice of this cheesecake is deeply satisfying. It’s the kind of indulgence that nourishes the soul, even if it’s not light on the waistline.
Dietary Considerations: This recipe contains dairy, eggs, and gluten (from the gingersnaps). For dairy-free and gluten-free adaptations, see the Variations section above.
Conclusion
I’m not going to pretend this is a quick weeknight dessert. It takes time, patience, and a little bit of love. But let me tell you—every single minute is worth it when you see the look on your guests’ faces as they take that first bite. This eggnog cheesecake with gingersnap crust is the holiday showstopper you’ve been looking for. It’s creamy, spiced, and has that perfect crunch from the crust that makes every forkful an event.
I’ve made this for Christmas dinners, New Year’s Eve parties, and even just a random Tuesday in December when I needed a taste of something special. It never fails to impress. And honestly, I love that I can make it a day or two ahead, freeing me up to actually enjoy the party instead of sweating in the kitchen.
So go ahead—give it a try. Customize it with your favorite toppings, make it boozy, or keep it classic. I’d love to hear how it turns out for you. Drop a comment below and tell me about your holiday gathering, or share your own twist on this recipe. And if you really love it, share it with a friend who needs a showstopper dessert this season. Happy baking, friends!
Frequently Asked Questions
Can I use low-fat cream cheese or eggnog?
I strongly recommend against it. Full-fat cream cheese and eggnog are essential for the rich, creamy texture that makes this cheesecake so good. Low-fat versions have more water and less fat, which can lead to a grainy, runny filling that doesn’t set properly. If you’re looking for a lighter option, try the vegan adaptation in the Variations section—it uses coconut-based products that are naturally richer.
Why did my cheesecake crack?
Cracks usually happen for one of three reasons: overbaking, sudden temperature changes, or too much air in the batter. Make sure you pull the cheesecake out when the center still jiggles slightly. Cool it gradually in the oven with the door cracked, then at room temperature, before refrigerating. And don’t overmix the batter once the eggs are in—mix on low just until combined.
Can I make this cheesecake without a water bath?
You can, but I don’t recommend it. The water bath creates a humid environment that bakes the cheesecake gently and evenly, preventing cracks and ensuring a silky texture. Without it, the edges will likely overcook and the top may crack. If you absolutely can’t do a water bath, place a pan of hot water on the oven rack below the cheesecake to add some steam.
How far in advance can I make this cheesecake?
You can make it up to 3 days in advance. In fact, I think it tastes better on day two or three because the flavors have time to meld. Just keep it tightly covered in the refrigerator. You can also freeze it for up to 3 months if you need to plan even further ahead.
Can I use a different crust?
Absolutely! While I love the gingersnap crust for its spicy kick, you can substitute with a classic graham cracker crust, a shortbread cookie crust, or even a pecan crust. Just keep the butter ratio the same (6 tablespoons per 2 cups of crumbs). If you use a sweeter cookie base, you might want to reduce the sugar in the crust slightly to balance the flavors.
Pin This Recipe!
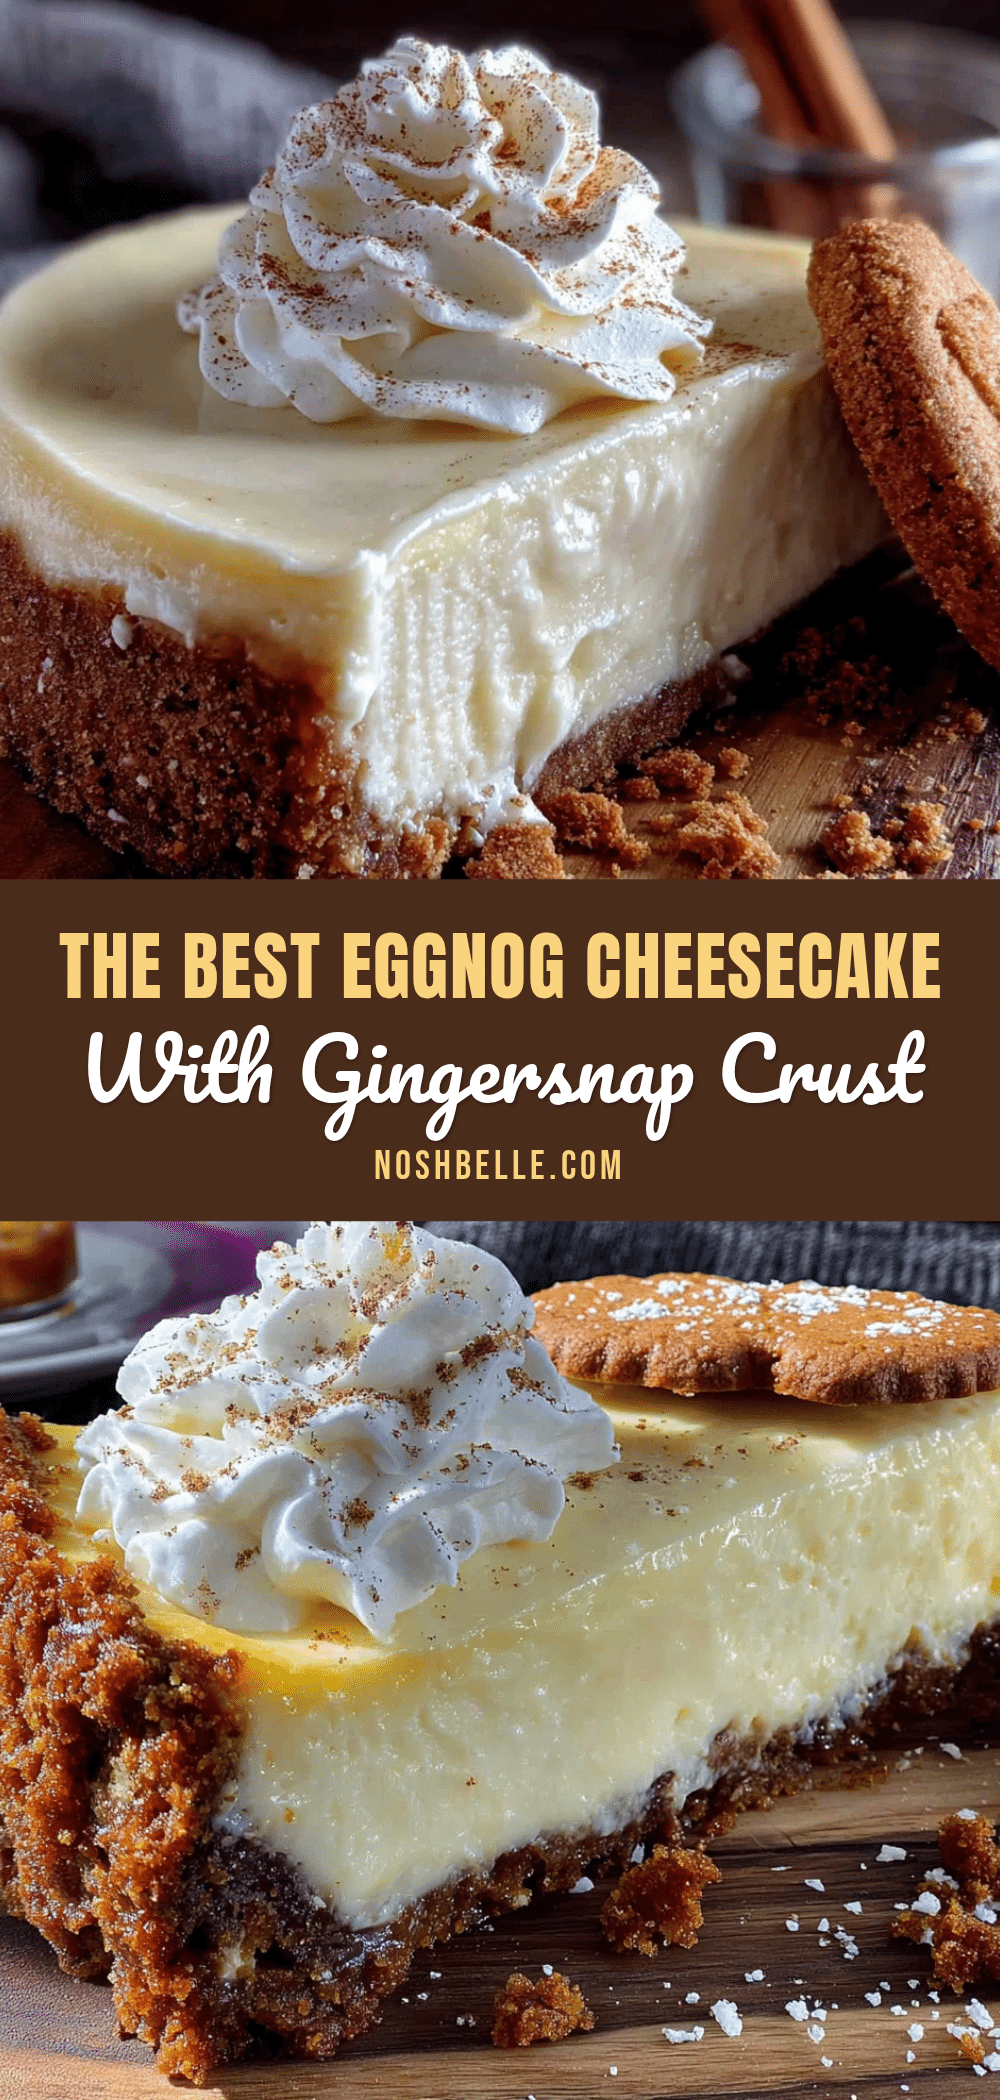
The Best Eggnog Cheesecake with Gingersnap Crust
A creamy, spiced eggnog cheesecake on a crunchy gingersnap crust that’s perfect for holiday gatherings. This make-ahead dessert is rich, flavorful, and guaranteed to impress guests.
- Prep Time: 30 minutes
- Cook Time: 55-65 minutes
- Total Time: 8 hours 30 minutes (includes chilling)
- Yield: 12 servings 1x
- Category: Dessert
- Cuisine: American
Ingredients
- 2 cups (240g) finely crushed gingersnap cookies (about 30 cookies)
- 1/4 cup (50g) granulated sugar
- 1/2 teaspoon ground cinnamon
- 1/4 teaspoon ground nutmeg (freshly grated preferred)
- 6 tablespoons (85g) unsalted butter, melted
- 32 ounces (904g) full-fat cream cheese, softened to room temperature
- 1 cup (200g) granulated sugar
- 3 tablespoons all-purpose flour
- 1 1/2 cups (360ml) high-quality eggnog
- 3 large eggs, at room temperature
- 2 large egg yolks, at room temperature
- 1 teaspoon vanilla extract
- 1/2 teaspoon ground nutmeg
- 1/2 teaspoon ground cinnamon
- 1/4 teaspoon ground cloves
- Pinch of salt
- 1 cup (240ml) heavy cream (for optional topping)
- 2 tablespoons powdered sugar (for optional topping)
- 1/4 teaspoon vanilla extract (for optional topping)
- Freshly grated nutmeg, for garnish (optional)
- Optional: caramel sauce or sugared cranberries for extra flair
Instructions
- Preheat your oven to 350°F (175°C). Position a rack in the middle of the oven. Wrap the outside of a 9-inch springform pan with two layers of heavy-duty aluminum foil, making sure it comes up the sides.
- Make the crust: In a food processor, pulse the gingersnap cookies until they become fine crumbs. Transfer to a medium bowl, then stir in the sugar, cinnamon, and nutmeg. Pour in the melted butter and mix with a fork until the crumbs are evenly moistened.
- Press the crust into the pan: Dump the crumb mixture into the prepared springform pan. Use the bottom of a measuring cup or a flat glass to press it firmly and evenly into the bottom and about 1 inch up the sides. Bake the crust for 10 minutes, then set it aside to cool. Reduce the oven temperature to 325°F (160°C).
- Start the filling: In a large mixing bowl, beat the softened cream cheese with an electric mixer on medium speed until completely smooth and creamy—about 2 minutes. Scrape down the sides and bottom of the bowl. Add the sugar and flour, then beat for another 2 minutes until light and fluffy.
- Add the eggnog and flavorings: With the mixer on low speed, slowly pour in the eggnog, vanilla, nutmeg, cinnamon, cloves, and salt. Mix until just combined. Do not overmix.
- Add the eggs one at a time: Crack the eggs and egg yolks into a small bowl first. With the mixer on low, add the eggs one at a time, beating just until each yolk disappears before adding the next. After the last egg, give the batter a final gentle stir with a spatula.
- Pour the filling into the crust: Gently pour the batter over the cooled crust. Smooth the top with a spatula.
- Prepare the water bath: Place the wrapped springform pan into a large roasting pan. Carefully pour hot water into the roasting pan until it reaches about halfway up the sides of the springform pan.
- Bake the cheesecake: Carefully transfer the roasting pan to the oven. Bake at 325°F (160°C) for 55 to 65 minutes. The edges should be set and slightly puffed, but the center should still jiggle slightly when gently shaken.
- Cool gradually: Turn off the oven, crack the door open, and let the cheesecake sit in the water bath for 1 hour. After an hour, remove the pan from the water bath, take off the foil, and let it cool on a wire rack at room temperature for another hour.
- Chill overnight: Once at room temperature, cover the pan with plastic wrap and refrigerate for at least 6 hours, but preferably overnight.
- Make the whipped cream topping (optional): Just before serving, pour the heavy cream, powdered sugar, and vanilla into a chilled bowl. Whip on medium-high speed until soft peaks form. Spread or pipe onto the chilled cheesecake. Garnish with fresh nutmeg.
Notes
Room temperature ingredients are essential for a smooth texture. Do not overmix the batter once eggs are added. The water bath prevents cracking. Bake until the center jiggles slightly; overbaking causes cracks. Cool gradually in the oven, then at room temperature, before refrigerating. For best results, chill overnight. Run a thin knife around the edge before releasing the springform pan.
Nutrition
- Serving Size: 1 slice
- Calories: 480
- Sugar: 28
- Sodium: 380
- Fat: 32
- Saturated Fat: 18
- Carbohydrates: 38
- Protein: 9
Keywords: eggnog cheesecake, gingersnap crust, holiday dessert, Christmas cheesecake, creamy cheesecake, make-ahead dessert


