The neighborhood pumpkin carving party was in six hours and I’d completely forgotten I was supposed to bring snacks. Everyone else would be showing up with elaborate dips, store-bought charcuterie boards, and those perfectly arranged veggie platters that look like they belong on a magazine cover. I had a pile of pumpkin guts, a half-empty jar of honey, and honestly? A growing sense of panic.
Let me tell you, there’s something about a deadline that makes you get creative real fast. I stood there staring at the slimy pile of seeds I’d just pulled from two massive jack-o’-lanterns, thinking about how my grandma used to roast plain salted seeds every fall. They were good, sure, but I needed something that felt like more than an afterthought. Something that would make people stop and ask, “Wait, you made these?”
So I grabbed my honey, some good sea salt, and a little butter, and I just started winging it. The first batch came out a tiny bit burnt because I got distracted by a text message—classic me—but the second batch? That golden, sticky, perfectly salted crunch was exactly what I needed. I brought a big bowl to the party, set it down next to the fancy store-bought stuff, and figured at least I’d tried.
You know that feeling when something simple completely steals the show? By the end of the night, people were hovering around that bowl like it was the main attraction. Three different neighbors asked for the recipe, and my friend Jen actually texted me the next morning saying she dreamed about them. I mean, honestly, if you’d told me pumpkin seeds would be the thing people remembered most from that night, I would have laughed. But here we are, and I’ve been making them every fall since.
Why You’ll Love This Recipe
These cozy honey roasted pumpkin seeds are the kind of snack that disappears before you even realize how many you’ve eaten. They hit that perfect sweet-and-salty spot that makes your brain go, “Yes, more of that, please.”
- Quick & Easy : Comes together in under 30 minutes, most of which is hands-off oven time. Perfect for last-minute snacking emergencies.
- Simple Ingredients : You probably have everything already. Honey, butter, salt, and those seeds you were about to throw away.
- Perfect for Fall Gatherings : Halloween parties, Thanksgiving appetizers, cozy movie nights—they fit everywhere.
- Crowd-Pleaser : I’ve watched picky kids and grown adults fight over the last handful. No joke.
- Unbelievably Delicious : The honey caramelizes in the oven and creates this sticky, crunchy coating that’s way more addictive than plain roasted seeds.
What makes this recipe different from every other pumpkin seed recipe out there is the technique. Most recipes just toss seeds with oil and salt, but here’s the thing—honey needs a little help to get that perfect texture. I learned the hard way that adding honey too early makes them burn, and adding it too late means they’re not sticky enough. This method gets it just right.
Honestly, this recipe is the kind that makes you close your eyes after the first bite. It’s comfort food reimagined—healthier, faster, but with the same soul-soothing satisfaction. Perfect for impressing guests without stress, or turning a simple snack into something memorable.
What Ingredients You Will Need
This recipe uses simple, wholesome ingredients that work together to create that irresistible sweet-and-salty crunch. Most of these are pantry staples, especially if you’ve just carved a pumpkin.
For the Seeds
- Fresh pumpkin seeds , 1 cup (about 120g) – These come straight from your pumpkin carving session, but you can also buy pre-shelled raw pumpkin seeds at the store if you’re not carving one.
- Unsalted butter , 2 tablespoons (28g), melted – I prefer unsalted so I can control the salt level. Salted butter works too, just cut back on the added salt slightly.
- Honey , 2 tablespoons (42g) – Use a good-quality honey here. The flavor really comes through. Local honey is amazing if you have it.
- Flaky sea salt , 1 teaspoon – I love Maldon sea salt for this. The big flakes give you little bursts of saltiness that make the sweetness pop.
- Optional: Cinnamon , ½ teaspoon – Adds a warm, cozy fall flavor that pairs beautifully with the honey.
Ingredient Tips and Substitutions
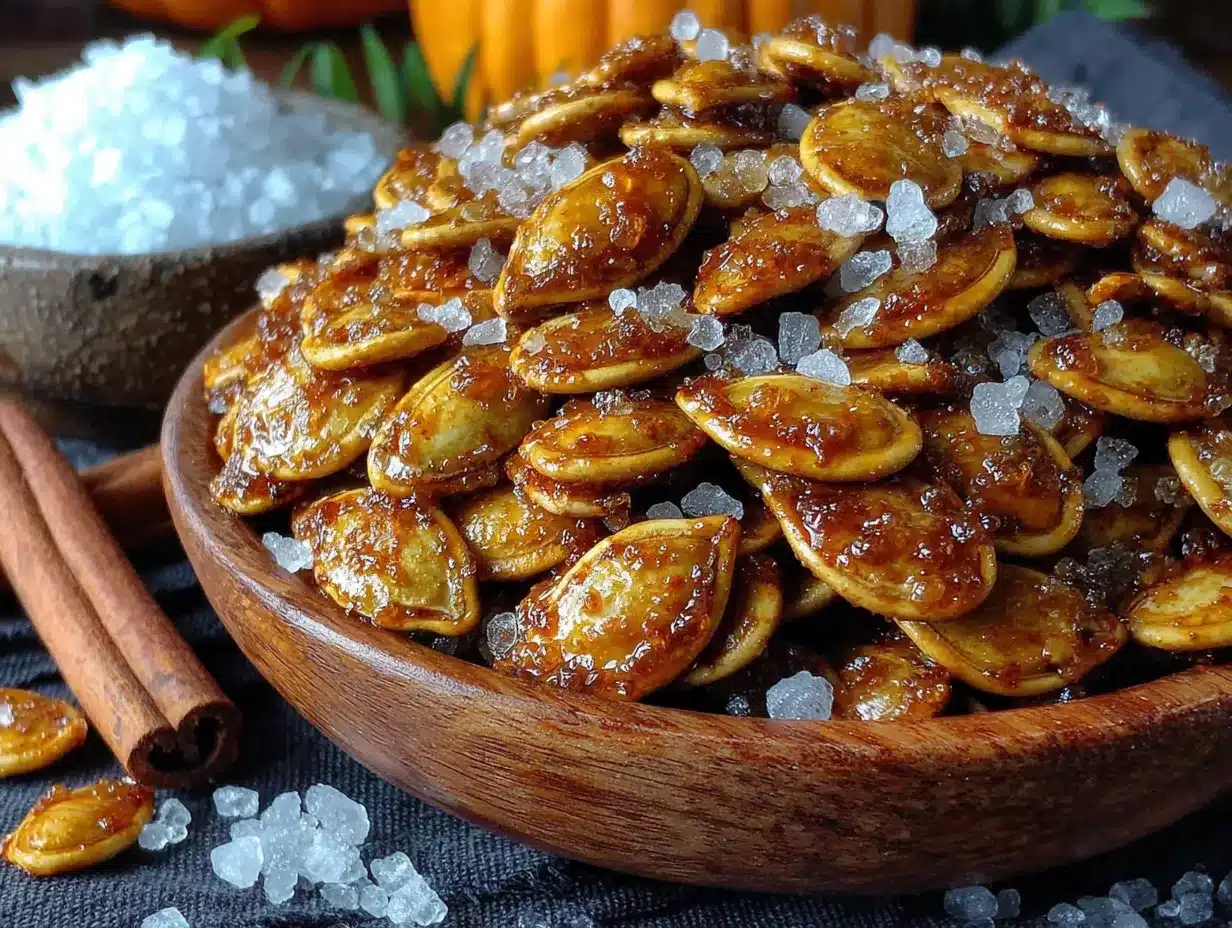
For the best texture, make sure your pumpkin seeds are completely clean and dry before roasting. Wet seeds steam instead of roast, and nobody wants soggy pumpkin seeds. I like to spread them on a clean kitchen towel and pat them dry after rinsing.
If you’re dairy-free, coconut oil works beautifully instead of butter. It adds a subtle coconut flavor that actually goes really well with the honey. Use refined coconut oil if you don’t want the coconut taste.
For a vegan version, swap the honey with maple syrup or agave nectar. Maple syrup gives a slightly different but equally delicious flavor—more woodsy and deep. Just keep an eye on them because maple syrup can burn faster than honey.
I’ve tried this with both raw and roasted pumpkin seeds from the store when I didn’t have fresh ones, and honestly? Both work great. The fresh ones take a few extra minutes in the oven, but they have a better texture in my opinion.
Equipment Needed
You don’t need anything fancy for this recipe, which is part of why I love it so much.
- Baking sheet – A rimmed baking sheet works best to keep those seeds from rolling off. I use a standard half-sheet pan.
- Parchment paper or silicone baking mat – This makes cleanup so much easier. Trust me on this one.
- Large bowl – For mixing the seeds with the butter and honey mixture.
- Measuring spoons – For accurate measurements, though honestly I eyeball the honey these days.
- Spatula or wooden spoon – For stirring and spreading the seeds.
- Kitchen towel – For drying the seeds after rinsing.
If you don’t have parchment paper, you can grease the baking sheet with a little butter or oil. Just be aware that the honey might stick a tiny bit more. A silicone baking mat is my favorite option because nothing sticks to it and it’s reusable.
I actually bought a cheap baking sheet specifically for roasting seeds because my good one was always in use. No regrets—it was like five dollars and it works perfectly.
Preparation Method
- Preheat your oven to 325°F (163°C). This lower temperature is key—higher heat will burn the honey before the seeds get crispy. Line a baking sheet with parchment paper or a silicone mat.
- Clean the pumpkin seeds thoroughly. Separate the seeds from the pumpkin guts. Place them in a colander and rinse under cold water, rubbing them gently to remove any stringy bits. This takes a few minutes, but it’s worth doing properly. You don’t want any pumpkin goo sticking to your finished seeds.
- Dry the seeds completely. Spread the rinsed seeds on a clean kitchen towel and pat them dry. Let them sit for about 10 minutes to air dry a bit more. Wet seeds will steam instead of roast, and they won’t get that satisfying crunch we’re after.
- Melt the butter in a small microwave-safe bowl or on the stovetop. Stir in the honey until well combined. The mixture should be smooth and glossy.
- Toss the seeds in a large bowl with the butter-honey mixture. Stir until every seed is coated. This is where you can add the cinnamon if you’re using it—just sprinkle it in and stir again.
- Spread the seeds in a single layer on your prepared baking sheet. Try not to overlap them too much, or they’ll steam instead of roast. A little overlapping is fine, but do your best to spread them out.
- Roast for 15 minutes, then pull the pan out and give the seeds a good stir. This ensures even cooking. Spread them back out and return to the oven.
- Roast for another 10-15 minutes, stirring halfway through. The seeds are done when they’re golden brown and fragrant. You’ll hear them start to pop slightly—that’s a good sign. Keep a close eye on them in the last 5 minutes because honey can go from perfect to burnt very quickly.
- Remove from the oven and immediately sprinkle with flaky sea salt while they’re still warm. The salt sticks better when the seeds are hot and the honey coating is still slightly tacky.
- Let them cool completely on the baking sheet. This is important—they’ll continue to crisp up as they cool. Don’t try to rush this by putting them in the fridge, or they might get chewy instead of crunchy. Give them at least 20 minutes.
One thing I learned the hard way: don’t skip the stirring. I got distracted by a phone call once and ended up with half-burnt, half-raw seeds. Not my finest moment.
Cooking Tips & Techniques
Here’s the thing about roasting pumpkin seeds—they’re simple, but there are a few tricks that separate good seeds from absolutely irresistible ones.
Don’t overcrowd the pan. I know it’s tempting to throw all the seeds on one pan and call it a day, but overcrowding creates steam. Steam equals soggy seeds. If you have a lot of seeds, use two pans or roast in batches. Your patience will be rewarded.
The honey timing matters. I’ve made the mistake of adding honey too early and ending up with burnt, bitter seeds. The key is the lower oven temperature and keeping a close watch. If your oven runs hot, check the seeds at the 20-minute mark instead of waiting the full 25-30 minutes.
Let them cool completely. I know, I know, you want to eat them immediately. But warm seeds are chewy seeds. Give them that 20-minute cool-down time and they’ll transform into perfectly crunchy little bites. I learned this lesson after impatiently burning my tongue on a batch that was warm and delicious but not quite crispy yet.
Storage is everything. These seeds are best within the first few days, but they’ll keep for up to two weeks in an airtight container. The trick is to make sure they’re completely cool before you seal them up. Any residual warmth creates condensation, and condensation makes them soft.
I once left a batch out overnight uncovered by accident, and they were still perfectly crunchy the next morning. So if you’re worried about storing them, leaving them out on the counter in a bowl works fine for a day or two.
Variations & Adaptations
One of the best things about this recipe is how easy it is to change up. I’ve experimented quite a bit, and here are some of my favorite variations.
Spicy Honey Roasted Seeds – Add ¼ teaspoon of cayenne pepper or chili powder along with the cinnamon. The heat sneaks up on you and pairs beautifully with the sweet honey. I made these for a game night and they were gone in about fifteen minutes.
Maple Cinnamon Seeds – Swap the honey for maple syrup and add an extra ¼ teaspoon of cinnamon. This version tastes like fall in a bowl. I like to use Grade B maple syrup for a stronger maple flavor.
Garlic and Herb Seeds – Skip the honey and cinnamon entirely. Toss the seeds with melted butter, ½ teaspoon garlic powder, ½ teaspoon dried rosemary, and salt. Roast the same way. These are amazing on salads or just eaten by the handful.
Vegan Version – Use coconut oil instead of butter and maple syrup instead of honey. Everything else stays the same. The coconut oil adds a subtle tropical note that’s actually really nice.
Extra Crunchy Version – After cleaning and drying the seeds, boil them in salted water for 10 minutes before roasting. This softens the outer shell and makes the seeds extra crunchy. It’s an extra step, but if you’re a texture person like me, it’s worth it.
My personal favorite variation? The spicy honey version. I made it on a whim one night when I was craving something sweet and spicy, and now I can’t go back. The cayenne gives it this warmth that builds slowly, and the honey balances it perfectly.
Serving & Storage Suggestions
These seeds are incredibly versatile when it comes to serving. Here’s how I like to enjoy them.
As a snack – This is the most obvious, and honestly, the most dangerous. Put them in a bowl and watch them disappear. They’re perfect for movie nights, game days, or just when you need something to munch on while cooking dinner.
On salads – Sprinkle them over a fall salad with mixed greens, dried cranberries, crumbled goat cheese, and a simple vinaigrette. The sweet and salty crunch is amazing against the tangy cheese and tart cranberries.
On soups – A handful of these seeds on top of butternut squash soup or pumpkin soup takes it from good to restaurant-worthy. The texture contrast is everything.
In trail mix – Mix them with dried fruit, dark chocolate chips, and nuts for a custom trail mix that’s way better than anything you can buy.
Storage – Store completely cooled seeds in an airtight container at room temperature for up to two weeks. If they start to lose their crunch, you can pop them in a 300°F oven for 5 minutes to re-crisp them. Don’t store them in the fridge—the humidity will make them soft.
Freezing – You can freeze these seeds for up to three months. Let them cool completely, then place them in a freezer-safe bag or container. Thaw at room temperature and re-crisp in the oven if needed. I’ve done this with batches I made too far ahead of Thanksgiving, and they came out perfectly.
The flavors actually develop a bit over the first day or two. The honey and salt mellow together, and the seeds get even more flavorful. So if you can resist eating them all immediately, they’ll taste even better tomorrow.
Nutritional Information & Benefits
Pumpkin seeds are honestly one of the most underrated superfoods out there. Here’s what you’re getting in a single serving (about ¼ cup or 30g).
| Nutrient | Amount per Serving |
|---|---|
| Calories | 180 |
| Protein | 8g |
| Fat | 15g (mostly healthy fats) |
| Carbohydrates | 8g |
| Fiber | 2g |
| Sugar | 5g (from honey) |
| Magnesium | 37% of Daily Value |
| Zinc | 23% of Daily Value |
Pumpkin seeds are packed with magnesium, which helps with sleep and muscle recovery. They’re also a great source of zinc, which supports your immune system—perfect for cold and flu season. The healthy fats and protein make them a satisfying snack that actually keeps you full.
This recipe is naturally gluten-free and can easily be made dairy-free or vegan with the substitutions I mentioned. If you’re watching your sugar intake, you can reduce the honey to 1 tablespoon and add a pinch more salt to balance the flavor.
I personally love that this snack feels indulgent but is actually pretty good for you. It’s the kind of thing I can feel good about eating by the handful—within reason, of course.
Conclusion
These cozy honey roasted pumpkin seeds have become a non-negotiable part of my fall routine. They’re the snack I bring to every gathering, the thing I make while carving pumpkins, and honestly, the reason I look forward to cleaning out those slimy pumpkin guts every year.
What I love most about this recipe is how forgiving it is. You can tweak the sweetness, adjust the salt, add spices, or keep it simple. It works every time, and it makes you look like you put way more effort in than you actually did. That’s my favorite kind of recipe.
I really hope you give these a try, whether you’re carving pumpkins for Halloween, looking for a Thanksgiving appetizer, or just want a cozy snack on a chilly fall evening. Play around with the variations and make them your own. And if you come up with a combination I haven’t tried, please let me know in the comments—I’m always looking for new ideas.
Happy roasting, and don’t forget to save some for yourself before everyone else finds them!
Frequently Asked Questions
Can I use store-bought pumpkin seeds instead of fresh ones?
Absolutely! Store-bought raw pumpkin seeds work perfectly. Just skip the cleaning step and go straight to mixing with the butter and honey. They might roast a few minutes faster since they’re already dry.
Why did my seeds turn out chewy instead of crunchy?
This usually happens for one of two reasons: either the seeds weren’t dried thoroughly before roasting, or they were taken out of the oven too early. Make sure your seeds are completely dry before they go in the oven, and let them cool completely on the baking sheet after roasting. They’ll crisp up as they cool.
Can I make these in an air fryer?
Yes! Air fry at 300°F for 8-10 minutes, shaking the basket halfway through. Keep a close eye on them because air fryers run hot and honey burns quickly. Start checking at the 7-minute mark.
How do I prevent the seeds from sticking to the pan?
Use parchment paper or a silicone baking mat. The honey caramelizes and can get sticky, and these two options make cleanup a breeze. If you don’t have either, grease the pan well with butter or oil.
Can I double this recipe?
Definitely! Just make sure to use two baking sheets instead of crowding everything onto one. Overcrowding traps steam and prevents the seeds from getting crispy. Rotate the pans halfway through roasting for even cooking.
Pin This Recipe!
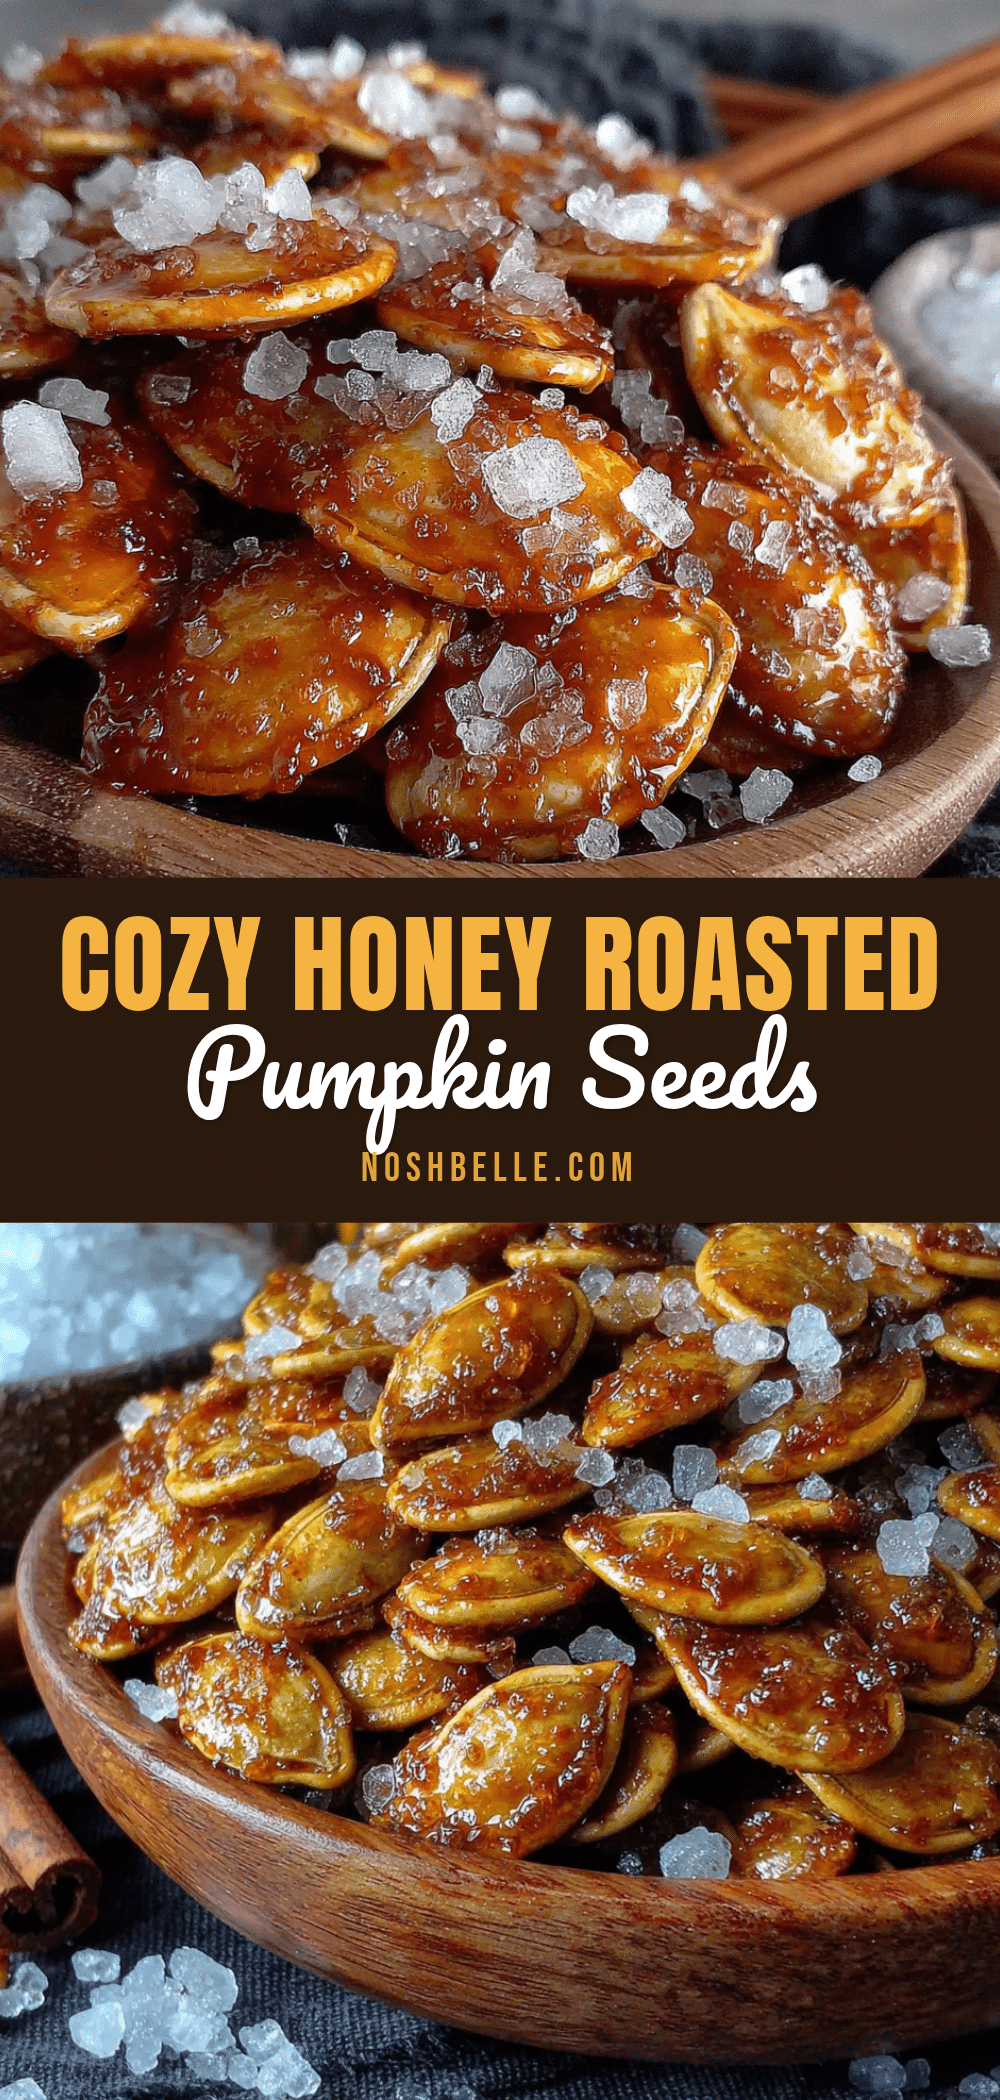
Cozy Honey Roasted Pumpkin Seeds with Sea Salt
These sweet and salty honey roasted pumpkin seeds are the perfect fall snack. Easy to make in under 30 minutes, they’re a crowd-pleaser for Halloween parties, Thanksgiving, or cozy movie nights.
- Prep Time: 10 minutes
- Cook Time: 25 minutes
- Total Time: 35 minutes
- Yield: 4 servings 1x
- Category: Snack
- Cuisine: American
Ingredients
- 1 cup fresh pumpkin seeds (about 120g)
- 2 tablespoons unsalted butter, melted (28g)
- 2 tablespoons honey (42g)
- 1 teaspoon flaky sea salt
- ½ teaspoon cinnamon (optional)
Instructions
- Preheat your oven to 325°F (163°C). Line a baking sheet with parchment paper or a silicone mat.
- Clean the pumpkin seeds thoroughly. Separate seeds from pumpkin guts, rinse in a colander under cold water, and remove any stringy bits.
- Dry the seeds completely. Spread on a clean kitchen towel and pat dry. Let air dry for about 10 minutes.
- Melt the butter in a small microwave-safe bowl or on the stovetop. Stir in the honey until well combined and glossy.
- Toss the seeds in a large bowl with the butter-honey mixture until every seed is coated. Add cinnamon if using and stir again.
- Spread the seeds in a single layer on the prepared baking sheet, avoiding overlap as much as possible.
- Roast for 15 minutes, then stir the seeds and spread them back out.
- Roast for another 10-15 minutes, stirring halfway through, until golden brown and fragrant. Watch closely in the last 5 minutes to prevent burning.
- Remove from the oven and immediately sprinkle with flaky sea salt while still warm.
- Let cool completely on the baking sheet for at least 20 minutes before serving.
Notes
Make sure seeds are completely dry before roasting to ensure crunchiness. Don’t skip stirring halfway through to prevent burning. Let seeds cool completely on the baking sheet for maximum crunch. Store in an airtight container at room temperature for up to two weeks.
Nutrition
- Serving Size: ¼ cup (30g)
- Calories: 180
- Sugar: 5
- Sodium: 290
- Fat: 15
- Saturated Fat: 4
- Carbohydrates: 8
- Fiber: 2
- Protein: 8
Keywords: pumpkin seeds, honey roasted, fall snack, Halloween, Thanksgiving, sweet and salty, easy snack


