My six-year-old goddaughter asked why I couldn’t just skip the deep fryer and bake the donut holes instead. I started to explain why that wouldn’t work—something about texture and moisture and the magic of hot oil. Then I stopped. Honestly, I had no good reason. I’d just never tried it.
That conversation happened on a rainy Tuesday afternoon. I had a batch of pumpkin puree in the fridge and a serious craving for something warm and spiced. She watched me pull out the mixing bowls, her logic so simple it was almost annoying. “If you bake them,” she said, “you don’t have to wait for the oil to get hot.” She wasn’t wrong.
So I did it. I whipped up a batter, scooped it into a mini muffin tin, and prayed to the kitchen gods. Twenty minutes later, I pulled out the most tender, golden little spheres I’d ever seen. I rolled them in cinnamon sugar while they were still warm, and the smell—I mean, really—filled the entire house. My goddaughter took one bite and gave me a look that said, “Told you so.” She didn’t even say it. She didn’t have to.
These baked pumpkin donut holes have become my fall secret weapon. They’re not greasy, they’re not heavy, and they come together faster than you can say “pumpkin spice.” The texture is soft and cakey, with that perfect cinnamon-sugar coating that cracks a little when you bite into it. Maybe you’ve been there—standing in your kitchen, wanting something special but not wanting to deal with a mess of hot oil. This is that recipe. It’s the one that proves sometimes the simplest idea wins.
Why You’ll Love This Recipe
Let me tell you why these baked cinnamon sugar pumpkin donut holes have earned a permanent spot in my fall baking rotation. I’ve tested this recipe about seven times—yes, seven—to get the texture just right. And I’m not a professional baker, so trust me when I say if I can nail this, you absolutely can.
- Quick & Easy: From mixing bowl to plate in under 30 minutes. No yeast, no proofing, no standing over a pot of hot oil.
- Simple Ingredients: You probably have most of these in your pantry right now. Pumpkin puree, flour, sugar, butter, and spices. That’s it.
- Perfect for Fall Mornings: These are ideal for cozy weekend breakfasts, Halloween parties, or Thanksgiving brunch without the stress.
- Crowd-Pleaser: Kids devour them. Adults pretend to be polite while grabbing their third one. I’ve seen it happen.
- Unbelievably Delicious: The pumpkin keeps them incredibly moist, and the cinnamon sugar coating adds that little crunch that makes you close your eyes after the first bite.
What makes this recipe different from the dozens of pumpkin donut recipes out there? It’s the technique. I use melted butter instead of oil, and I whisk the dry ingredients separately to avoid overmixing. That’s the secret to a tender, bakery-style crumb without any deep frying. This isn’t just another pumpkin recipe—it’s the one that actually works every single time.
There’s something about the combination of warm pumpkin and cinnamon sugar that feels like a hug in food form. It’s comfort food reimagined—healthier, faster, but with the same soul-soothing satisfaction. Perfect for impressing guests without stress, or turning a simple Tuesday morning into something memorable.
What Ingredients You Will Need
This recipe uses simple, wholesome ingredients to deliver that cozy pumpkin flavor and soft, cakey texture. Most of these are pantry staples, which makes this perfect for those spontaneous baking moods.
- All-purpose flour – 1 ¾ cups (220g). Spoon and level it for accuracy. I use King Arthur Flour for consistent results.
- Granulated sugar – ½ cup (100g) for the batter. Adds sweetness and helps with browning.
- Brown sugar – ¼ cup (50g), packed. This adds moisture and a deeper, almost caramel-like flavor. Light or dark both work.
- Baking powder – 1 ½ teaspoons. Make sure it’s fresh—test it by dropping a bit in hot water; it should fizz.
- Baking soda – ½ teaspoon. Helps the donut holes rise and stay tender.
- Pumpkin pie spice – 1 ½ teaspoons. You can use store-bought or make your own with cinnamon, nutmeg, ginger, and cloves.
- Ground cinnamon – 1 teaspoon. I prefer Saigon cinnamon for its warm, bold flavor.
- Salt – ½ teaspoon. Don’t skip this—it balances the sweetness and enhances the spices.
- Pumpkin puree – ¾ cup (170g). Use 100% pure pumpkin, not pumpkin pie filling. Libby’s is my go-to brand.
- Large egg – 1, at room temperature. If you forget to take it out of the fridge, place it in warm water for 5 minutes.
- Milk – ¼ cup (60ml). Whole milk works best, but 2% or any plant-based milk like oat or almond will work too.
- Melted butter – 3 tablespoons (42g), slightly cooled. Unsalted is best so you control the salt level.
- Vanilla extract – 1 teaspoon. Pure vanilla extract makes a difference, but imitation works in a pinch.
- For the coating – ¼ cup (50g) granulated sugar mixed with 1 ½ teaspoons ground cinnamon. Plus 2 tablespoons melted butter for brushing.
For the best texture, make sure your pumpkin puree isn’t watery. If it looks loose, blot it with a paper towel before measuring. And here’s a tip I learned the hard way—don’t use pumpkin pie filling. It has added sugar and spices that will throw off the balance completely.
Equipment Needed
You don’t need much for this recipe, which is part of its charm. Here’s what you’ll need:
- Mini muffin tin – A 24-cup mini muffin tin is ideal. If you only have a 12-cup tin, just bake in batches.
- Mixing bowls – One large and one medium. I use glass or stainless steel.
- Whisk – For combining dry ingredients and smoothing out the wet mixture.
- Rubber spatula – For folding the batter together without overmixing.
- Cookie scoop – A 1-tablespoon scoop makes portioning the batter quick and mess-free. Honestly, this is worth buying if you bake often.
- Pastry brush – For brushing melted butter onto the baked donut holes. A silicone brush works great.
- Cooling rack – Lets air circulate so the donut holes don’t get soggy on the bottom.
- Shallow bowl – For the cinnamon sugar coating. A pie plate works perfectly.
If you don’t have a mini muffin tin, you can use a regular muffin tin and just bake a few minutes longer. The texture will be a bit different—more like mini muffins than donut holes—but they’ll still taste amazing. I’ve also used a donut hole pan before, but honestly, the mini muffin tin gives a better shape and texture.
Preparation Method
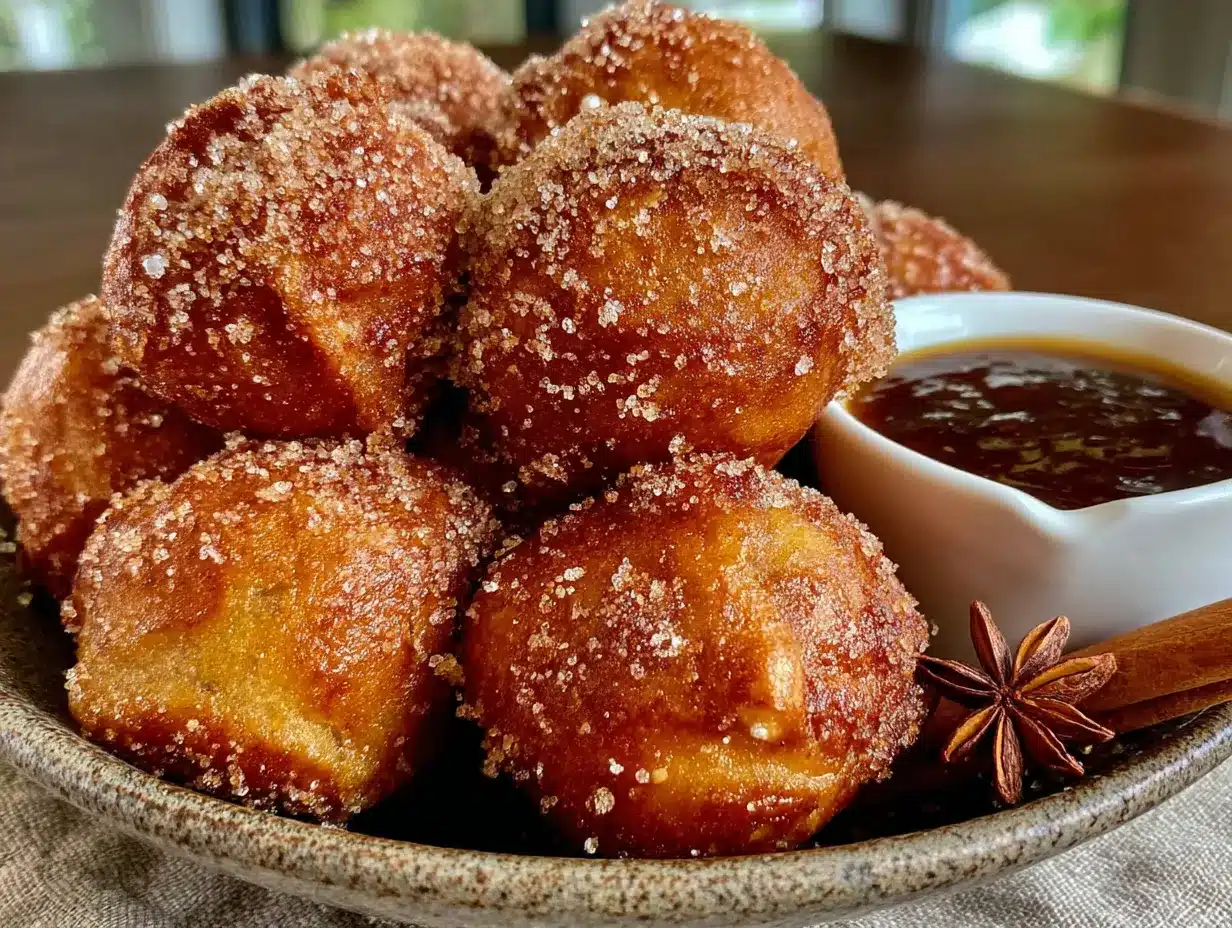
Let’s get baking. This whole process takes about 25 minutes from start to finish, and I promise it’s almost foolproof.
- Preheat your oven to 350°F (175°C). Spray your mini muffin tin generously with nonstick cooking spray. I like using the kind with flour in it for extra insurance against sticking.
- In a medium bowl, whisk together the dry ingredients: 1 ¾ cups all-purpose flour, ½ cup granulated sugar, ¼ cup packed brown sugar, 1 ½ teaspoons baking powder, ½ teaspoon baking soda, 1 ½ teaspoons pumpkin pie spice, 1 teaspoon ground cinnamon, and ½ teaspoon salt. Whisk until everything is evenly distributed—about 20 seconds. This ensures your donut holes rise evenly and have spice in every bite.
- In a large bowl, whisk together the wet ingredients: ¾ cup pumpkin puree, 1 large egg, ¼ cup milk, 3 tablespoons melted butter (cooled slightly), and 1 teaspoon vanilla extract. Whisk until smooth and fully combined. The mixture will look thick and creamy—that’s exactly right.
- Pour the dry ingredients into the wet ingredients. Use a rubber spatula to fold them together gently. Stir just until no streaks of flour remain. A few lumps are totally fine—overmixing will make the donut holes tough. This is the most important step, honestly. Stop when it looks just combined.
- Scoop the batter into the prepared mini muffin tin. Fill each cup about ¾ full. A 1-tablespoon cookie scoop makes this step so much easier and keeps the portions uniform. If you don’t have one, use two spoons—one to scoop and one to scrape the batter into the tin.
- Bake for 10 to 12 minutes. The donut holes are done when a toothpick inserted into the center comes out clean or with just a few moist crumbs. The tops should be set and lightly golden. Don’t overbake—they’ll continue cooking slightly from the residual heat of the pan.
- Let the donut holes cool in the pan for 2 minutes. This is crucial. If you try to remove them immediately, they’ll fall apart. After 2 minutes, gently run a small offset spatula or butter knife around the edges and pop them out onto a cooling rack.
- While the donut holes are still warm, brush each one with melted butter. Use a pastry brush to coat all sides. Work quickly—the warmth helps the butter soak in just enough to make the cinnamon sugar stick.
- Roll each buttered donut hole in the cinnamon sugar mixture. Place the cinnamon sugar in a shallow bowl and roll each donut hole around until completely coated. I like to do this in batches of 4 or 5 so the coating doesn’t get clumpy.
- Serve warm. These are absolutely best eaten within an hour of baking. The coating stays crisp, and the inside is soft and tender. Place them on a plate and watch them disappear.
Cooking Tips & Techniques
After testing this recipe seven times (and burning my fingers on the first batch), I’ve learned a few things worth sharing.
Don’t overmix the batter. I cannot stress this enough. Mix until the flour just disappears. Overmixing develops gluten, which makes the donut holes dense and tough instead of light and tender. Think of it like folding whipped cream—gentle, quick strokes.
Use room temperature ingredients. Cold egg and milk can seize the melted butter, creating lumps in your batter. Take them out of the fridge 20 minutes before you start. If you forgot, place the egg in a bowl of warm water for 5 minutes and microwave the milk for 10 seconds.
Watch the bake time closely. Mini muffin tins vary, and ovens run differently. Start checking at 10 minutes. The donut holes should spring back lightly when touched, and a toothpick should come out clean. I’ve pulled a batch at 9 minutes before and they were perfect—another time it took 13 minutes. Trust your senses, not just the timer.
One mistake I made early on was skipping the step of spraying the pan well. The first batch stuck so badly I had to eat them with a spoon. Not the worst outcome, honestly, but not the pretty donut holes I was going for. Use a good nonstick spray, and don’t skip the 2-minute cooling time in the pan.
For the coating, brush butter on while they’re warm. If they cool completely, the butter won’t soak in as well, and the cinnamon sugar won’t stick properly. Work in batches—brush 4 or 5, roll them, then move to the next batch.
Multitasking tip: While the first batch bakes, prep the cinnamon sugar mixture and melt the extra butter. That way, when they come out of the oven, you’re ready to go.
Variations & Adaptations
One of the best things about this recipe is how flexible it is. Here are some variations I’ve tried and loved:
- Gluten-Free Version: Substitute the all-purpose flour with a 1:1 gluten-free baking flour blend. I’ve used Bob’s Red Mill and Cup4Cup with great results. Add an extra tablespoon of milk since gluten-free flours tend to absorb more liquid.
- Dairy-Free Adaptation: Use melted coconut oil or vegan butter instead of regular butter. Swap the milk with oat milk or almond milk. The texture will be slightly different—a bit more tender—but still delicious.
- Chocolate Pumpkin Donut Holes: Reduce the flour to 1 ½ cups and add ¼ cup unsweetened cocoa powder. Increase the sugar by 2 tablespoons to balance the bitterness. These taste like a fall version of chocolate cake.
- Maple Glaze Instead of Cinnamon Sugar: Skip the cinnamon sugar coating and whisk together 1 cup powdered sugar, 2 tablespoons maple syrup, and 1 tablespoon milk. Drizzle over the cooled donut holes. This gives them a shiny, bakery-style finish.
- Spiced Pumpkin Donut Holes: Add ¼ teaspoon ground ginger, ¼ teaspoon ground nutmeg, and a pinch of ground cloves to the batter. This creates a more complex spice profile that’s perfect for Thanksgiving morning.
- Baked, Not Fried: This is the whole point of the recipe, but you can also make these as mini muffins if you prefer. Just bake for 12 to 14 minutes instead of 10 to 12.
I once made a batch with leftover roasted butternut squash puree instead of pumpkin—don’t tell anyone, but it worked perfectly. The flavor was slightly sweeter and nuttier. So if you’re out of pumpkin, that’s a great backup plan.
Serving & Storage Suggestions
These baked pumpkin donut holes are best served warm, right after rolling them in cinnamon sugar. The coating stays crisp, and the inside is soft and pillowy. I like to pile them on a rustic wooden board or a simple white plate—they look beautiful with minimal effort.
For serving, a cup of hot coffee or spiced chai latte is the perfect companion. The warmth of the drink balances the sweetness of the donut holes. If you’re serving them for brunch, add a bowl of fresh apple slices or a simple yogurt parfait for contrast.
Storage: If you have leftovers (which is rare in my house), store them in an airtight container at room temperature for up to 2 days. Place a paper towel at the bottom of the container to absorb excess moisture. Don’t refrigerate them—the fridge dries them out and makes the coating soggy.
Freezing: You can freeze the uncoated, baked donut holes for up to 2 months. Place them in a single layer on a baking sheet, freeze until solid, then transfer to a freezer bag. When you’re ready to enjoy them, reheat in a 350°F oven for 5 to 7 minutes, then brush with butter and roll in cinnamon sugar. They’ll taste almost as fresh as the day you made them.
Reheating: The microwave works in a pinch—about 15 seconds for 2 or 3 donut holes—but the coating will soften. For best results, reheat in a 350°F oven for 3 to 5 minutes. The texture comes back beautifully.
One thing I’ve noticed is that the flavors actually deepen after a few hours. The pumpkin and spices meld together, and the donut holes become even more aromatic. So if you can resist eating them all immediately, they’re still wonderful the next day.
Nutritional Information & Benefits
Here’s the approximate nutritional breakdown for one donut hole (based on 24 servings):
| Nutrient | Amount per Donut Hole |
|---|---|
| Calories | 98 |
| Total Fat | 3.5g |
| Saturated Fat | 2g |
| Cholesterol | 15mg |
| Sodium | 95mg |
| Total Carbohydrates | 16g |
| Dietary Fiber | 1g |
| Sugars | 9g |
| Protein | 2g |
These donut holes are baked, not fried, which significantly reduces the fat content compared to traditional versions. Pumpkin is packed with vitamin A, which supports eye health and immune function. It’s also a good source of fiber and antioxidants like beta-carotene. The cinnamon adds anti-inflammatory benefits and helps regulate blood sugar levels.
If you’re watching your sugar intake, you can reduce the coating sugar by half or skip it entirely—the donut holes are still delicious with just a dusting of cinnamon. For a lower-carb option, substitute the all-purpose flour with almond flour, though the texture will be denser and more like a mini muffin.
This recipe is vegetarian-friendly and can easily be made dairy-free or gluten-free with the substitutions mentioned earlier. It contains eggs and dairy in the standard version, so keep that in mind for any allergies.
Conclusion
These baked cinnamon sugar pumpkin donut holes are proof that you don’t need a deep fryer to get that warm, cozy, fall treat you’re craving. They come together in under 30 minutes, use simple ingredients, and taste like something from a fancy bakery—minus the fuss and the mess.
What I love most about this recipe is how forgiving it is. You can tweak the spices, swap the coating, or even use a different squash puree, and it still works. It’s the kind of recipe that builds confidence in the kitchen, especially if you’re new to baking. My goddaughter still asks me to make them every time she visits, and honestly, I don’t mind one bit.
I’d love to hear how these turn out for you. Did you try a variation? Did your family devour them as quickly as mine does? Leave a comment below and let me know—I read every single one. And if you share a photo on Pinterest or Instagram, tag me so I can see your beautiful creations. Happy baking, friends!
Frequently Asked Questions
Can I use fresh pumpkin instead of canned?
Absolutely. Just make sure to roast the pumpkin until tender, then puree it until smooth. You’ll need to drain off any excess liquid by pressing it through a fine-mesh strainer or blotting it with paper towels. Fresh pumpkin tends to be more watery than canned, so this step is important for the right texture.
Why did my donut holes turn out dense?
The most common reason is overmixing the batter. When you overmix, gluten develops and makes the donut holes tough. Mix just until the flour disappears—a few lumps are perfectly fine. Another culprit could be expired baking powder. Check the date on yours before starting.
Can I make these ahead of time for a party?
Yes! Bake the donut holes up to a day ahead, but don’t coat them with butter and cinnamon sugar until just before serving. Store the uncoated donut holes in an airtight container at room temperature. When you’re ready to serve, reheat them in a 350°F oven for 5 minutes, then brush with melted butter and roll in the cinnamon sugar mixture.
Can I use a regular muffin tin instead of a mini muffin tin?
You can, but the texture and baking time will change. Fill each cup about ⅔ full and bake for 15 to 18 minutes. The result will be more like mini muffins than donut holes. They’ll still taste great, but you won’t get that perfect bite-sized shape and the coating-to-donut ratio will be different.
How do I keep the cinnamon sugar coating from getting soggy?
The key is to serve them within an hour of coating. The moisture from the butter and the donut holes themselves will eventually soften the sugar. If you’re making them for later, store the coating and the donut holes separately and combine just before serving. Also, make sure the donut holes are completely cool before storing—any trapped steam will ruin the coating.
Pin This Recipe!
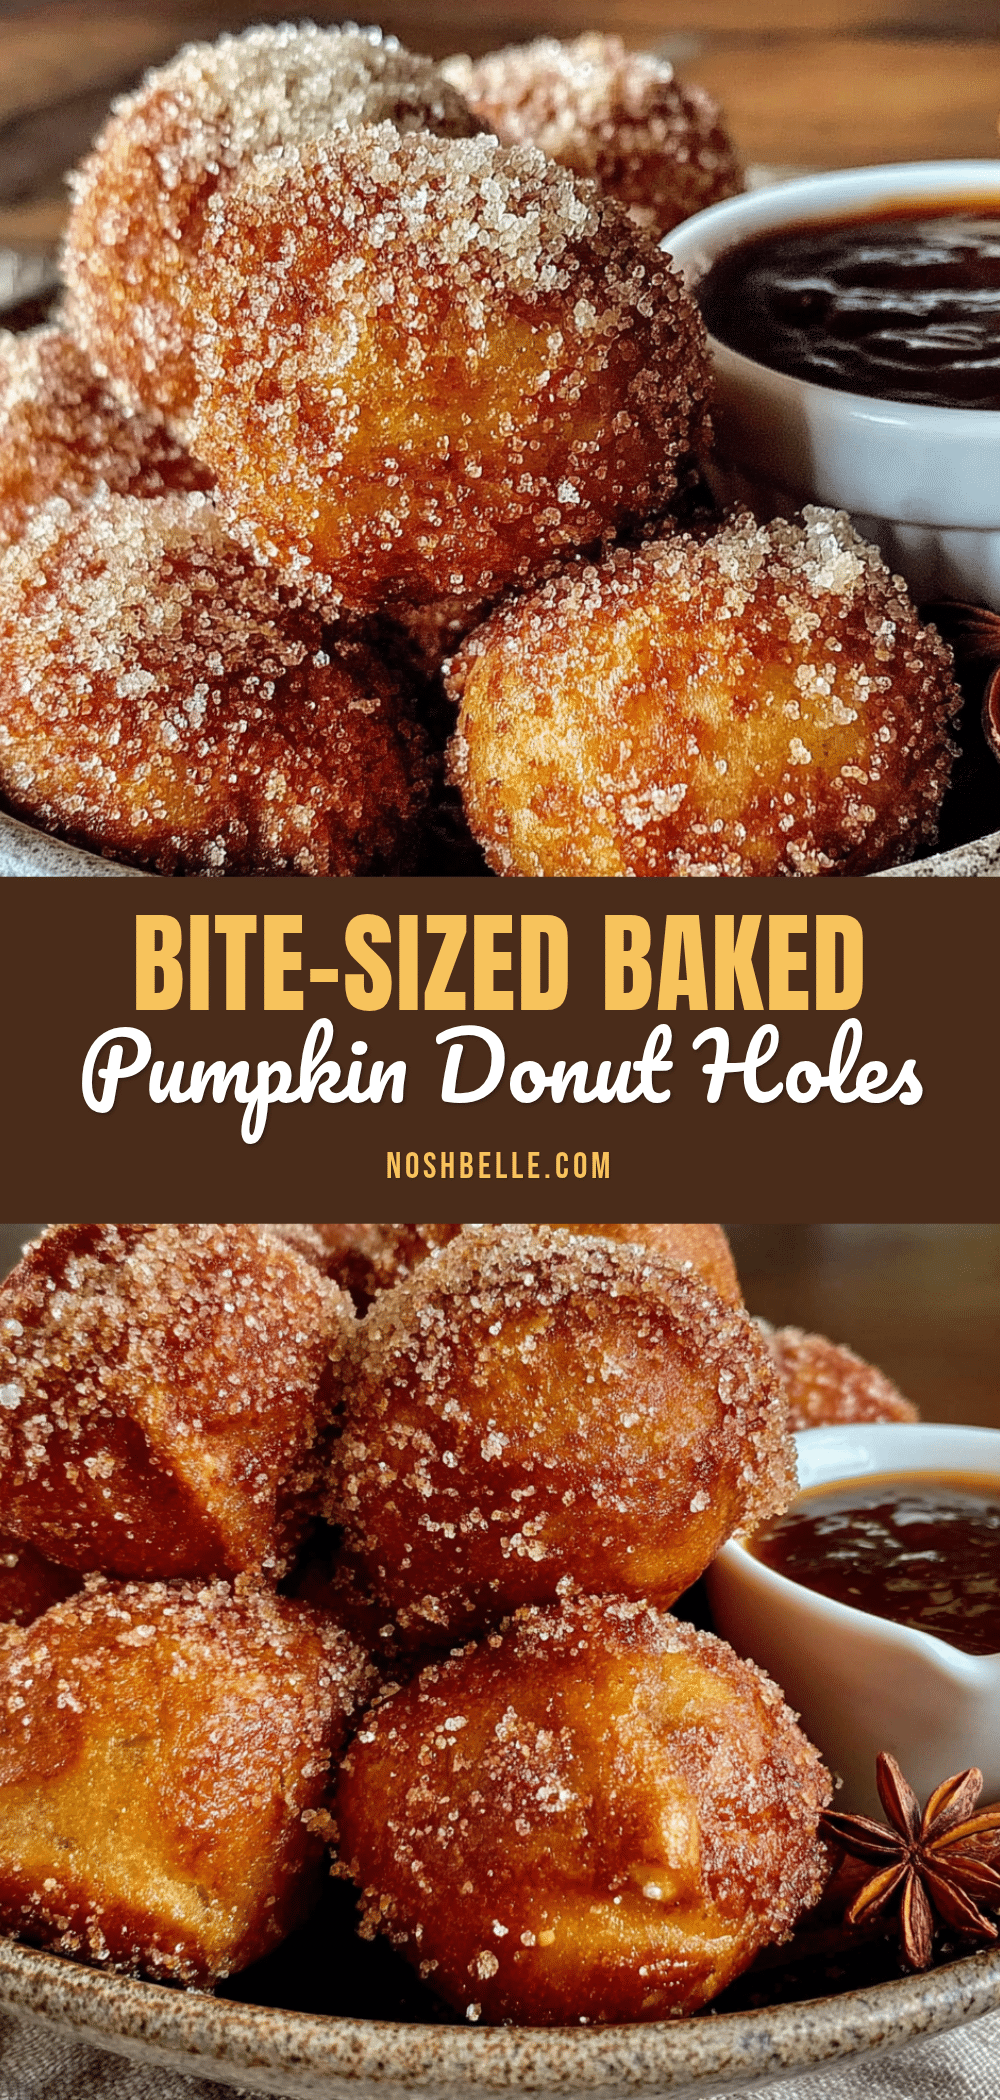
Easy Baked Pumpkin Donut Holes with Cinnamon Sugar
These baked pumpkin donut holes are soft, cakey, and coated in cinnamon sugar. They come together in under 30 minutes without any deep frying, making them the perfect fall treat.
- Prep Time: 15 minutes
- Cook Time: 12 minutes
- Total Time: 27 minutes
- Yield: 24 donut holes 1x
- Category: Dessert
- Cuisine: American
Ingredients
- 1 ¾ cups (220g) all-purpose flour
- ½ cup (100g) granulated sugar
- ¼ cup (50g) packed brown sugar
- 1 ½ teaspoons baking powder
- ½ teaspoon baking soda
- 1 ½ teaspoons pumpkin pie spice
- 1 teaspoon ground cinnamon
- ½ teaspoon salt
- ¾ cup (170g) pumpkin puree
- 1 large egg, at room temperature
- ¼ cup (60ml) milk
- 3 tablespoons (42g) unsalted butter, melted and slightly cooled
- 1 teaspoon vanilla extract
- For the coating: ¼ cup (50g) granulated sugar mixed with 1 ½ teaspoons ground cinnamon
- For brushing: 2 tablespoons melted butter
Instructions
- Preheat your oven to 350°F (175°C). Spray a 24-cup mini muffin tin generously with nonstick cooking spray.
- In a medium bowl, whisk together the dry ingredients: flour, granulated sugar, brown sugar, baking powder, baking soda, pumpkin pie spice, cinnamon, and salt until evenly distributed.
- In a large bowl, whisk together the wet ingredients: pumpkin puree, egg, milk, melted butter, and vanilla extract until smooth and creamy.
- Pour the dry ingredients into the wet ingredients. Use a rubber spatula to fold together gently until just combined. Do not overmix; a few lumps are fine.
- Scoop the batter into the prepared mini muffin tin, filling each cup about ¾ full. A 1-tablespoon cookie scoop works well.
- Bake for 10 to 12 minutes, until a toothpick inserted into the center comes out clean or with a few moist crumbs.
- Let the donut holes cool in the pan for 2 minutes, then gently remove them and transfer to a cooling rack.
- While still warm, brush each donut hole with melted butter.
- Roll each buttered donut hole in the cinnamon sugar mixture until completely coated.
- Serve warm. Best eaten within an hour of baking.
Notes
Do not overmix the batter to avoid dense donut holes. Use room temperature ingredients for best results. For gluten-free, substitute with a 1:1 gluten-free flour blend and add an extra tablespoon of milk. For dairy-free, use melted coconut oil or vegan butter and oat or almond milk. Store uncoated donut holes in an airtight container at room temperature for up to 2 days; coat just before serving. Freeze uncoated donut holes for up to 2 months.
Nutrition
- Serving Size: 1 donut hole
- Calories: 98
- Sugar: 9
- Sodium: 95
- Fat: 3.5
- Saturated Fat: 2
- Carbohydrates: 16
- Fiber: 1
- Protein: 2
Keywords: baked pumpkin donut holes, cinnamon sugar donut holes, easy pumpkin recipe, fall baking, baked donuts


