There used to be this tiny bakery tucked behind a laundromat on the corner of Elm and 3rd that made the most incredible chocolate chip cookies. They were warm, slightly underbaked, with pools of melted chocolate in every bite. When they closed two summers ago—just a handwritten sign on the door saying “Thanks for the memories”—I honestly felt a little lost. That specific cookie was my Tuesday afternoon ritual, you know? After maybe twelve attempts—some burned, some flat as pancakes, one that I swear tasted like baking soda and regret—I finally cracked it. This small-batch chocolate chip cookie recipe is that exact bakery memory, scaled down for two people who need a quick fix without a week’s worth of cookies staring at them from the counter.
The thing about recreating a specific cookie is that you have to get every detail right. The ratio of brown to white sugar, the temperature of the butter, the exact moment you pull them from the oven. I mean, I spent an embarrassing amount of time staring at a cooling rack, waiting for that perfect edge crunch. Let me tell you, when I finally bit into one and felt that familiar combination of crispy edge and gooey center, I actually texted my sister. “I did it,” I wrote. She knew exactly what I meant. Maybe you’ve been there—chasing a food memory that feels just out of reach. This recipe is for those moments when you need one perfect cookie, not thirty.
Why You’ll Love This Recipe
This isn’t just another cookie recipe floating around the internet. After testing this small-batch version more times than I care to admit, I can tell you exactly why it works for real life. Here’s what makes these chocolate chip cookies worth your precious Tuesday evening:
- Quick & Easy: From mixing bowl to warm cookie in under 20 minutes. No chill time required—because who has time for that on a weeknight?
- Simple Ingredients: You probably have everything in your kitchen right now. No specialty flours, no fancy extracts, no hunting down obscure ingredients.
- Perfect for Two: This recipe makes exactly four cookies. No more, no less. You get two, your person gets two. Or you eat all four and don’t tell anyone—I won’t judge.
- Crowd-Pleaser: Every single person I’ve made these for has asked for the recipe. My neighbor Dave literally knocked on my door at 9 PM after I gave him one earlier that day.
- Unbelievably Delicious: The texture is everything—crispy edges, soft centers, melty chocolate in every bite. It’s comfort food at its most efficient.
What makes this version different from all the other small-batch cookie recipes out there? It’s the technique. I use melted butter instead of softened, which gives you that chewy texture without waiting for butter to come to room temperature. The brown sugar to white sugar ratio is specifically calibrated for maximum flavor with minimum effort. And the resting time? There isn’t one. You’re ten minutes away from warm cookies, and that’s not an exaggeration.
This recipe isn’t just good—it’s the kind that makes you close your eyes after the first bite. It’s the weeknight treat you didn’t know you needed, the quick solution to a sudden cookie craving, the recipe that proves you don’t need a stand mixer or a complicated process to get bakery-quality results.
What Ingredients You Will Need
This small-batch recipe uses simple, pantry-friendly ingredients to deliver that perfect cookie experience without any fuss. Everything here is probably in your kitchen right now, which is exactly the point.
- Unsalted butter, melted (2 tablespoons or 28g) – Melted butter is the secret to chewy cookies without waiting for it to soften. I use Plugrá for its higher fat content, but any unsalted butter works fine. If you only have salted butter, just reduce the added salt by half.
- Granulated sugar (1½ tablespoons or 20g) – This gives the cookies those crispy edges we’re chasing. Don’t skip it—the white sugar is what creates that slight crunch.
- Light brown sugar, packed (2 tablespoons or 25g) – Brown sugar adds moisture and that deep, caramel-like flavor. Pack it firmly into your measuring spoon. No brown sugar? Use all white sugar, but the cookies will be slightly less chewy.
- Large egg yolk (1 yolk, about 18g) – Just the yolk here, not the whole egg. The yolk adds richness and tenderness while the white would make the cookies cakey. Save the white for scrambled eggs tomorrow morning.
- Vanilla extract (½ teaspoon) – Pure vanilla makes a difference here. I use Nielsen-Massey, but honestly, any vanilla works. If you only have imitation vanilla, it’s still fine—we’re keeping this practical.
- All-purpose flour (¼ cup plus 1 tablespoon or 45g) – Spoon and level your flour—don’t scoop directly from the bag or you’ll end up with dry cookies. If you use gluten-free all-purpose flour, add an extra teaspoon of milk to compensate for the dryness.
- Baking soda (¼ teaspoon) – This gives the cookies their spread and lift. Make sure it’s fresh—stale baking soda is the number one reason cookies don’t spread properly.
- Salt (⅛ teaspoon) – Salt isn’t just for flavor—it balances the sweetness and enhances the chocolate. I use fine sea salt here. If you use kosher salt, double the amount.
- Semisweet chocolate chips (¼ cup or 45g) – I prefer Ghirardelli 60% cacao chips for that perfect balance of sweet and bitter. But use whatever chocolate you have—chopped chocolate bars work beautifully too and create those melty pools.
Equipment Needed
You don’t need much for this small-batch recipe, which is exactly how weeknight baking should be. Here’s what you’ll need:
- Small mixing bowl – Any bowl works, but a medium-sized one gives you room to mix without splattering melted butter everywhere. I use my grandmother’s old ceramic bowl, but a Pyrex measuring cup works in a pinch.
- Whisk or fork – A whisk is ideal for combining the wet ingredients, but a fork works perfectly fine. I’ve made these cookies with a fork more times than I can count.
- Rubber spatula or wooden spoon – For folding in the flour and chocolate chips. A silicone spatula makes scraping the bowl easier, but any spoon works.
- Baking sheet – A small quarter-sheet pan is perfect, but any baking sheet works. If you only have a large one, just use one half of it.
- Parchment paper or silicone baking mat – Not strictly necessary, but it makes cleanup infinitely easier. I’ve baked these directly on a greased pan and they still turned out great.
- Cookie scoop or tablespoon – For portioning the dough evenly. I use a #40 cookie scoop (about 1½ tablespoons), but two spoons work just as well.
- Cooling rack – Optional but helpful for getting those crispy edges. I’ve cooled cookies on a plate many times—they just need a few extra minutes to set.
That’s it. No stand mixer, no hand mixer, no fancy equipment. Just you, a bowl, and twenty minutes.
Preparation Method
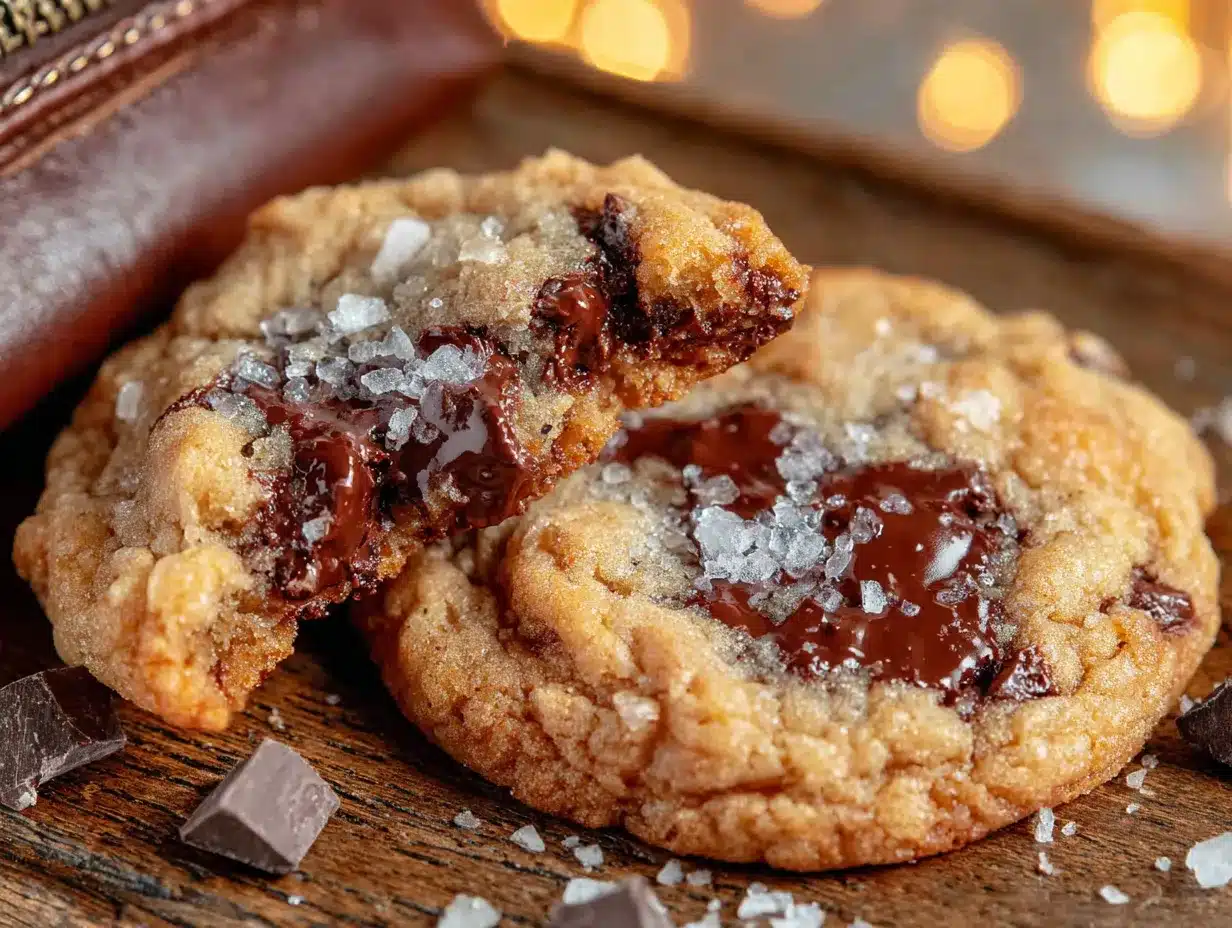
- Preheat your oven to 350°F (175°C) and line a small baking sheet with parchment paper. This takes about 10 minutes, which is exactly enough time to mix the dough. I like to do this first so the oven is ready when I am.
- Melt the butter in a small microwave-safe bowl for about 20-30 seconds, or until just melted. You want it warm but not hot—if it’s bubbling, let it cool for a minute. Hot butter will cook the egg yolk, and nobody wants scrambled eggs in their cookies. I learned this the hard way.
- Add both sugars to the melted butter and whisk until combined. The mixture will look a little grainy at first—that’s normal. Keep whisking for about 30 seconds until it comes together into a smooth, thick paste. This step is where the magic starts—the sugar dissolving into the butter creates that chewy texture.
- Add the egg yolk and vanilla extract to the butter-sugar mixture. Whisk vigorously for about 15 seconds until the mixture lightens slightly in color and becomes smooth. It should look like a thick caramel sauce. If it looks separated, keep whisking—it will come together.
- Sprinkle the flour, baking soda, and salt over the wet mixture. Use a rubber spatula or wooden spoon to fold everything together until just combined. Stop mixing as soon as you no longer see streaks of flour—overmixing develops gluten and makes tough cookies. The dough will be soft and slightly sticky, almost like a thick paste.
- Fold in the chocolate chips with a few gentle strokes. Reserve about 5-6 chips to press onto the tops of the dough balls later—this makes them look bakery-style. The dough should hold together but still feel soft and pliable. If it seems too sticky to handle, pop it in the fridge for 5 minutes.
- Divide the dough into 4 equal portions, about 1½ tablespoons each. Roll each portion into a ball—don’t worry about making them perfect. Place them on the prepared baking sheet, spacing them about 3 inches apart. These cookies spread, so give them room. Press the reserved chocolate chips onto the tops of each dough ball.
- Bake for 8-10 minutes, rotating the pan halfway through. The cookies are done when the edges are golden brown and the centers still look slightly underdone and puffy. They will continue to bake on the hot pan after you pull them out. I pull mine at exactly 9 minutes for that perfect gooey center.
- Let the cookies cool on the baking sheet for 5 minutes. This is crucial—if you try to move them immediately, they’ll fall apart. After 5 minutes, transfer them to a cooling rack or a plate. The edges will crisp up as they cool, leaving you with that perfect contrast of crunchy edge and soft center.
- Serve warm with a glass of cold milk or a scoop of vanilla ice cream. These cookies are at their absolute best within the first hour. Not that they’ll last that long.
Cooking Tips & Techniques
After more failed batches than I’d like to admit, here’s what I’ve learned about making these small-batch cookies work every time:
Don’t skip the whisking step. When you add the egg yolk and vanilla to the butter-sugar mixture, whisk it like you mean it for a full 15 seconds. This incorporates air into the dough, which helps the cookies rise slightly and gives them that tender texture. I used to just stir it lazily, and my cookies came out dense and flat every time. A little elbow grease makes all the difference.
The dough should be soft but not sticky. If your dough feels like it’s going to glue itself to your fingers, it’s too warm. Pop the bowl in the fridge for 5-10 minutes before scooping. This is especially important if your kitchen is warm or if you used very hot melted butter. I learned this lesson on a humid July afternoon when my dough literally melted across the baking sheet into one giant cookie pancake.
Underbake them slightly. I cannot stress this enough—pull them out when the centers still look slightly puffy and underdone. The carryover cooking on the hot baking sheet will finish them perfectly. If you wait until the centers look fully set, you’ll end up with crunchy cookies. And while crunchy cookies have their place, that place is not here.
Use a cookie scoop for consistent sizing. A #40 scoop (about 1½ tablespoons) gives you perfectly even cookies that bake at the same rate. If you’re using spoons, try to make each portion roughly the same size. Uneven dough balls mean some cookies will be overbaked while others are underdone.
Press extra chocolate chips on top before baking. This is a small trick that makes a huge visual difference. When you fold the chips into the dough, they get distributed throughout the cookie. Pressing a few on top ensures every cookie has visible chocolate pools on the surface. It’s purely cosmetic, but honestly, we eat with our eyes first.
Variations & Adaptations
This small-batch recipe is incredibly flexible. Here are some ways I’ve adapted it depending on what I have in the pantry or what I’m craving:
Double Chocolate Chip Cookies: Replace 1 tablespoon of the flour with 1 tablespoon of unsweetened cocoa powder. Use white chocolate chips instead of semisweet for a dramatic black-and-white look. My friend Sarah calls these “panda cookies,” and honestly, that’s exactly what they look like.
Peanut Butter Chocolate Chip: Reduce the butter to 1½ tablespoons and add 1½ tablespoons of creamy peanut butter. Melt it along with the butter, then proceed with the recipe. The peanut butter adds richness and a slight saltiness that pairs beautifully with the chocolate. I made these during a snowstorm last winter and they were gone in ten minutes flat.
Vegan Version: Replace the butter with 2 tablespoons of coconut oil or vegan butter, and use 1 tablespoon of aquafaba (chickpea brine) instead of the egg yolk. The texture will be slightly different—a bit more cakey than chewy—but still delicious. I tested this version for a friend with egg allergies and she said they were “dangerously good.”
Gluten-Free Adaptation: Use a 1:1 gluten-free all-purpose flour blend. Add an extra teaspoon of milk or water to compensate for the dryness of gluten-free flour. Cup4Cup and King Arthur both work well. The cookies will spread slightly less, so flatten them gently with your palm before baking.
Add-In Variations: Swap the chocolate chips for an equal amount of chopped nuts, dried cranberries, white chocolate chips, or toffee bits. My personal favorite is using half chocolate chips and half chopped pecans—the crunch is incredible.
Serving & Storage Suggestions
These cookies are best served warm, ideally within 10 minutes of coming out of the oven. That moment when the chocolate is still slightly melted and the edges are perfectly crisp—that’s the sweet spot. Serve them with a tall glass of cold milk, a scoop of vanilla ice cream, or alongside a cup of strong coffee for an afternoon pick-me-up.
For a slightly fancier presentation, warm the cookies in the microwave for 10 seconds before serving. This revives that just-baked texture and re-melts the chocolate chips. I do this even with fresh cookies because I like them borderline molten.
Storage: If you somehow have leftovers, store them in an airtight container at room temperature for up to 3 days. Place a slice of bread in the container—the cookies will absorb moisture from the bread and stay soft. Replace the bread slice every day. This trick works for all cookies, not just these small-batch ones.
Freezing: You can freeze the unbaked dough balls for up to 3 months. Place them on a baking sheet and freeze until solid, then transfer to a freezer bag. Bake from frozen, adding 2-3 minutes to the baking time. This is perfect for those moments when you need one cookie, not four. Just bake as many as you want and save the rest for later.
Make-Ahead Note: The dough can be refrigerated for up to 3 days before baking. Let it sit at room temperature for 10 minutes before scooping and baking. The flavor actually improves after a day in the fridge—the sugars have more time to meld with the butter.
Nutritional Information & Benefits
Let’s be honest—cookies are a treat, not a health food. But here’s what you’re looking at per cookie (based on four cookies per batch):
| Nutrient | Amount per Cookie |
|---|---|
| Calories | 195 |
| Total Fat | 11g |
| Saturated Fat | 7g |
| Cholesterol | 55mg |
| Sodium | 165mg |
| Total Carbohydrates | 23g |
| Dietary Fiber | 1g |
| Sugars | 15g |
| Protein | 3g |
Dark chocolate chips contain antioxidants and flavonoids that can support heart health in moderate amounts. The egg yolk provides vitamin D and choline, which is important for brain health. And honestly? Sometimes the mental health benefit of a warm cookie after a long day is worth more than any nutritional metric. This small-batch recipe lets you enjoy that benefit without a week’s worth of temptation sitting on your counter.
Conclusion
This small-batch chocolate chip cookie recipe is proof that you don’t need a complicated process or a dozen ingredients to get bakery-quality results. It’s quick, it’s reliable, and it’s designed for real life—the kind of life where you suddenly need a cookie at 9 PM on a Tuesday and don’t want to commit to making three dozen of them.
What I love most about this recipe is how forgiving it is. You can use whatever chocolate you have, swap in different add-ins, or adjust the bake time to your preference. It’s a template, not a rulebook. The first time I made these, I used chopped up chocolate bars because I was out of chips, and honestly? Those were some of the best cookies I’ve ever made.
So go ahead—preheat that oven and treat yourself. You deserve a warm cookie, and now you have no excuses not to make one. When you try these, come back and let me know how they turned out. Did you add something unexpected? Did you eat all four yourself? I want to hear about it. Share your results in the comments below, and don’t forget to pin this recipe for the next time a cookie craving strikes.
Frequently Asked Questions
Can I double this recipe for more cookies?
Absolutely! Simply double all the ingredients. The baking time remains the same, but you may need to bake in batches depending on your oven size. I’ve made a double batch for cookie swaps and they turned out perfectly.
Why did my cookies spread too much?
This usually happens if the butter was too hot when you mixed it, or if your baking sheet was too warm when you placed the dough on it. Let the butter cool slightly after melting, and always use a cool baking sheet. If your first batch spread too much, let the pan cool completely before baking the next batch.
Can I use whole wheat flour instead of all-purpose?
You can substitute up to half the all-purpose flour with whole wheat flour without significantly changing the texture. Using 100% whole wheat flour will result in denser, slightly drier cookies. Add an extra teaspoon of milk to compensate if you go full whole wheat.
How do I know when the cookies are done baking?
Look for golden brown edges with centers that still look slightly puffy and underdone. The cookies will continue to bake on the hot pan for another 5 minutes after you pull them out. If the centers look fully set in the oven, they’re overbaked. Trust the edges—when they’re golden, pull the pan.
Can I make these cookies without an oven?
Yes! You can bake these in a toaster oven at the same temperature. If you’re using an air fryer, set it to 325°F (160°C) and bake for 6-8 minutes. You can also try the stovetop method—place the dough balls in a covered skillet over very low heat for about 10-12 minutes. The texture will be different but still delicious.
Pin This Recipe!
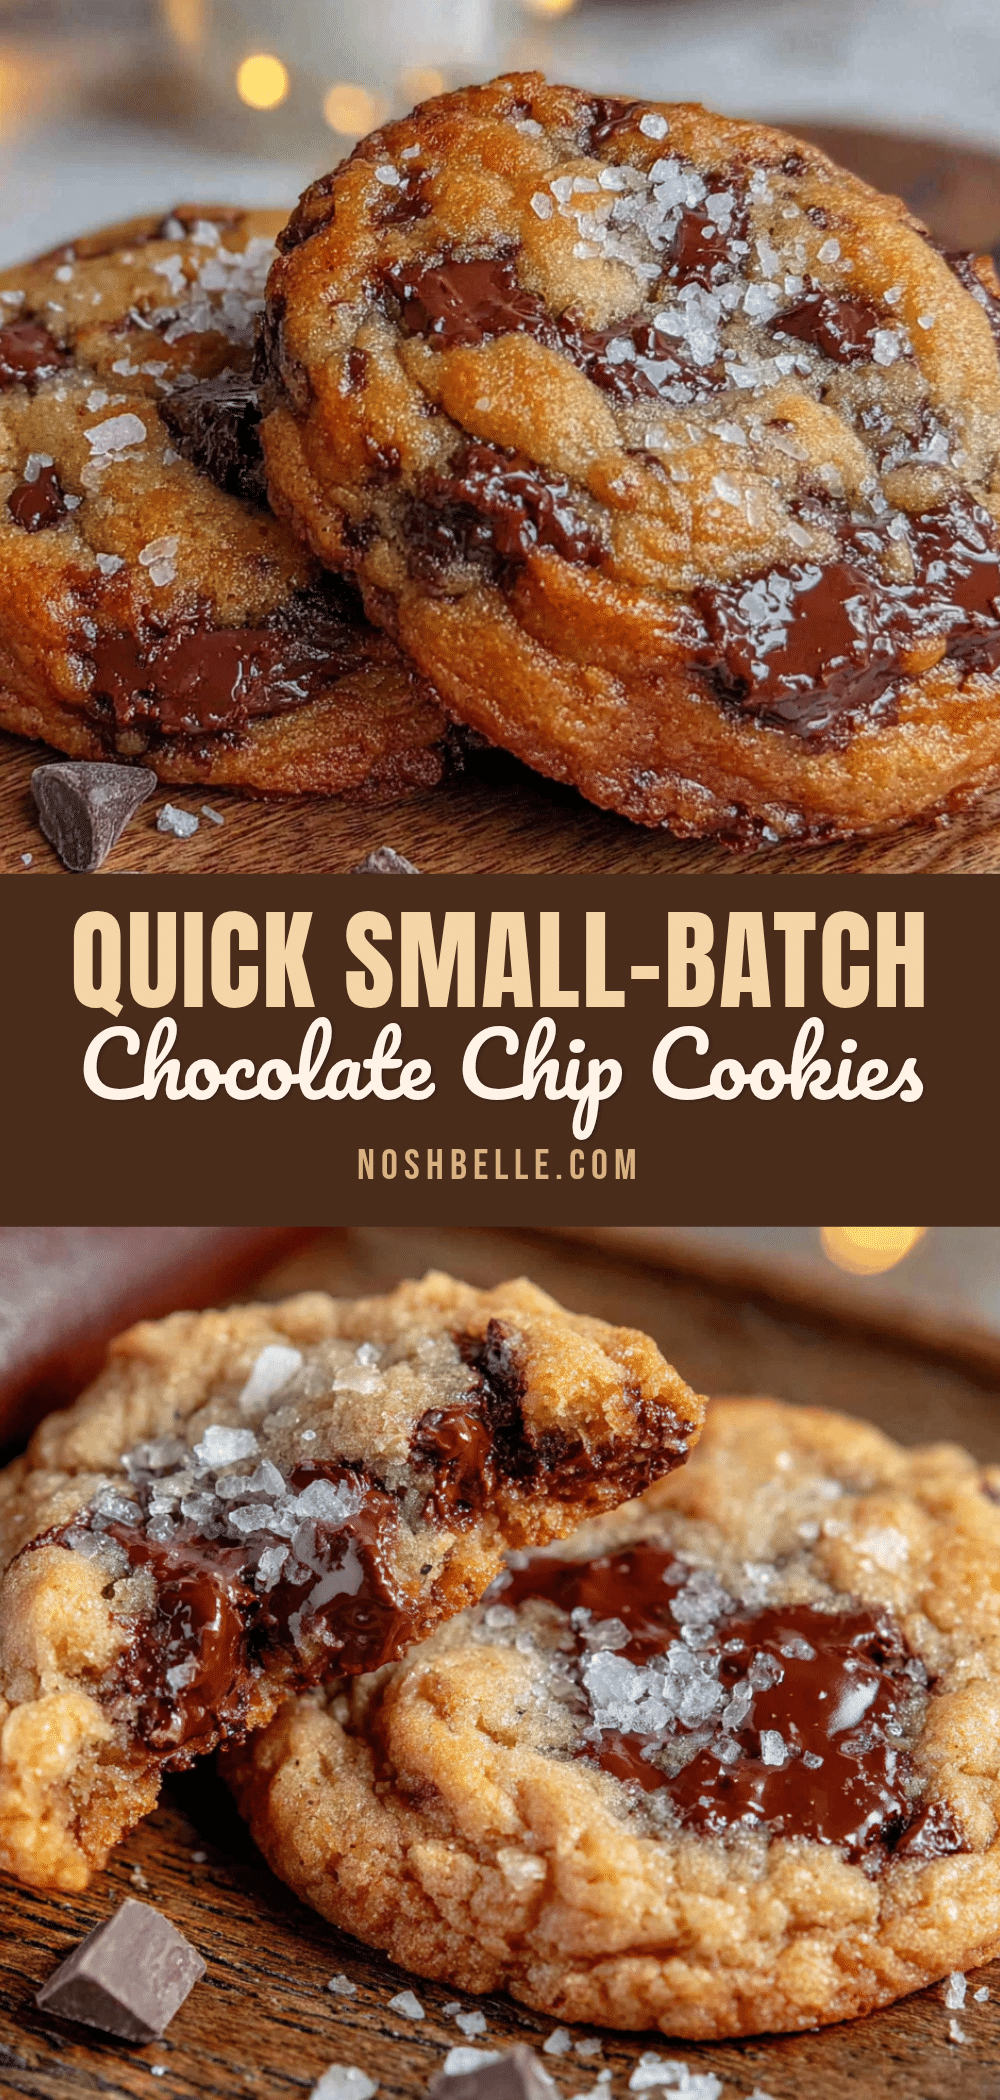
Perfect Quick Small-Batch Chocolate Chip Cookies for Two

This small-batch chocolate chip cookie recipe recreates a beloved bakery memory, scaled down for two people who need a quick fix without a week’s worth of cookies. From mixing bowl to warm cookie in under 20 minutes, these cookies have crispy edges, soft centers, and melty chocolate in every bite.
- Prep Time: 10 minutes
- Cook Time: 10 minutes
- Total Time: 20 minutes
- Yield: 4 cookies (2 servings) 1x
- Category: Dessert
- Cuisine: American
Ingredients
- 2 tablespoons (28g) unsalted butter, melted
- 1½ tablespoons (20g) granulated sugar
- 2 tablespoons (25g) light brown sugar, packed
- 1 large egg yolk (about 18g)
- ½ teaspoon vanilla extract
- ¼ cup plus 1 tablespoon (45g) all-purpose flour
- ¼ teaspoon baking soda
- ⅛ teaspoon salt
- ¼ cup (45g) semisweet chocolate chips
Instructions
- Preheat your oven to 350°F (175°C) and line a small baking sheet with parchment paper.
- Melt the butter in a small microwave-safe bowl for about 20-30 seconds, or until just melted. Let it cool slightly if hot.
- Add both sugars to the melted butter and whisk until combined into a smooth, thick paste, about 30 seconds.
- Add the egg yolk and vanilla extract to the butter-sugar mixture. Whisk vigorously for about 15 seconds until the mixture lightens slightly in color and becomes smooth.
- Sprinkle the flour, baking soda, and salt over the wet mixture. Use a rubber spatula or wooden spoon to fold everything together until just combined. The dough will be soft and slightly sticky.
- Fold in the chocolate chips with a few gentle strokes. Reserve about 5-6 chips to press onto the tops of the dough balls later.
- Divide the dough into 4 equal portions, about 1½ tablespoons each. Roll each portion into a ball and place them on the prepared baking sheet, spacing them about 3 inches apart. Press the reserved chocolate chips onto the tops of each dough ball.
- Bake for 8-10 minutes, rotating the pan halfway through. The cookies are done when the edges are golden brown and the centers still look slightly underdone and puffy.
- Let the cookies cool on the baking sheet for 5 minutes. After 5 minutes, transfer them to a cooling rack or a plate.
- Serve warm with a glass of cold milk or a scoop of vanilla ice cream.
Notes
Don’t skip the whisking step – whisk the egg yolk and vanilla into the butter-sugar mixture for a full 15 seconds to incorporate air. Underbake slightly – pull cookies when centers still look puffy and underdone. Press extra chocolate chips on top before baking for a bakery-style look. If dough is too sticky, refrigerate for 5-10 minutes before scooping.
Nutrition
- Serving Size: 2 cookies
- Calories: 195
- Sugar: 15
- Sodium: 165
- Fat: 11
- Saturated Fat: 7
- Carbohydrates: 23
- Fiber: 1
- Protein: 3
Keywords: small-batch cookies, chocolate chip cookies, cookies for two, quick cookies, easy cookies, no chill cookies, weeknight dessert